Thursday
Dec102015

Holiday Felt Banner Garland

This is the first Christmas in the new house and I wanted to really spend some quality time decorating. Especially since this is Lady Paloma's first Christmas where she is involved and interested in what is happening. She decided to nap today so I am taking full advantage of this time - the dishes and laundry can wait. 

Over the years I have experimented with different themes and color schemes for Christmas but always seem to come back to a more traditionally influenced theme. Now I think I've settled on something that I can add to and really own. 

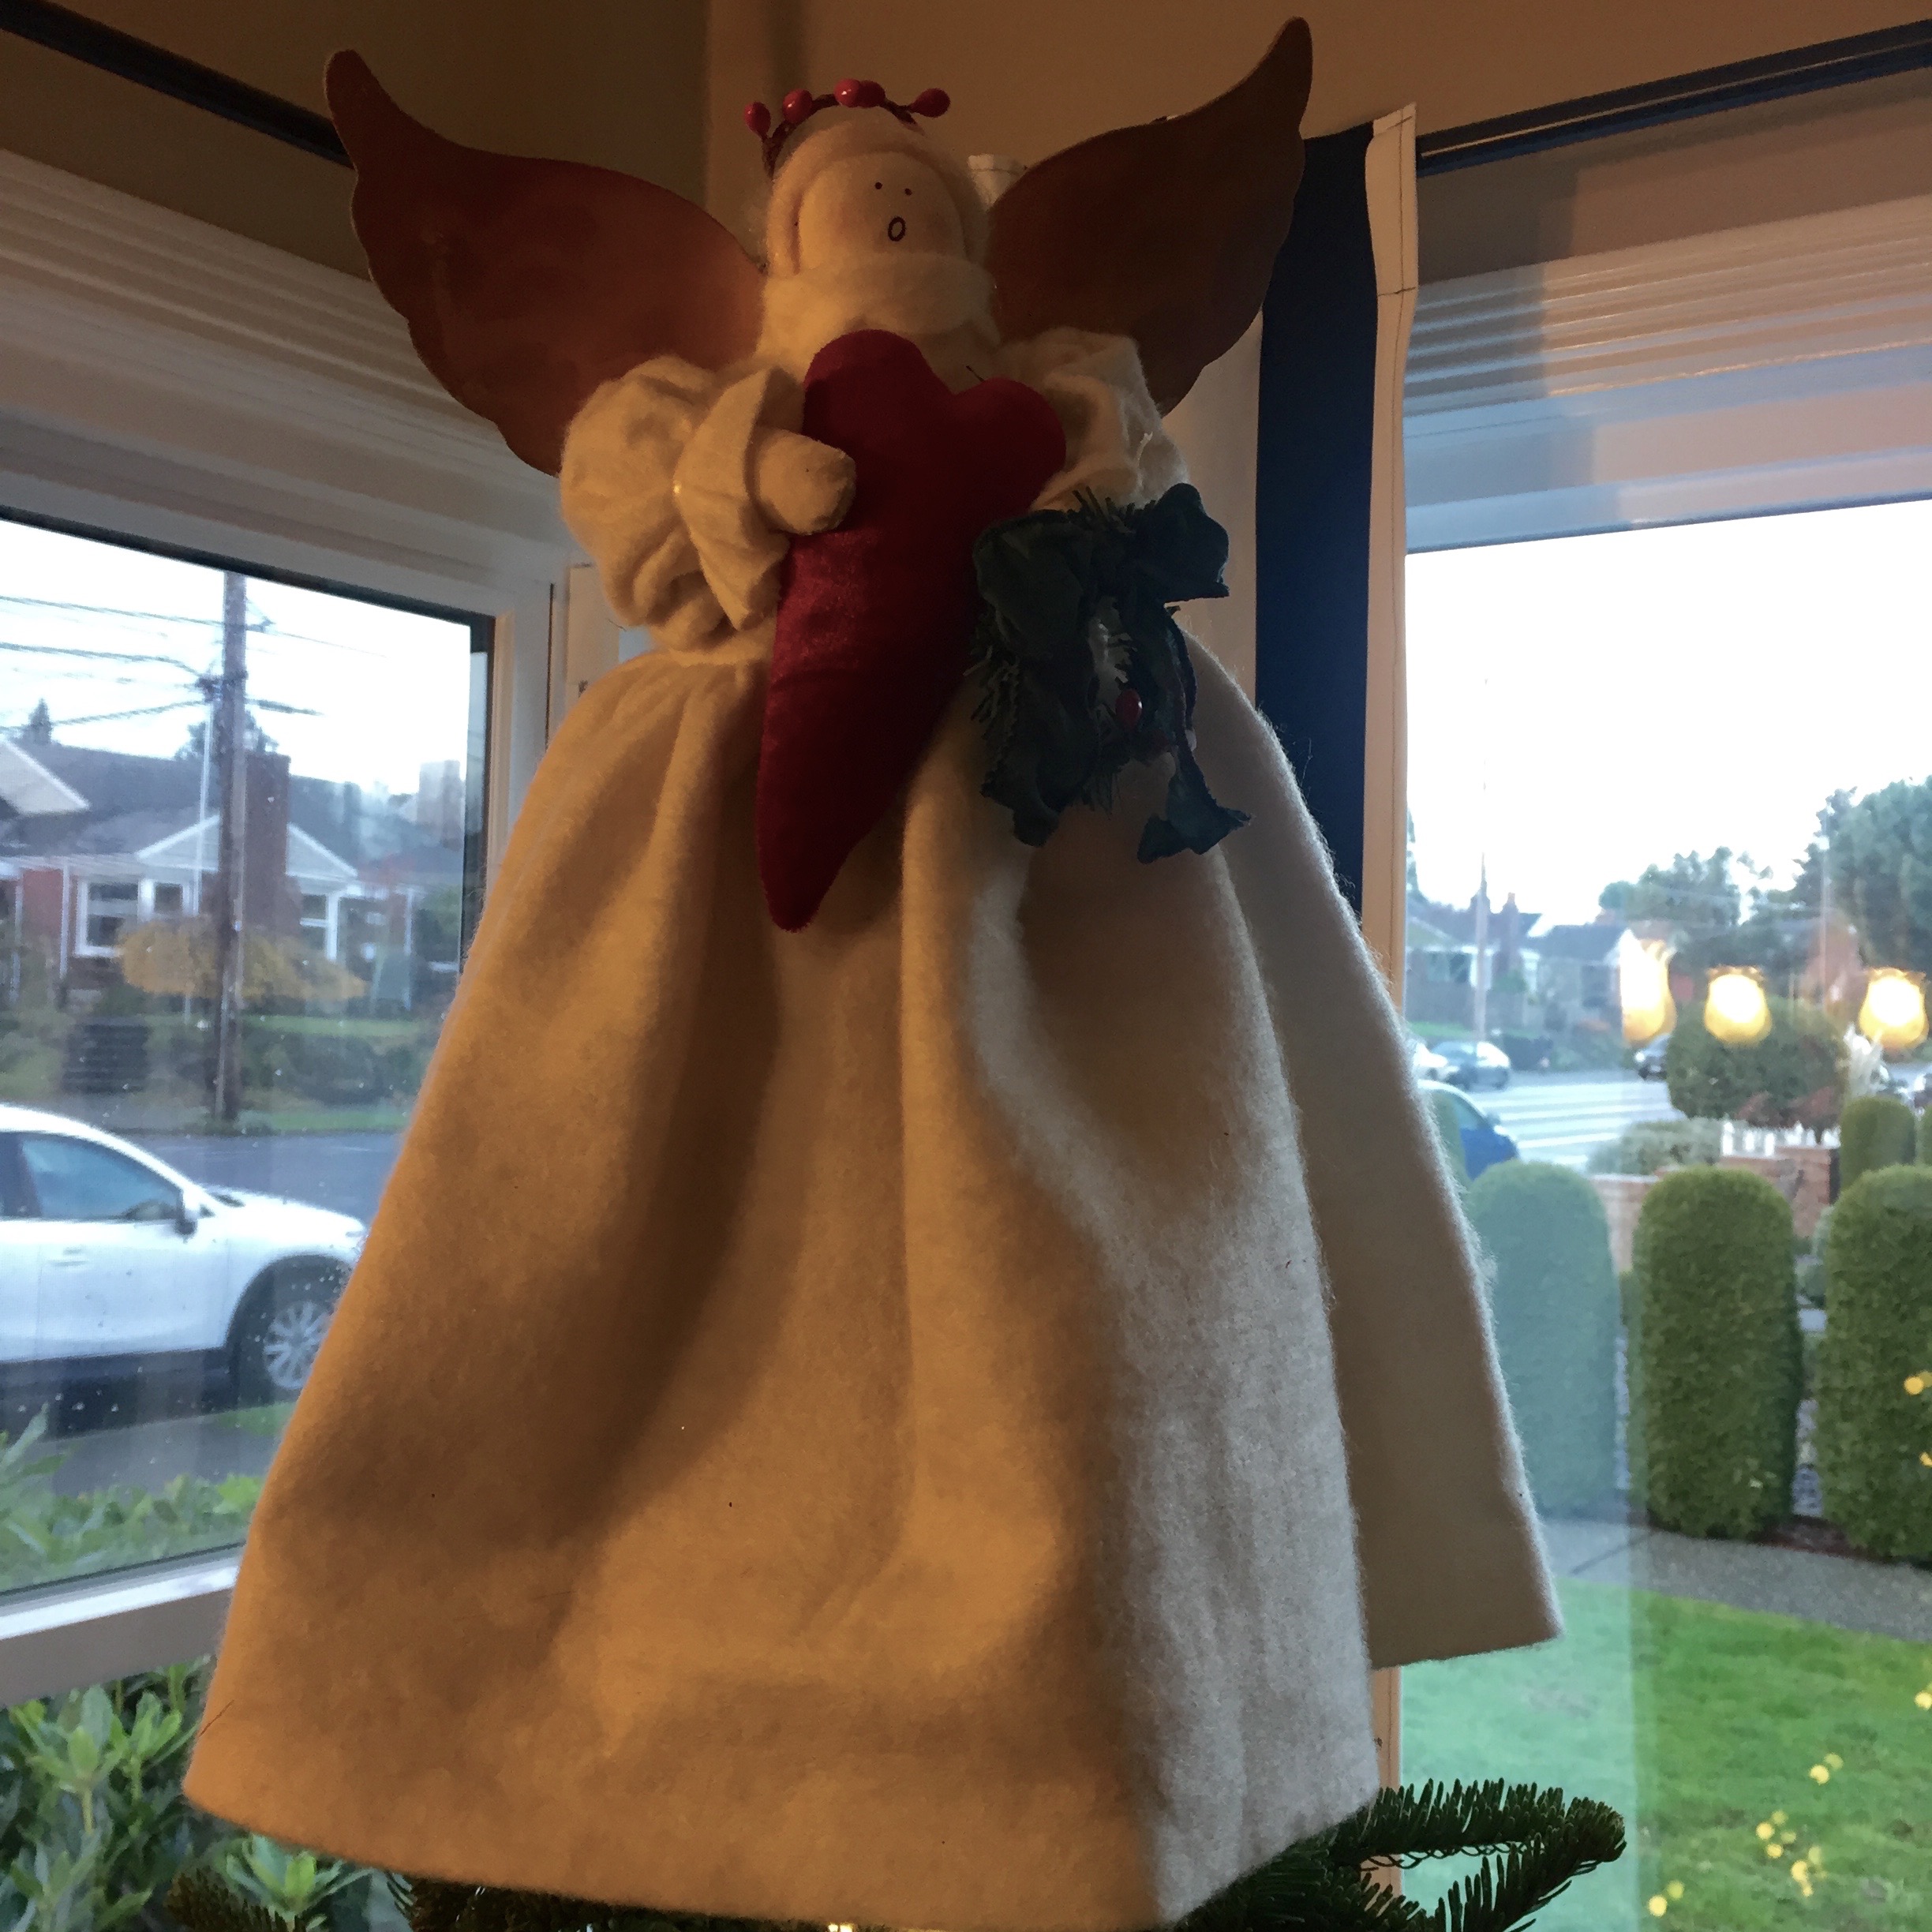
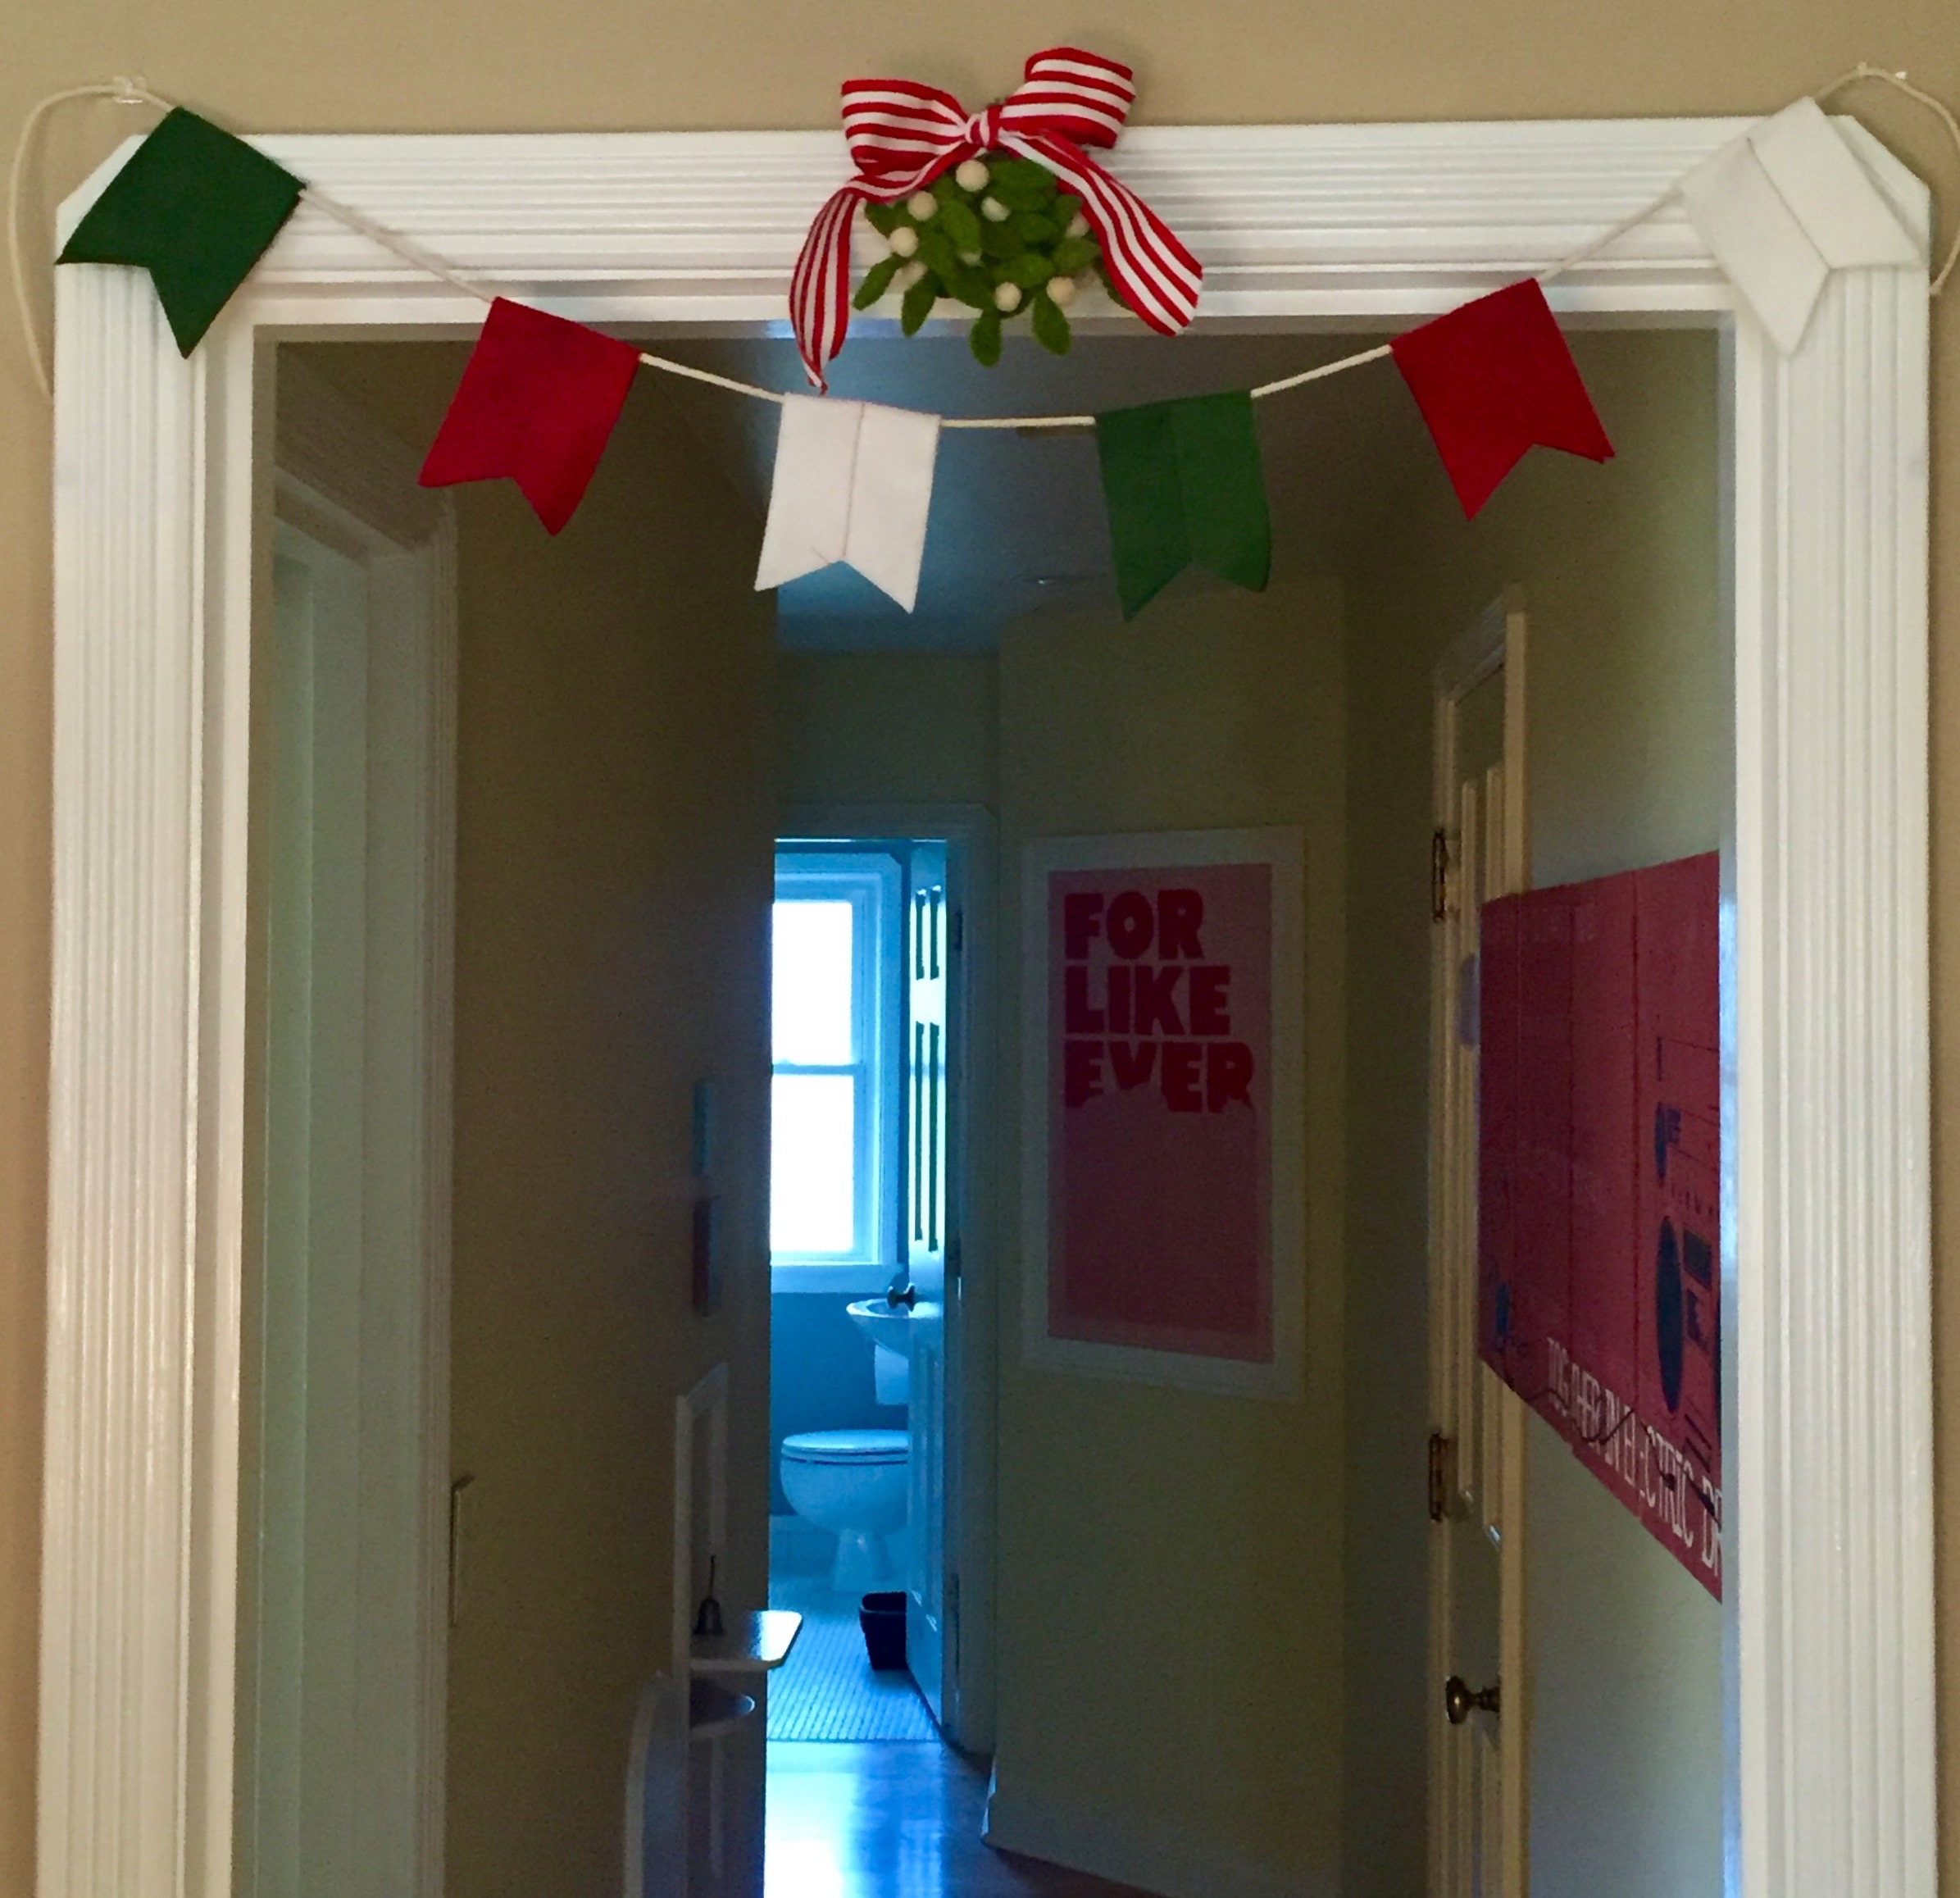
About 16 years ago I picked up a felt angel tree topper. I have always loved her and continue to want to keep her around. Something about her just feels right for me. The other piece I continue to go to every year is a hand felted mistletoe branch. I hang it with a piece of red and white striped ribbon. So these two items are the base of my holiday decorating schematic. 

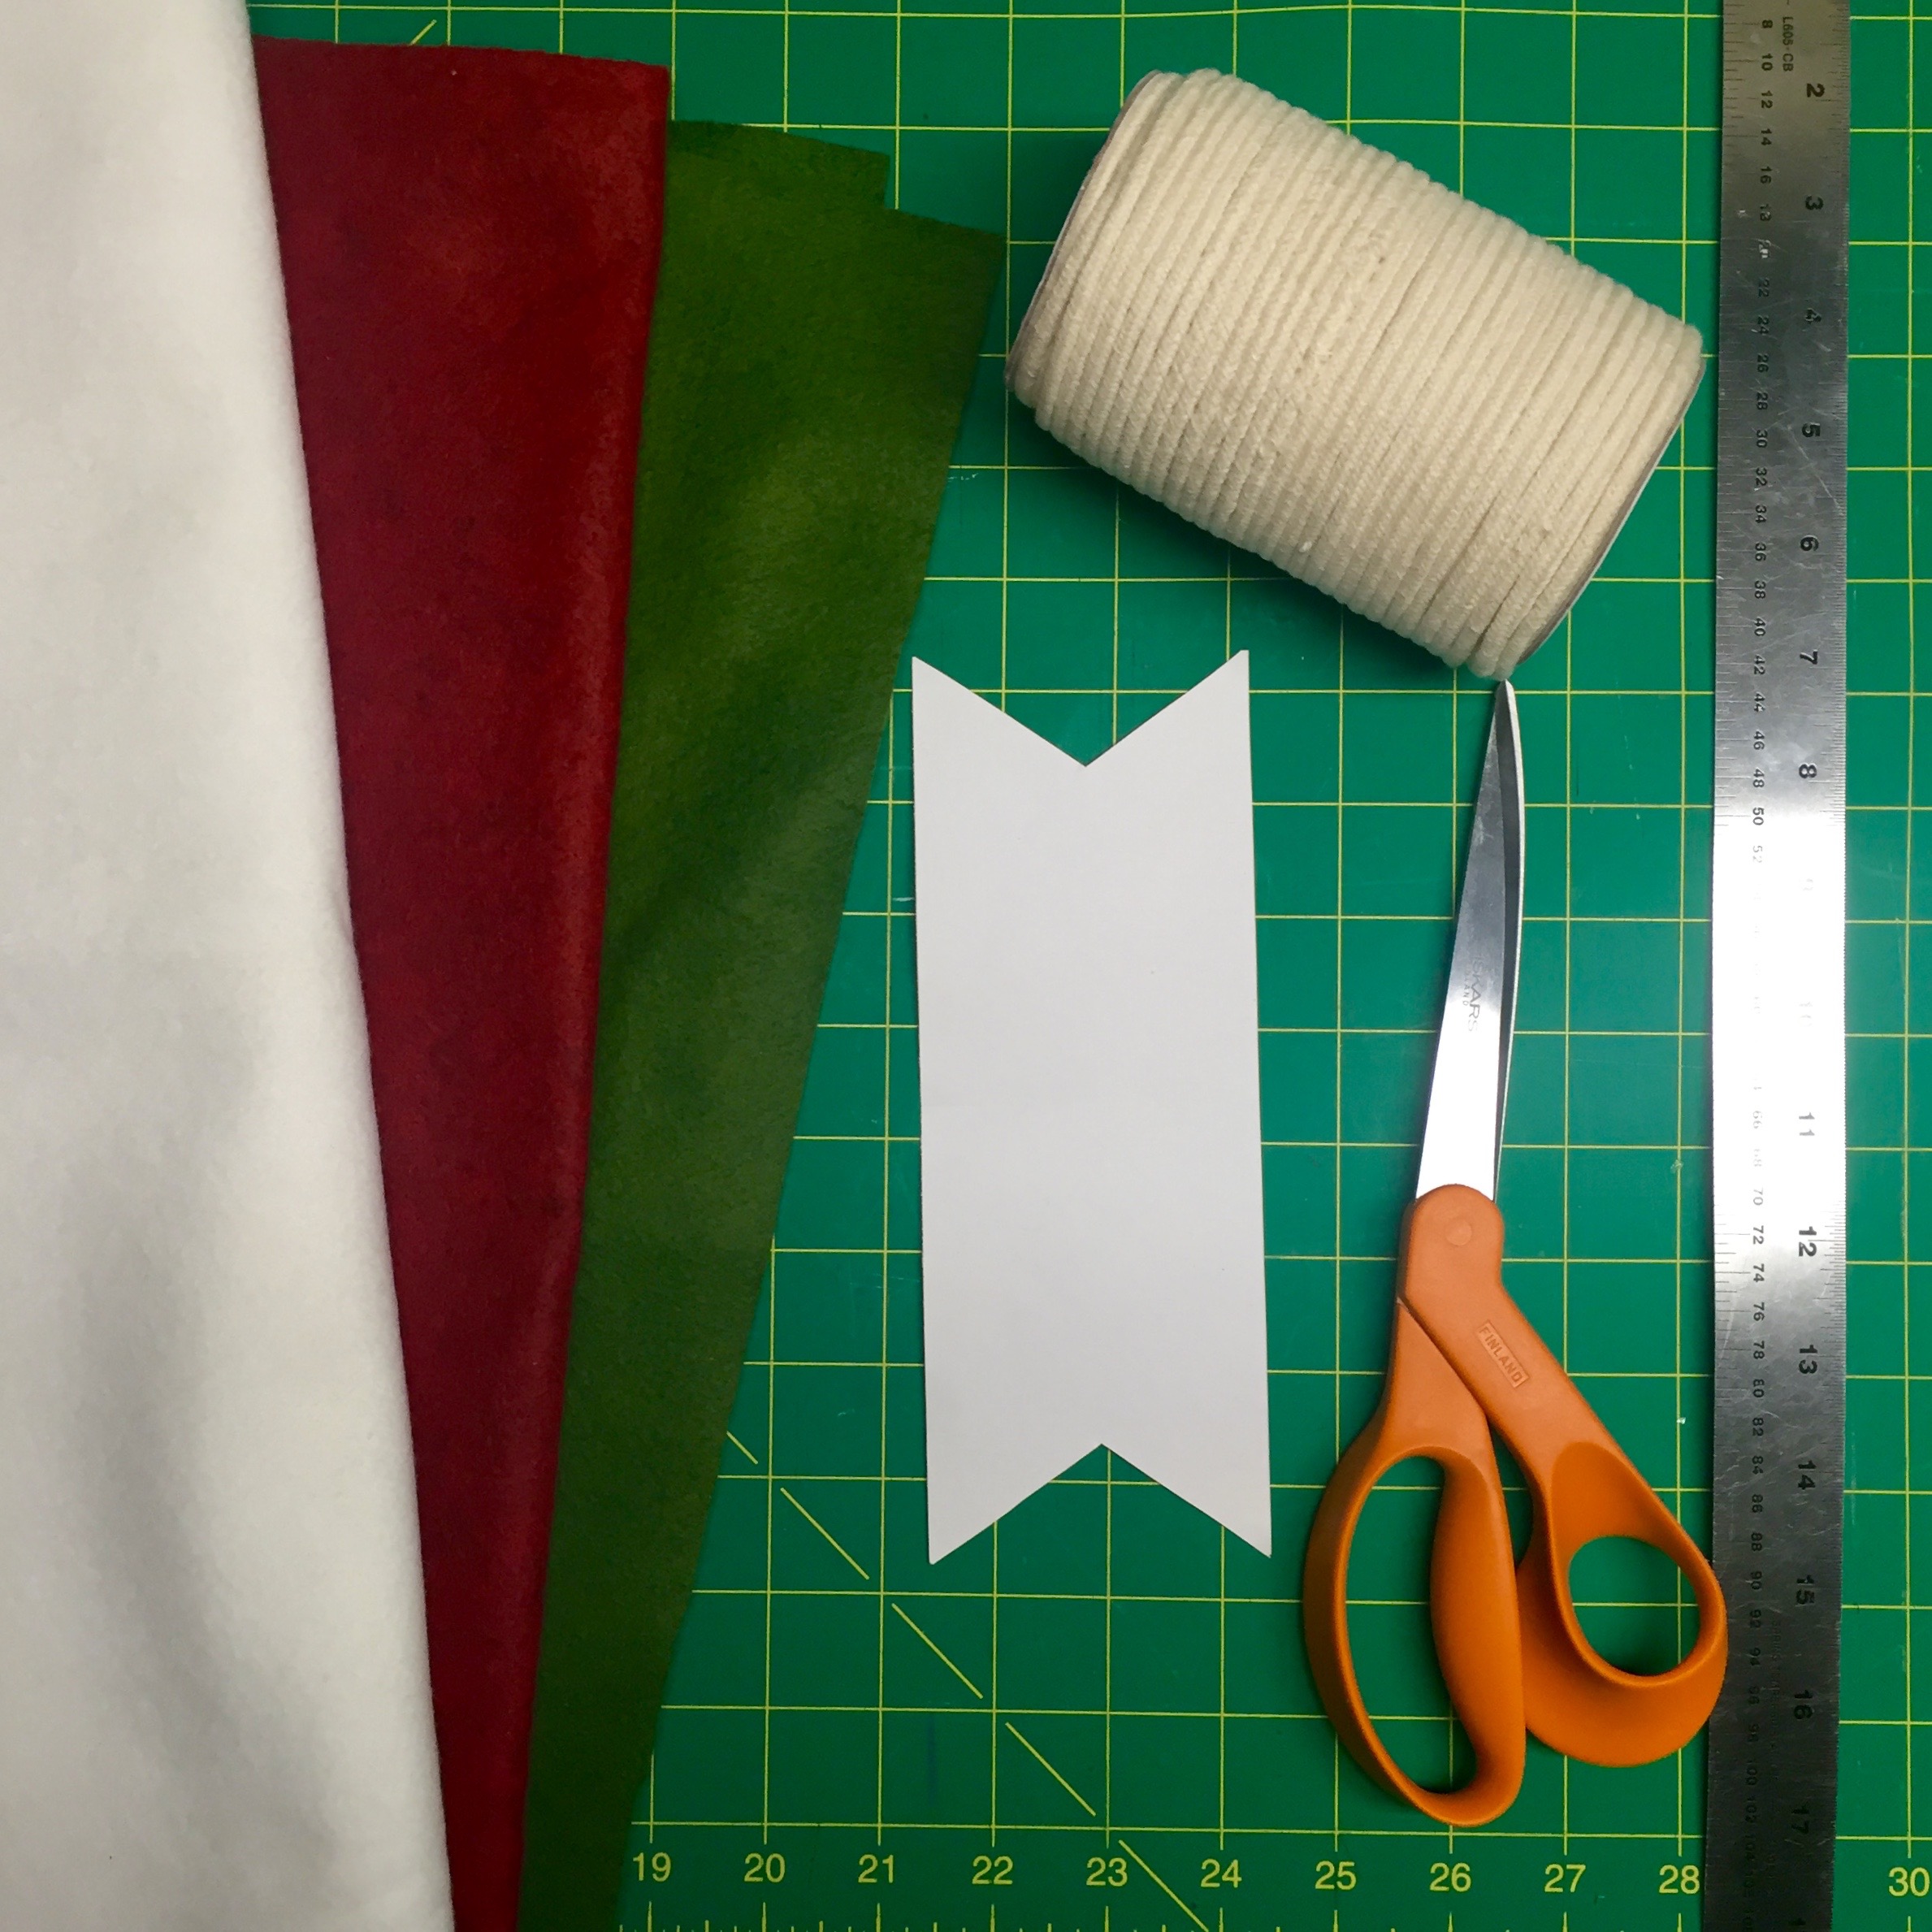
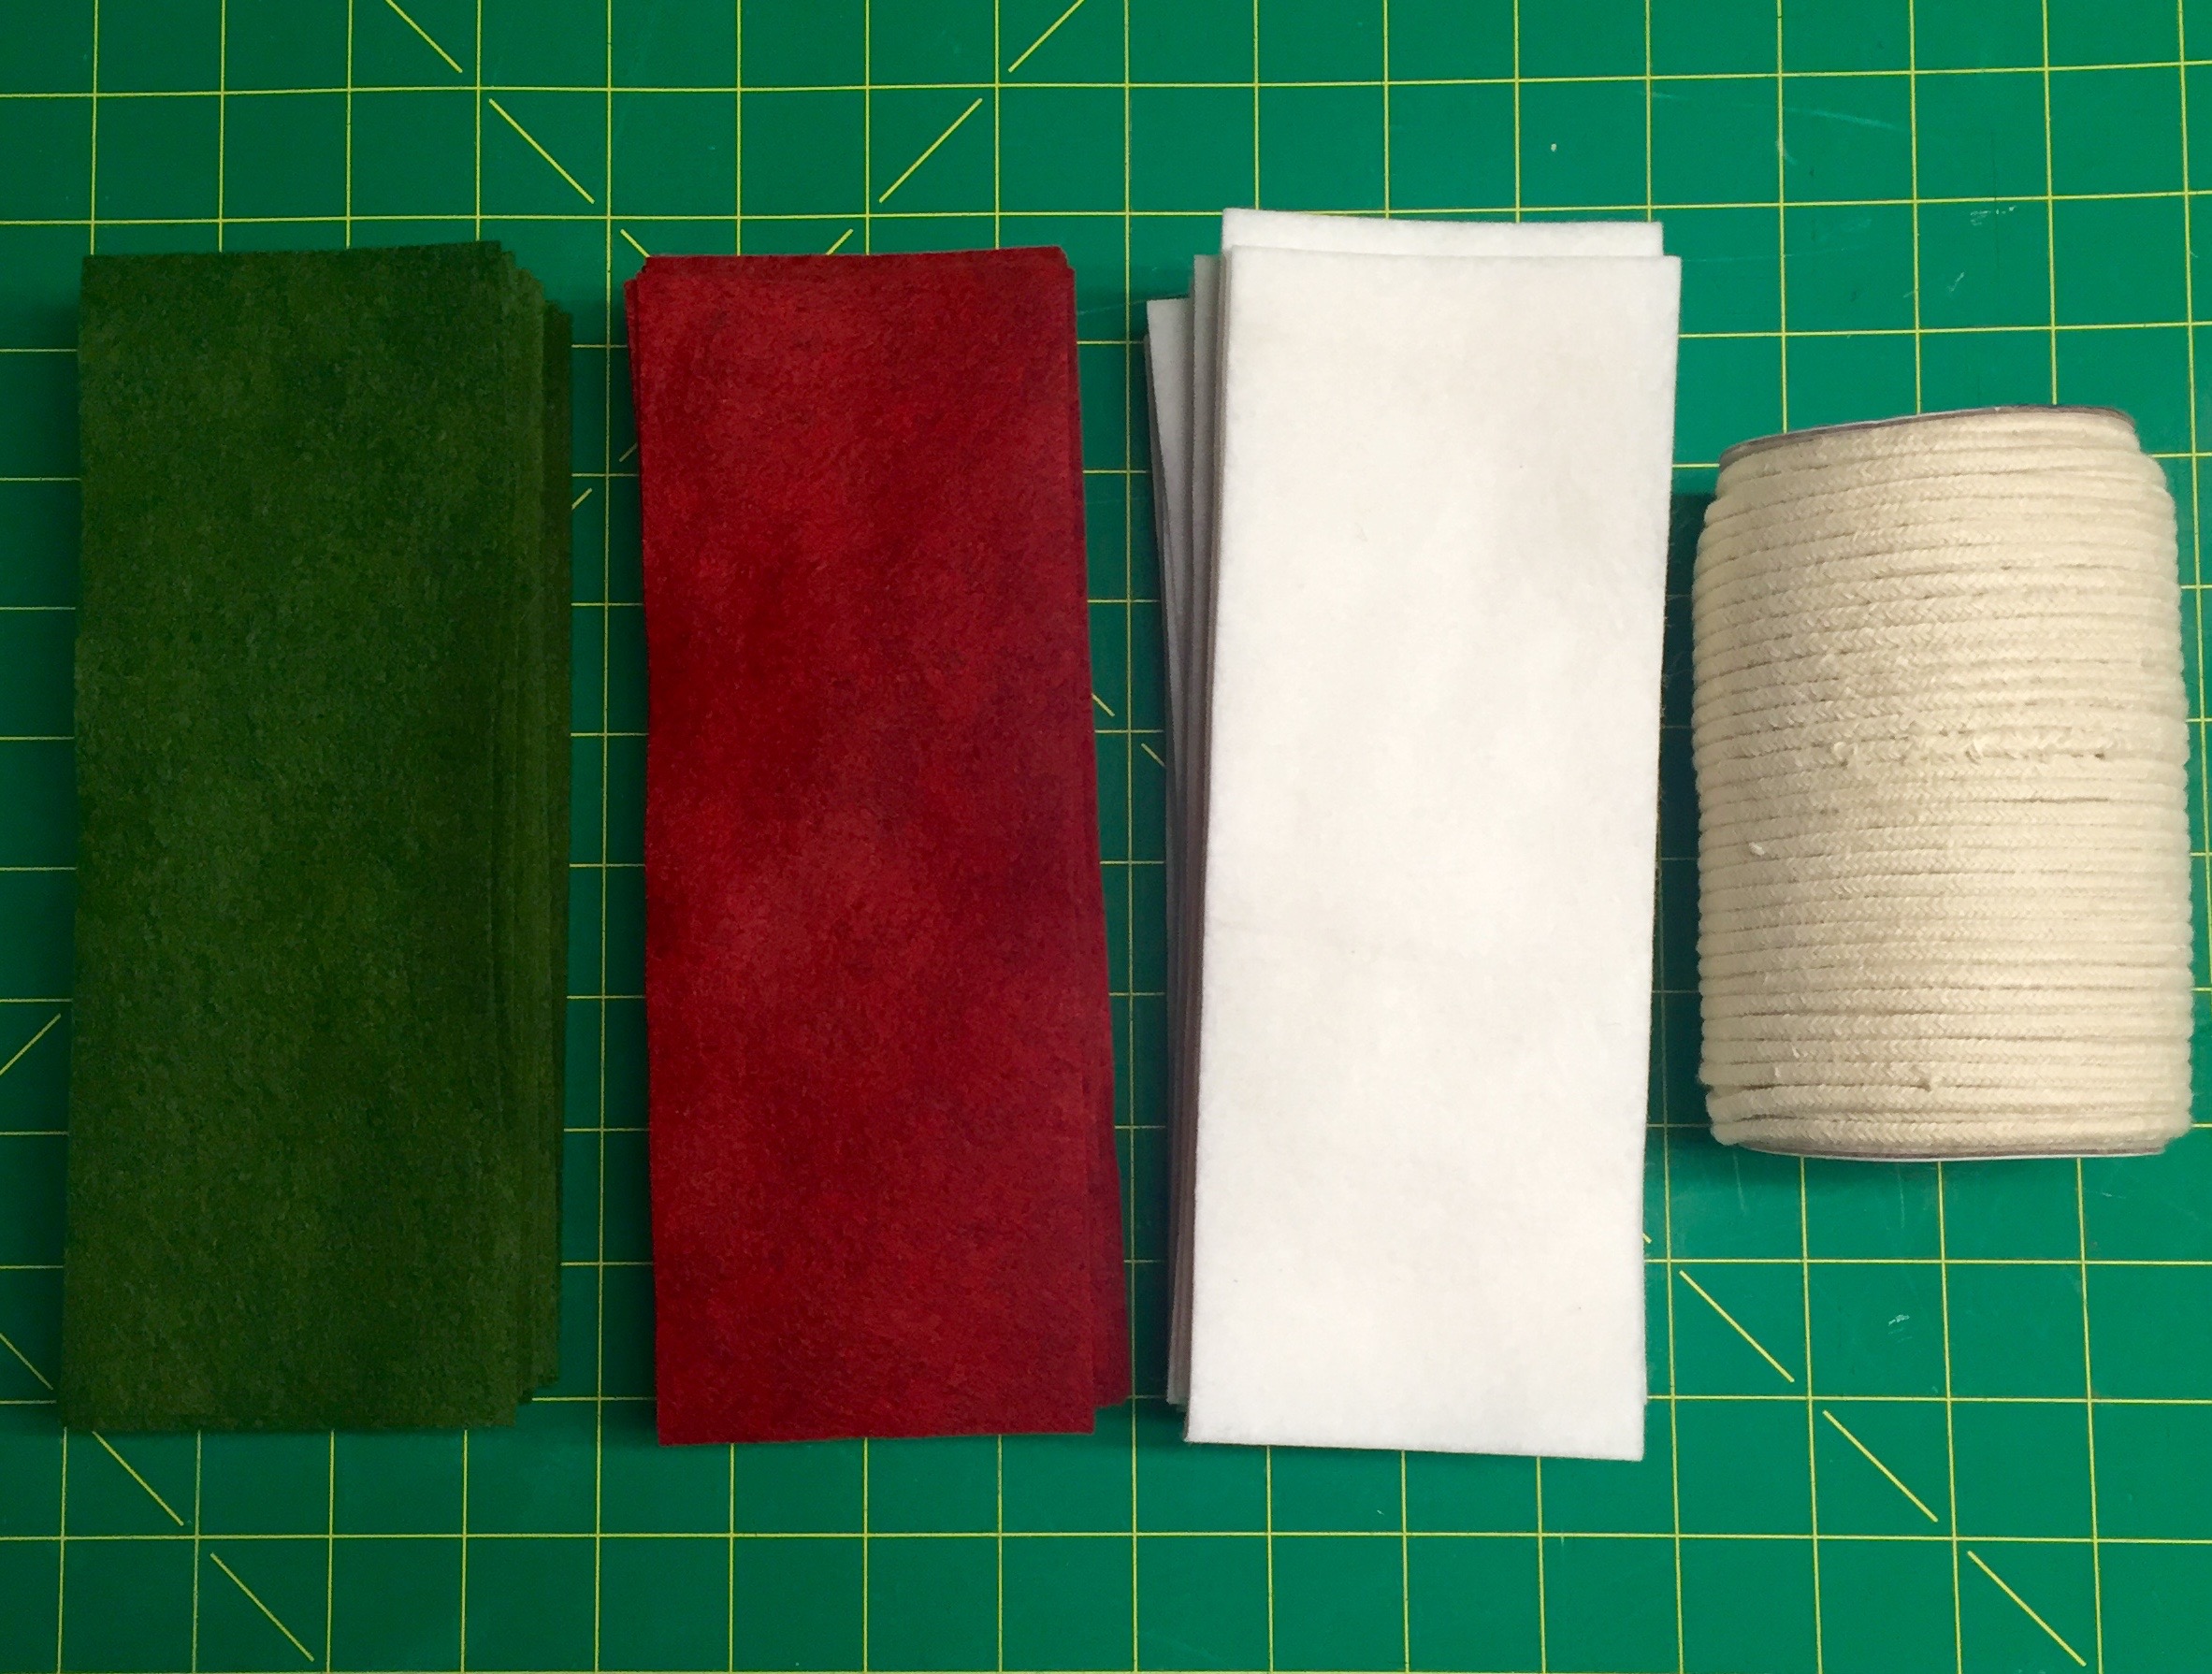
I decided on a felt flag garland for another element to support this handmade felt look. I went to a local fabric store and had them cute me 1/2 yard of thick felt on a bolt in red, white and green. The felt on a bolt is thicker and comes in some great colors. You could use craft felt also or really any fabric you wanted. 

To hang it on, instead of just jute twine or a ribbon I picked up this slightly off white macramé cord. You also need scissors, a straight edge/ruler, straight pins, sewing machine, thread and a template. I made my flag template out of stiff paper. I am using a rectangle flag shape and want it to be the same on each side of the flag so cut one long template so the fabric pieces will wrap around the cord. 

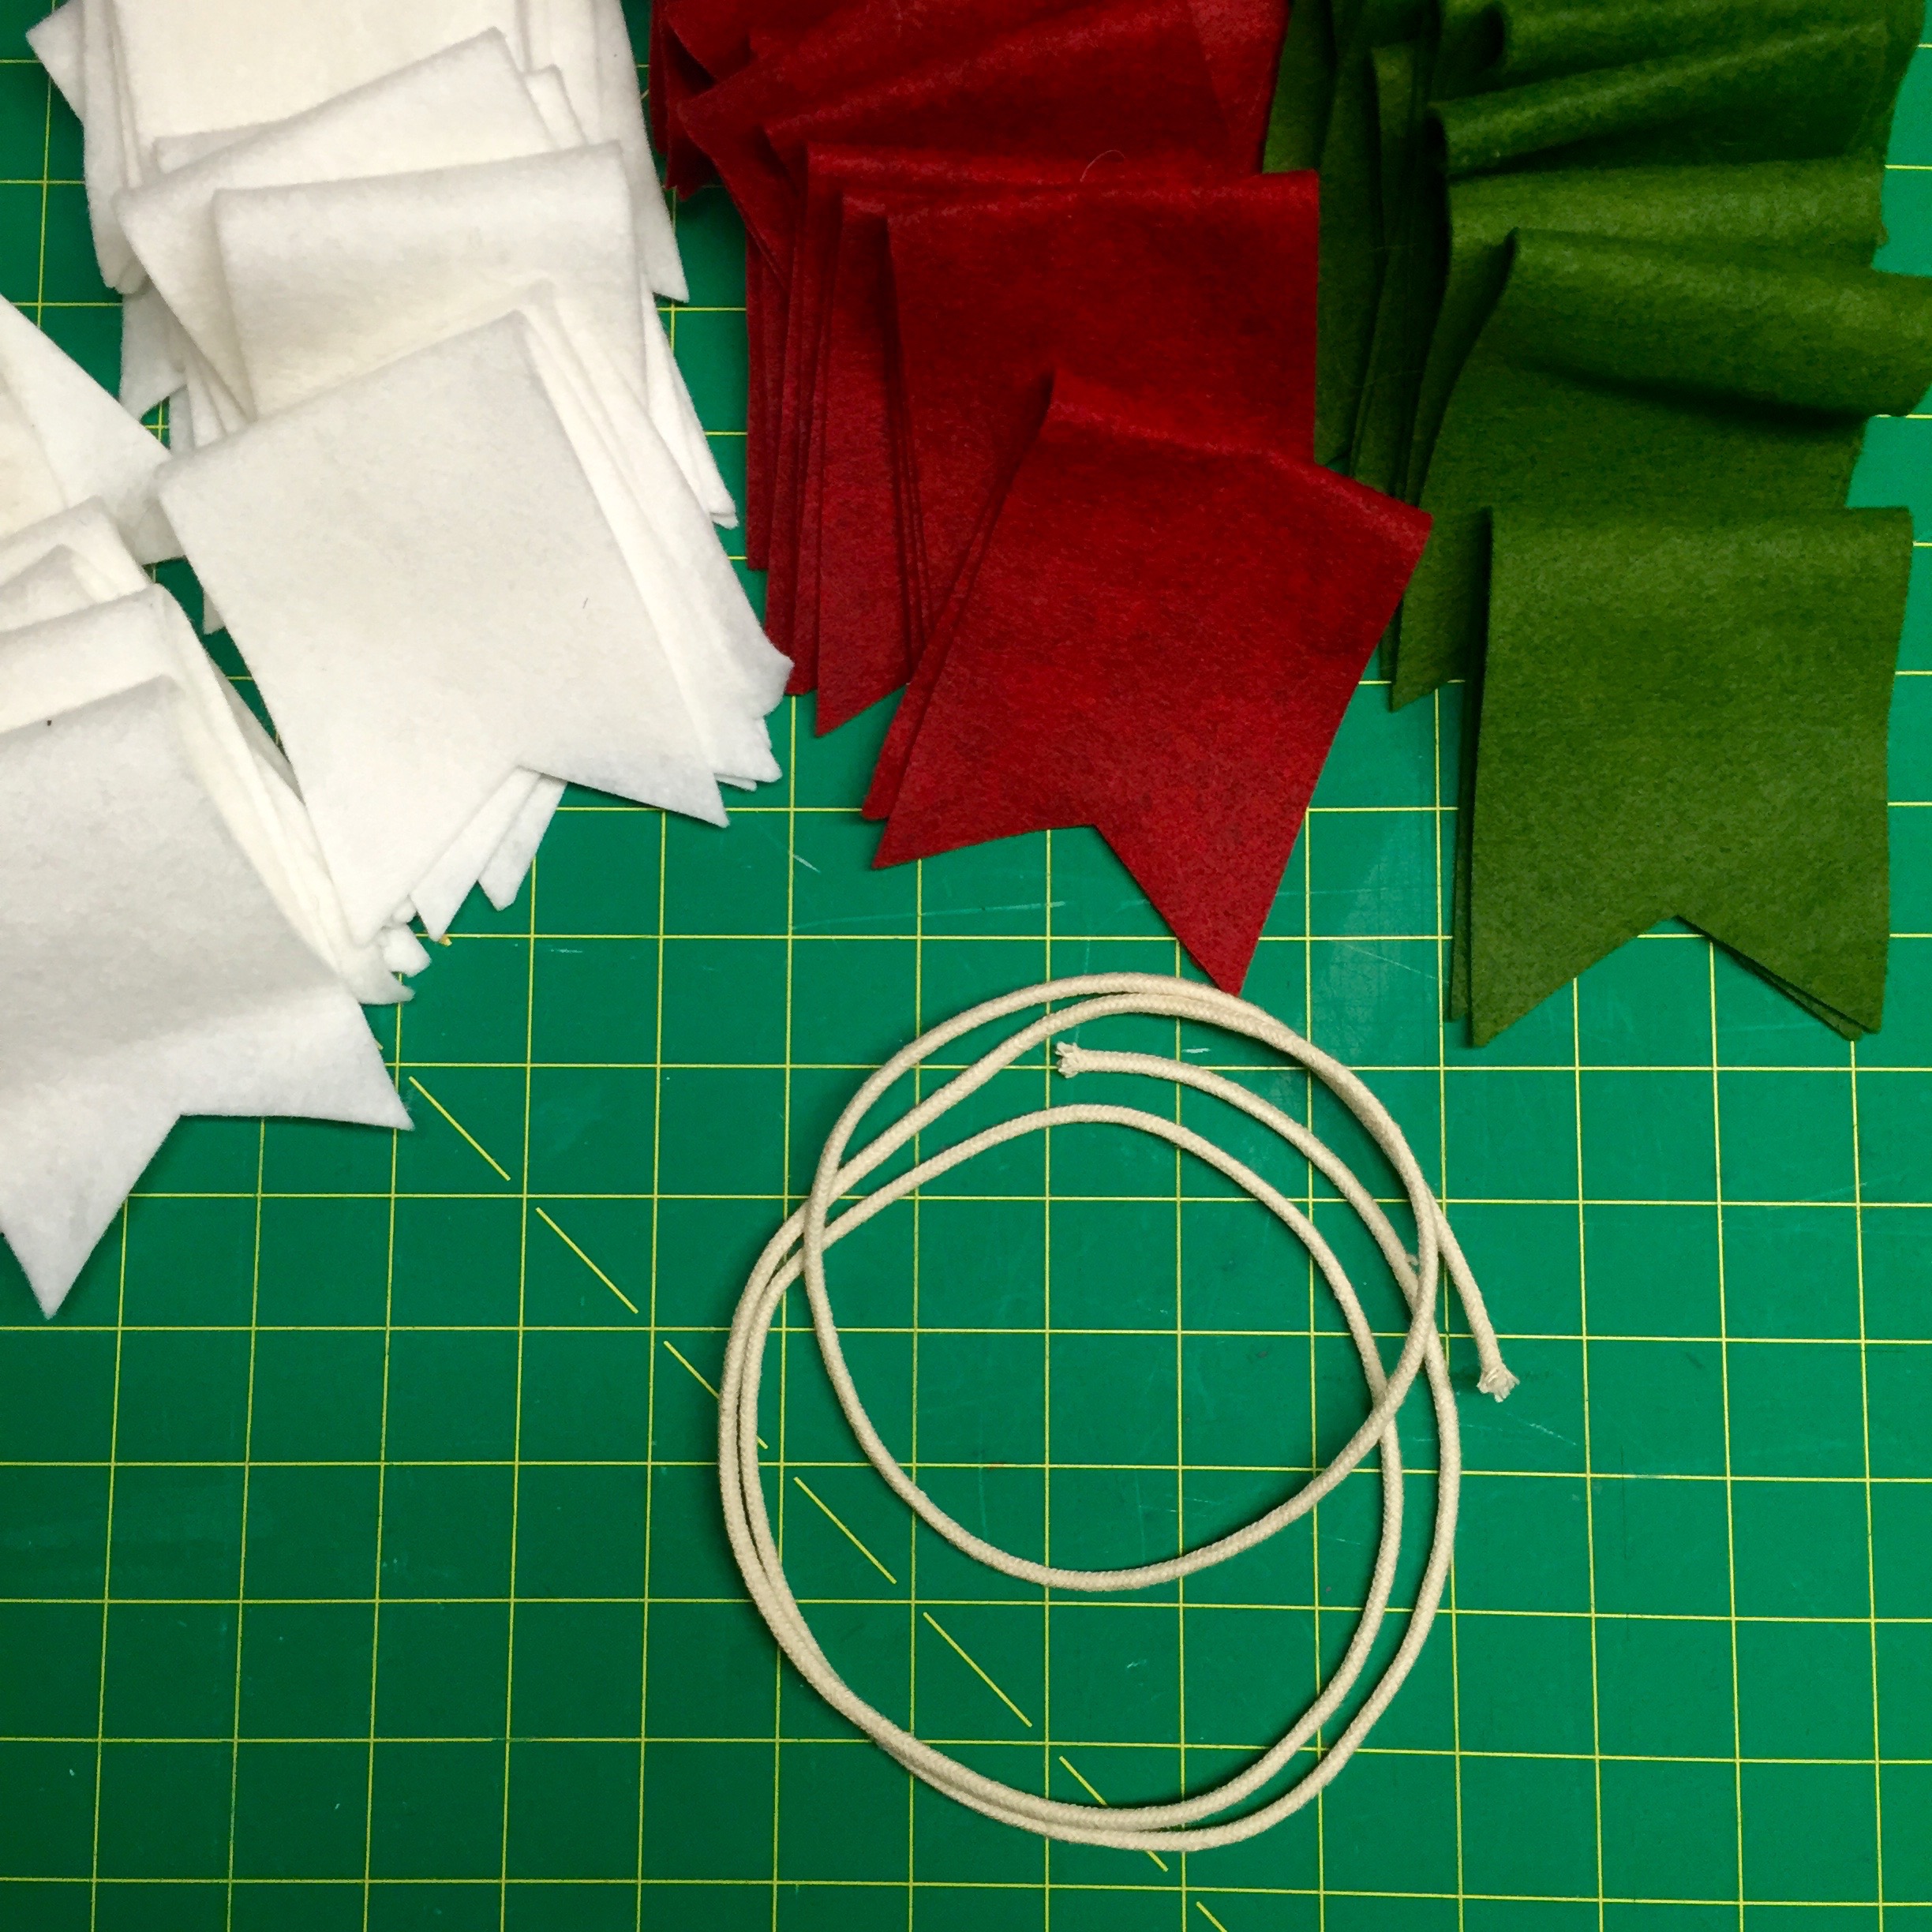
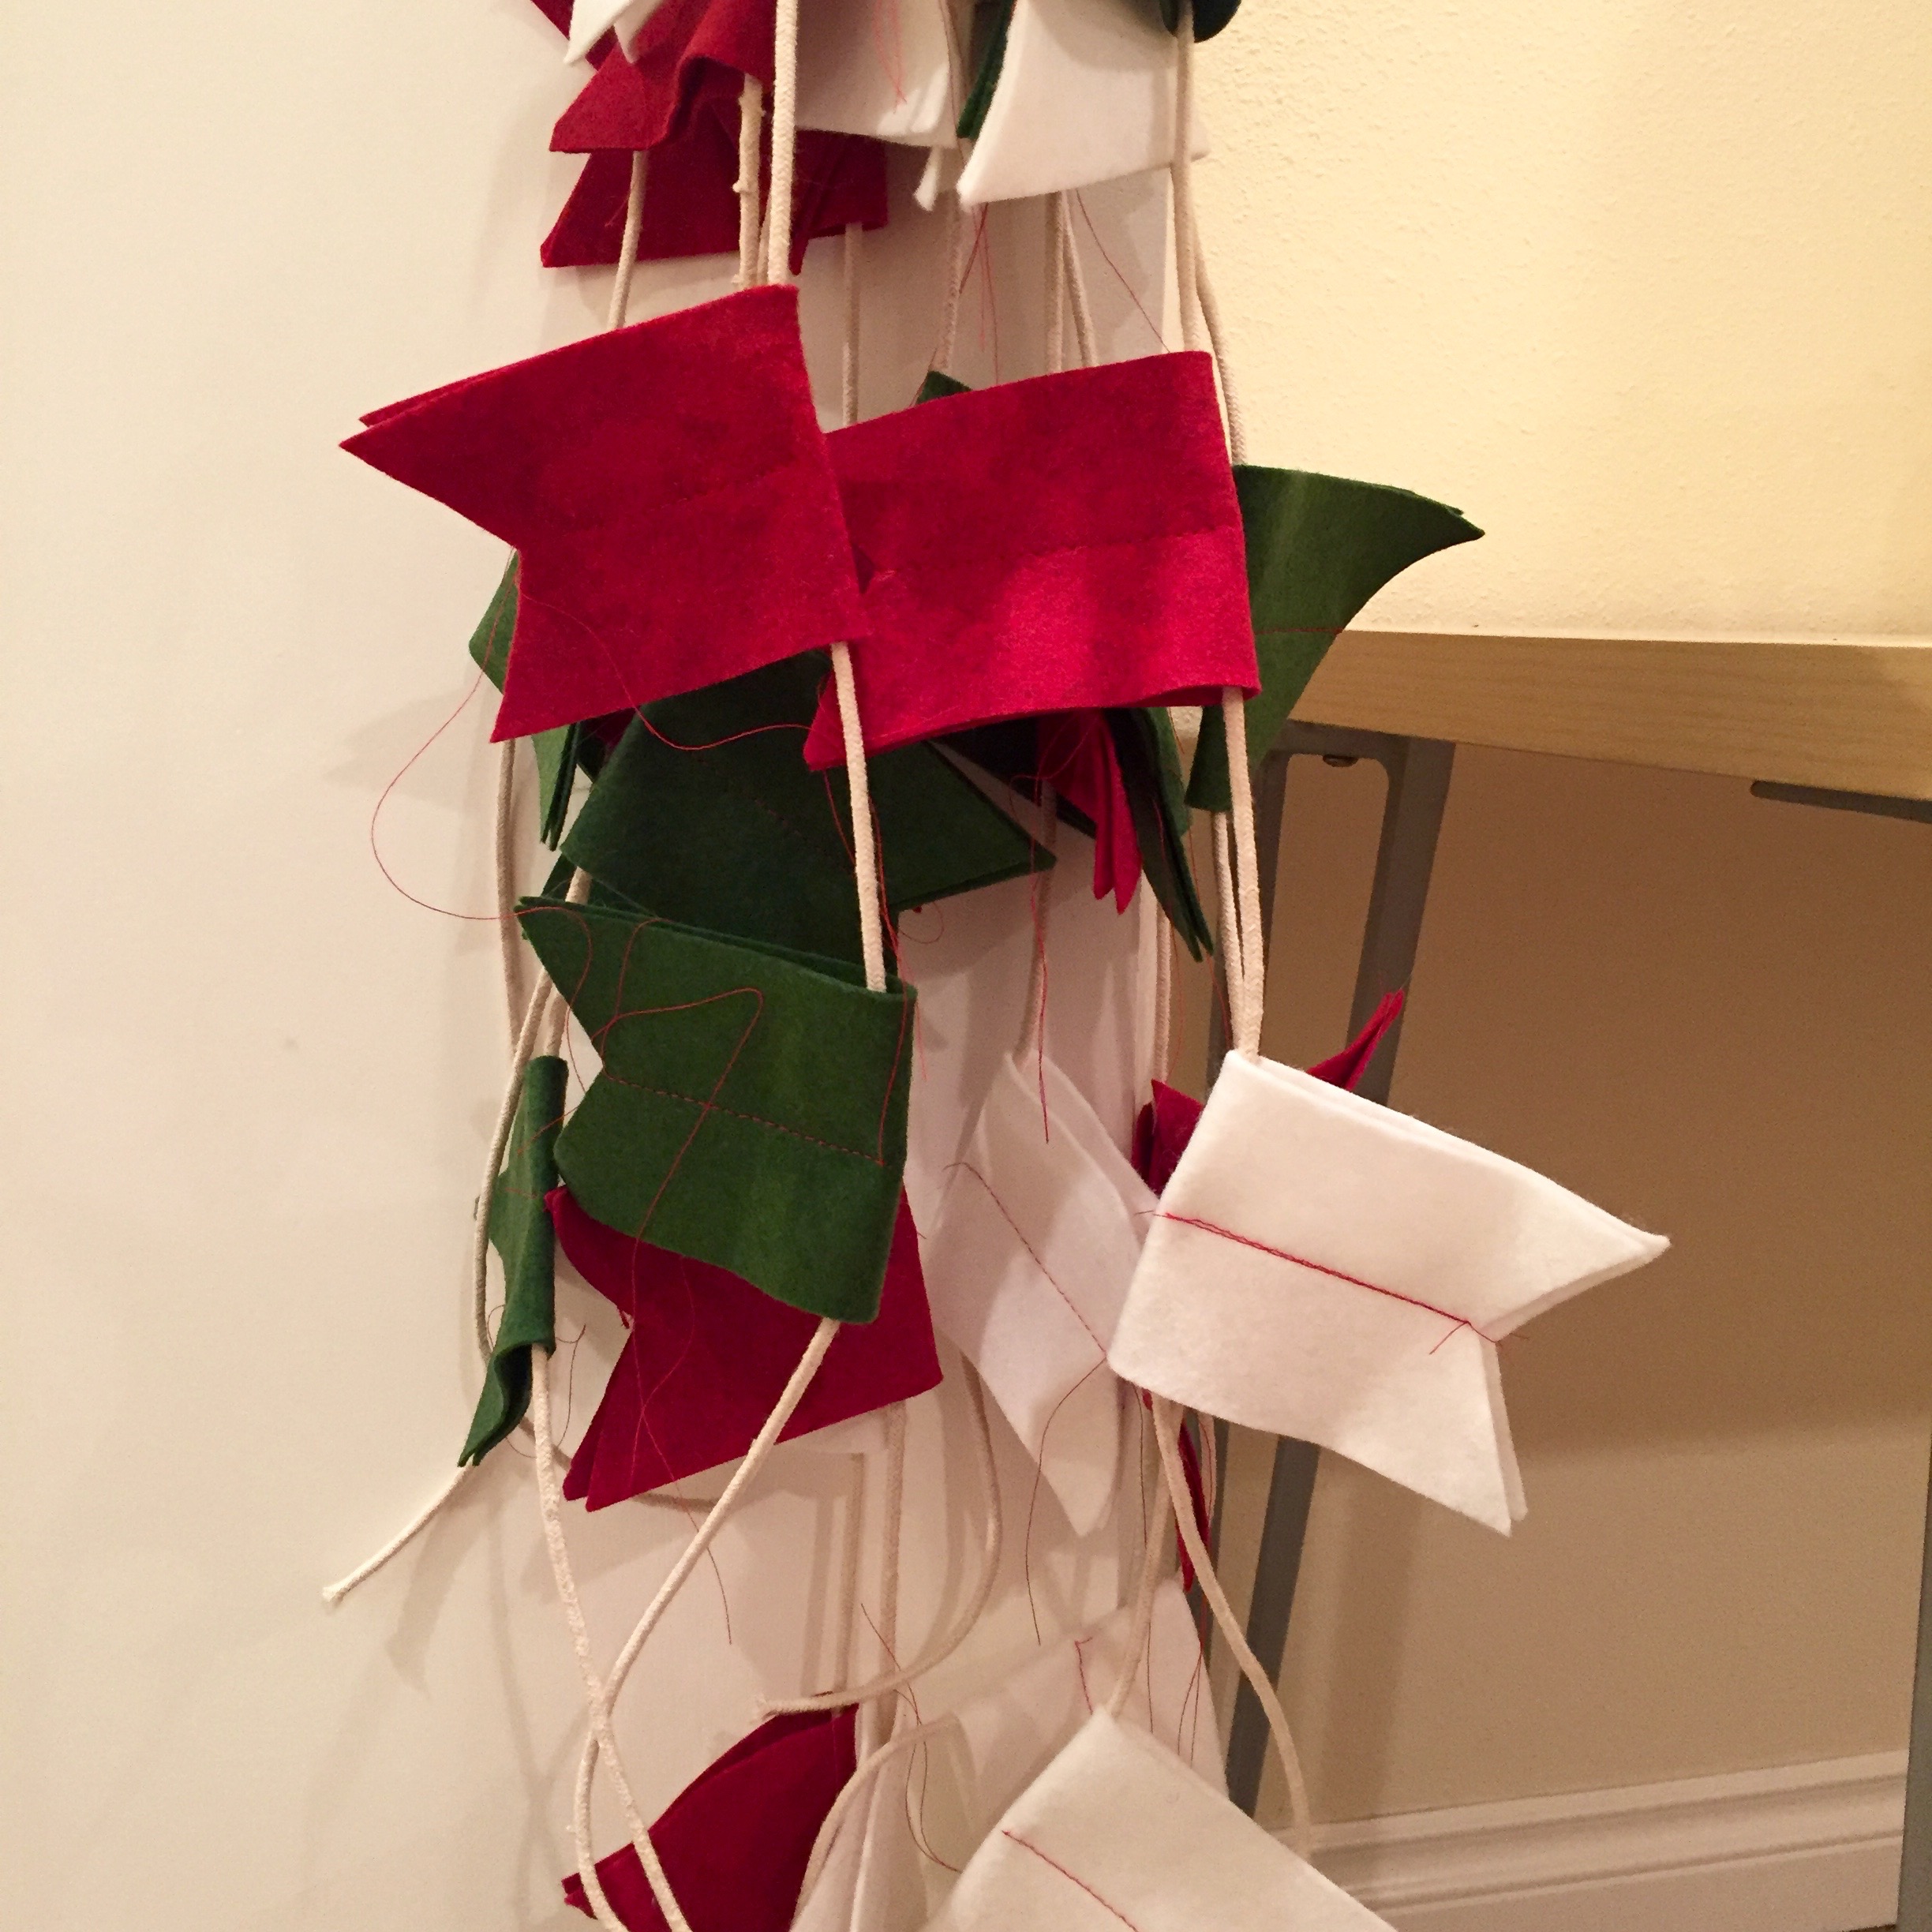
Next I ironed the felt and cut all my flags out. I decided to cut the notch after cutting out the main body of the flag. 

I measured the cord to get the length of the area I was hanging the finished garland. I added 6 inches on each end for tying on etc. Then I folded each piece around the cord three inches apart and secured with a straight pin. 

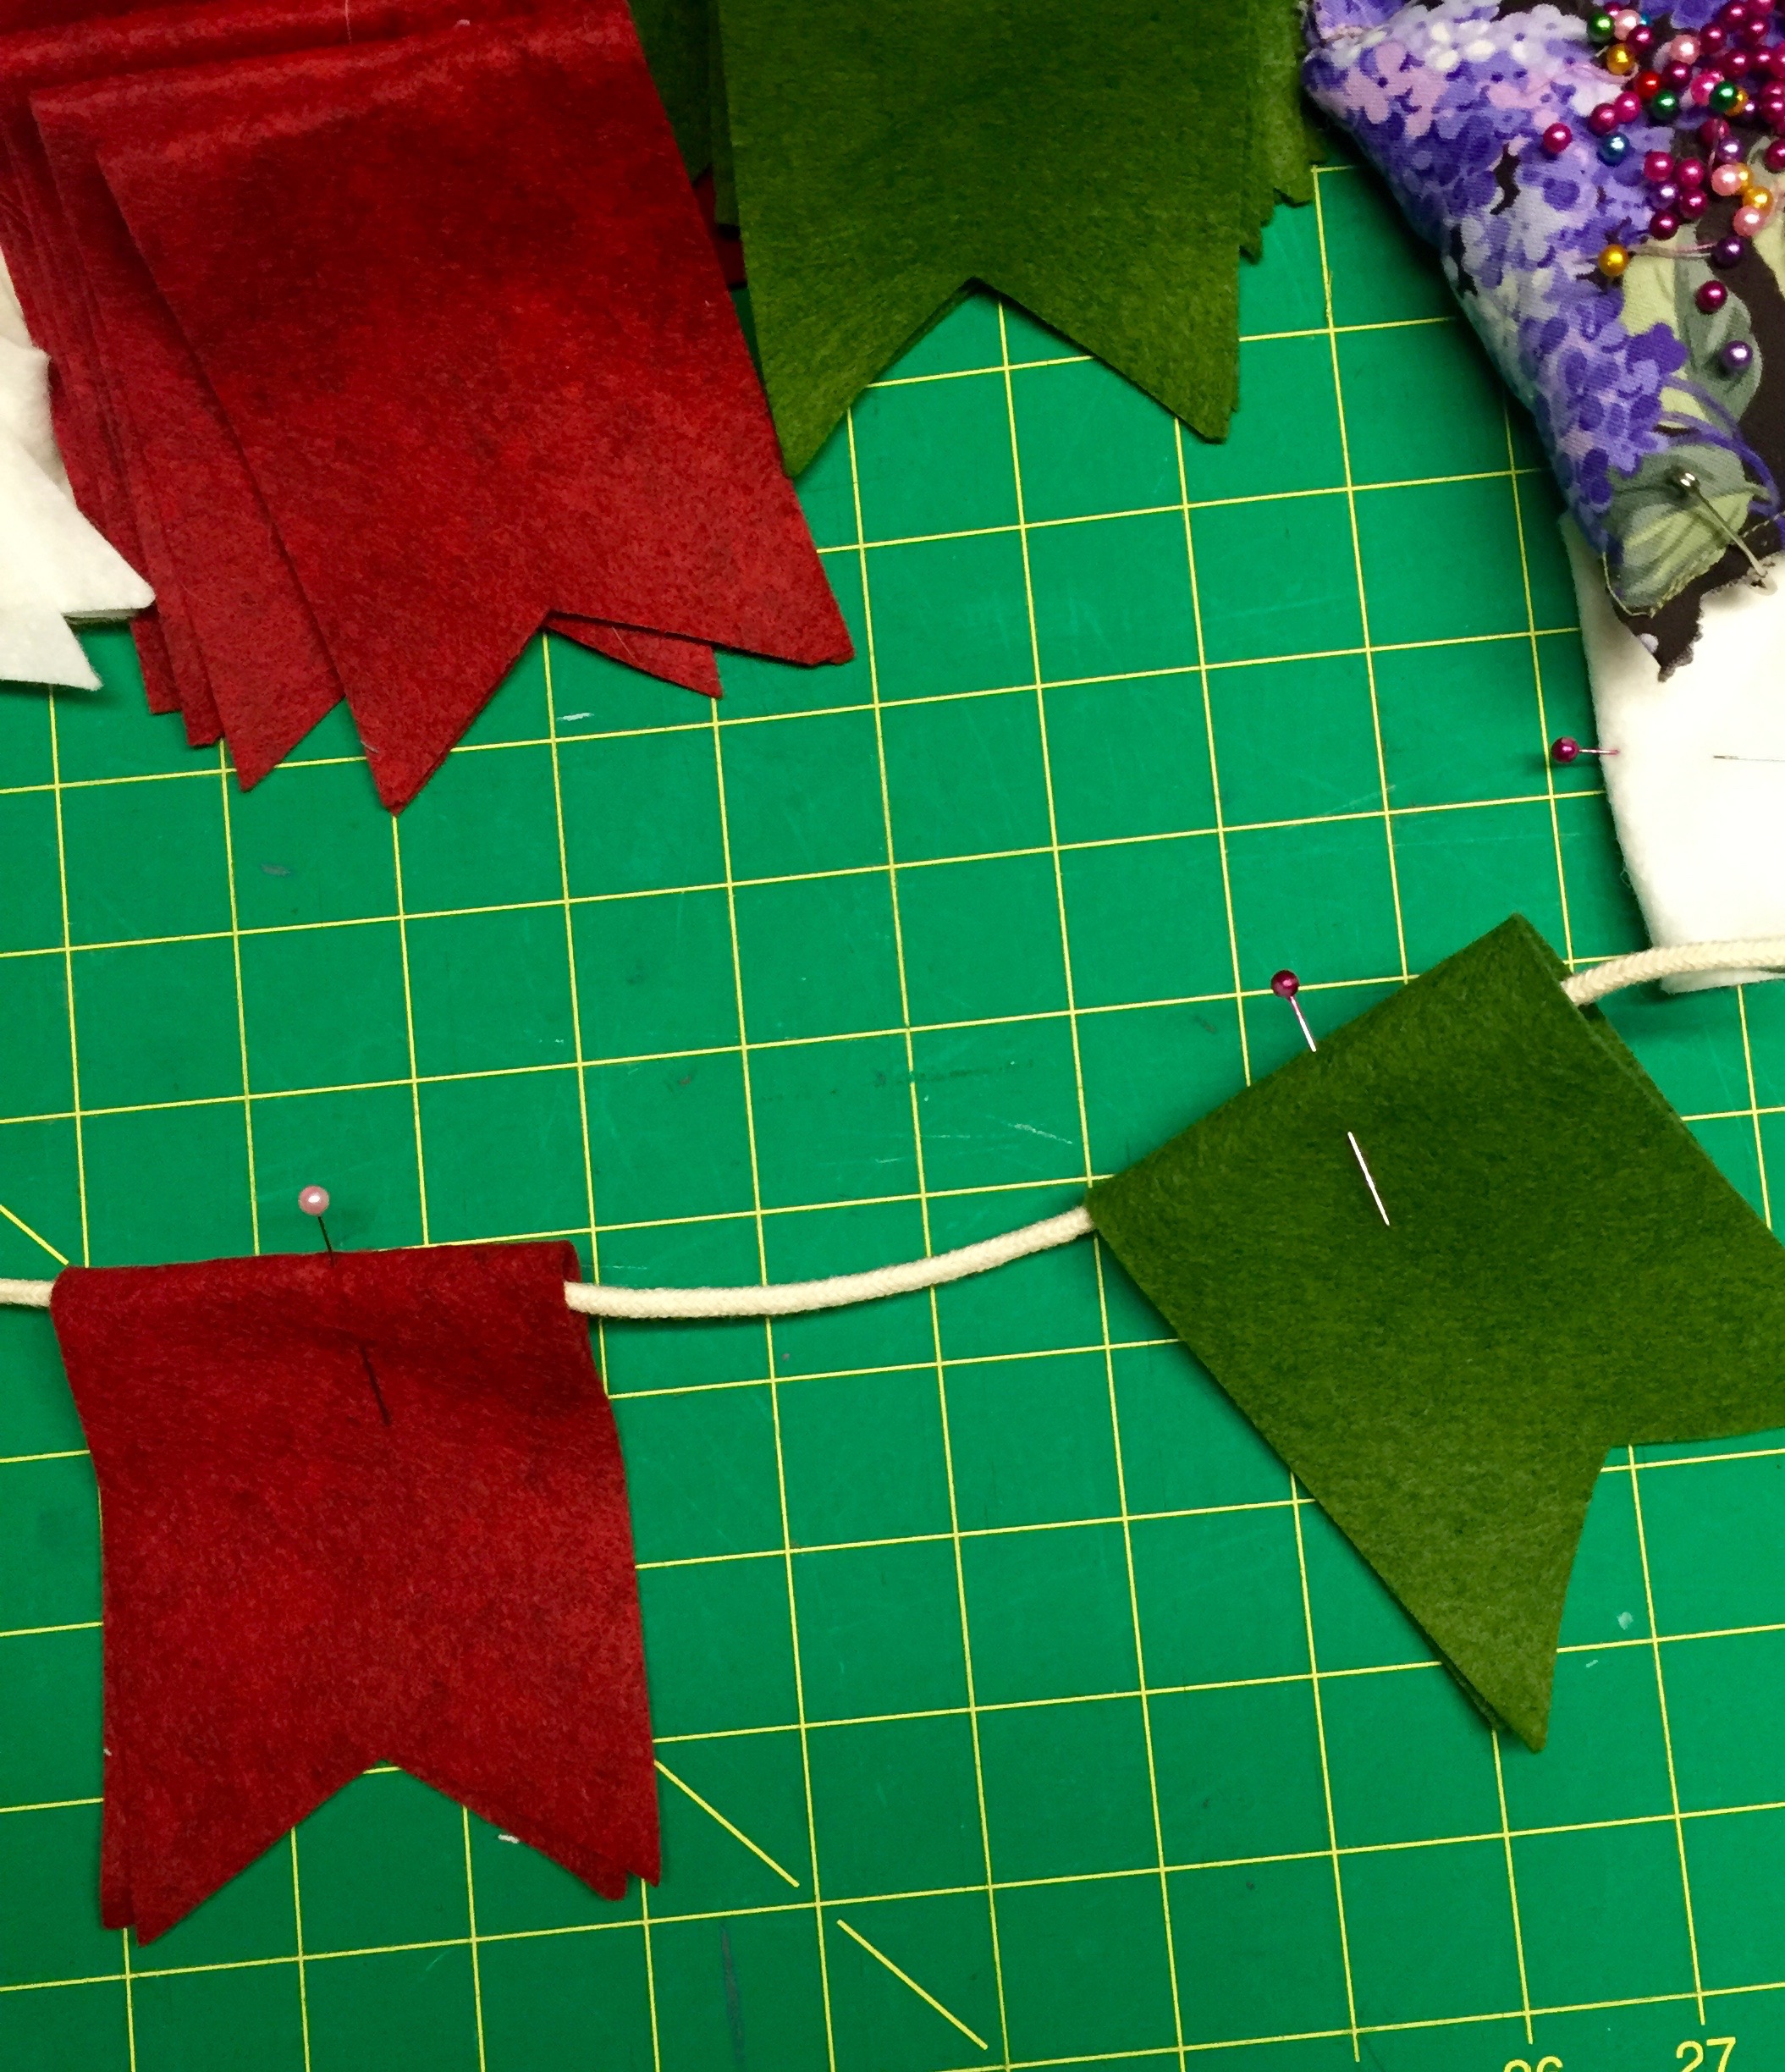
Once I had them all in place I headed to my sewing machine. I chose red thread for contrast on some of the flags. You could use any color you like. The goal here is to secure the flag to the cord. So sew in a straight line from the notch in the flag over the cord. Then trim all threads. 

Now hang in your desired location. I made one for several doorways and over our fireplace. You can hang with tiny nails, pins or small clear Command Strips for decorating. I used these and just threaded my cord through them to keep them in place.


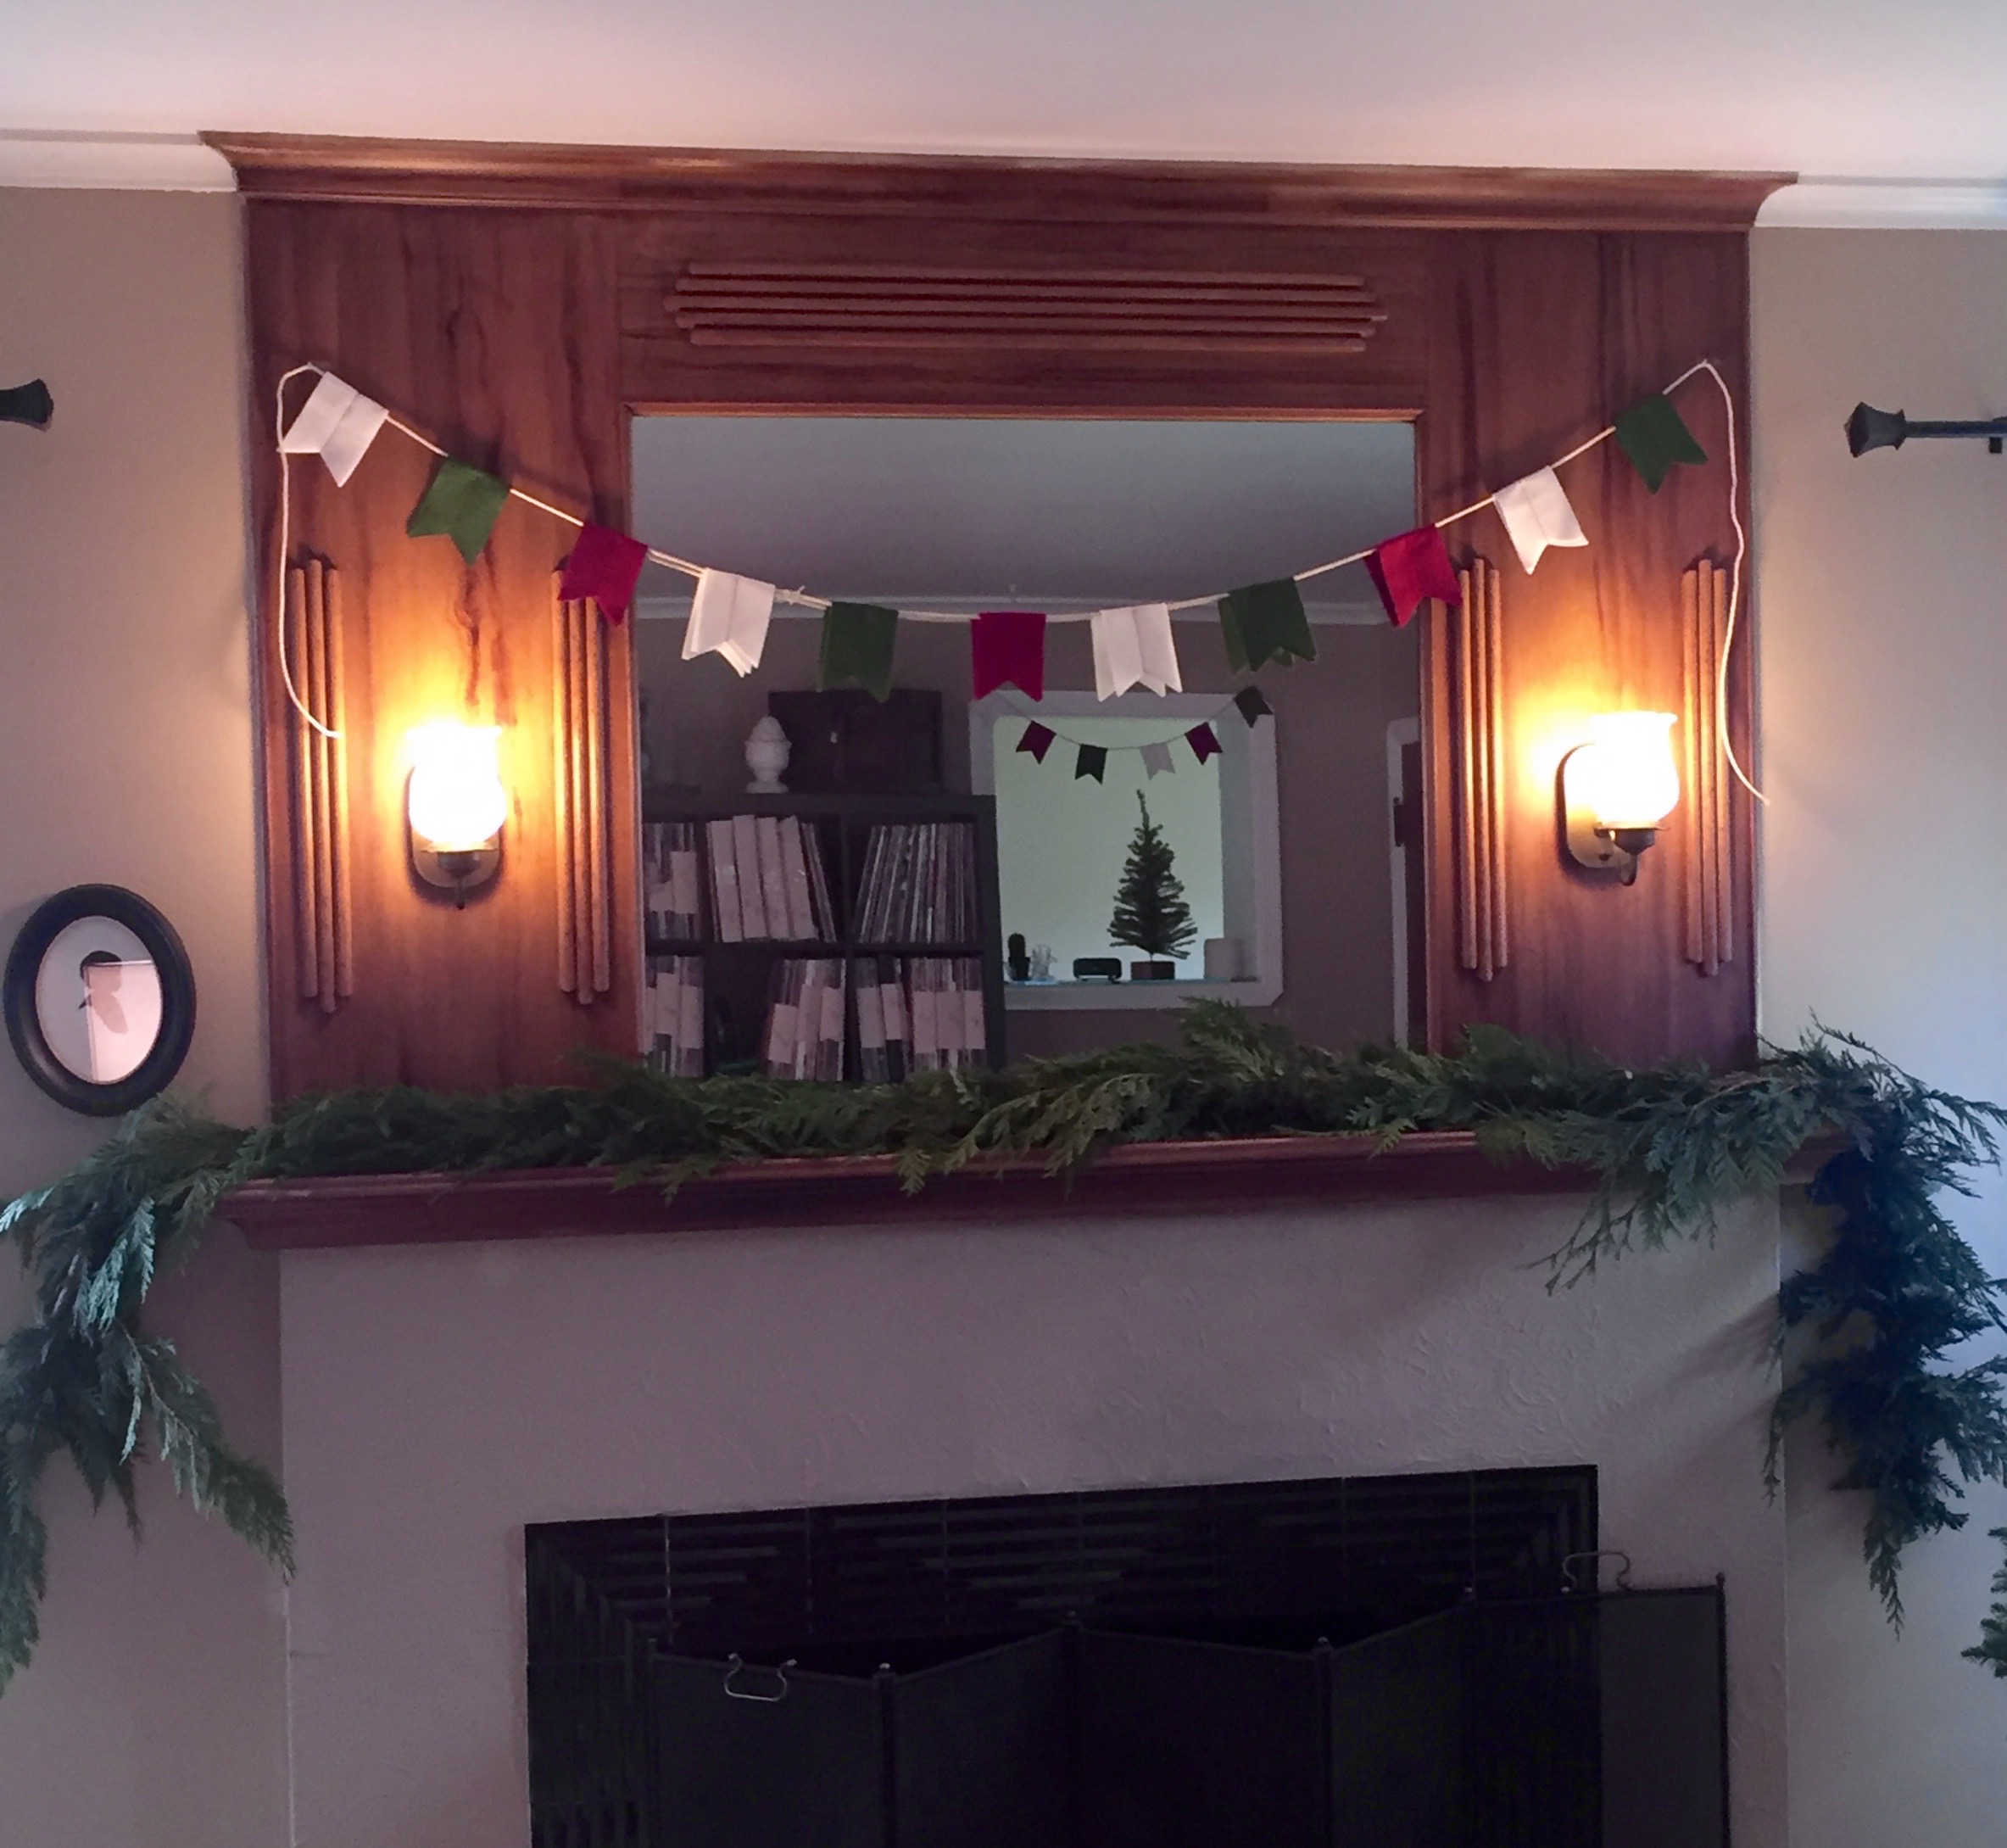
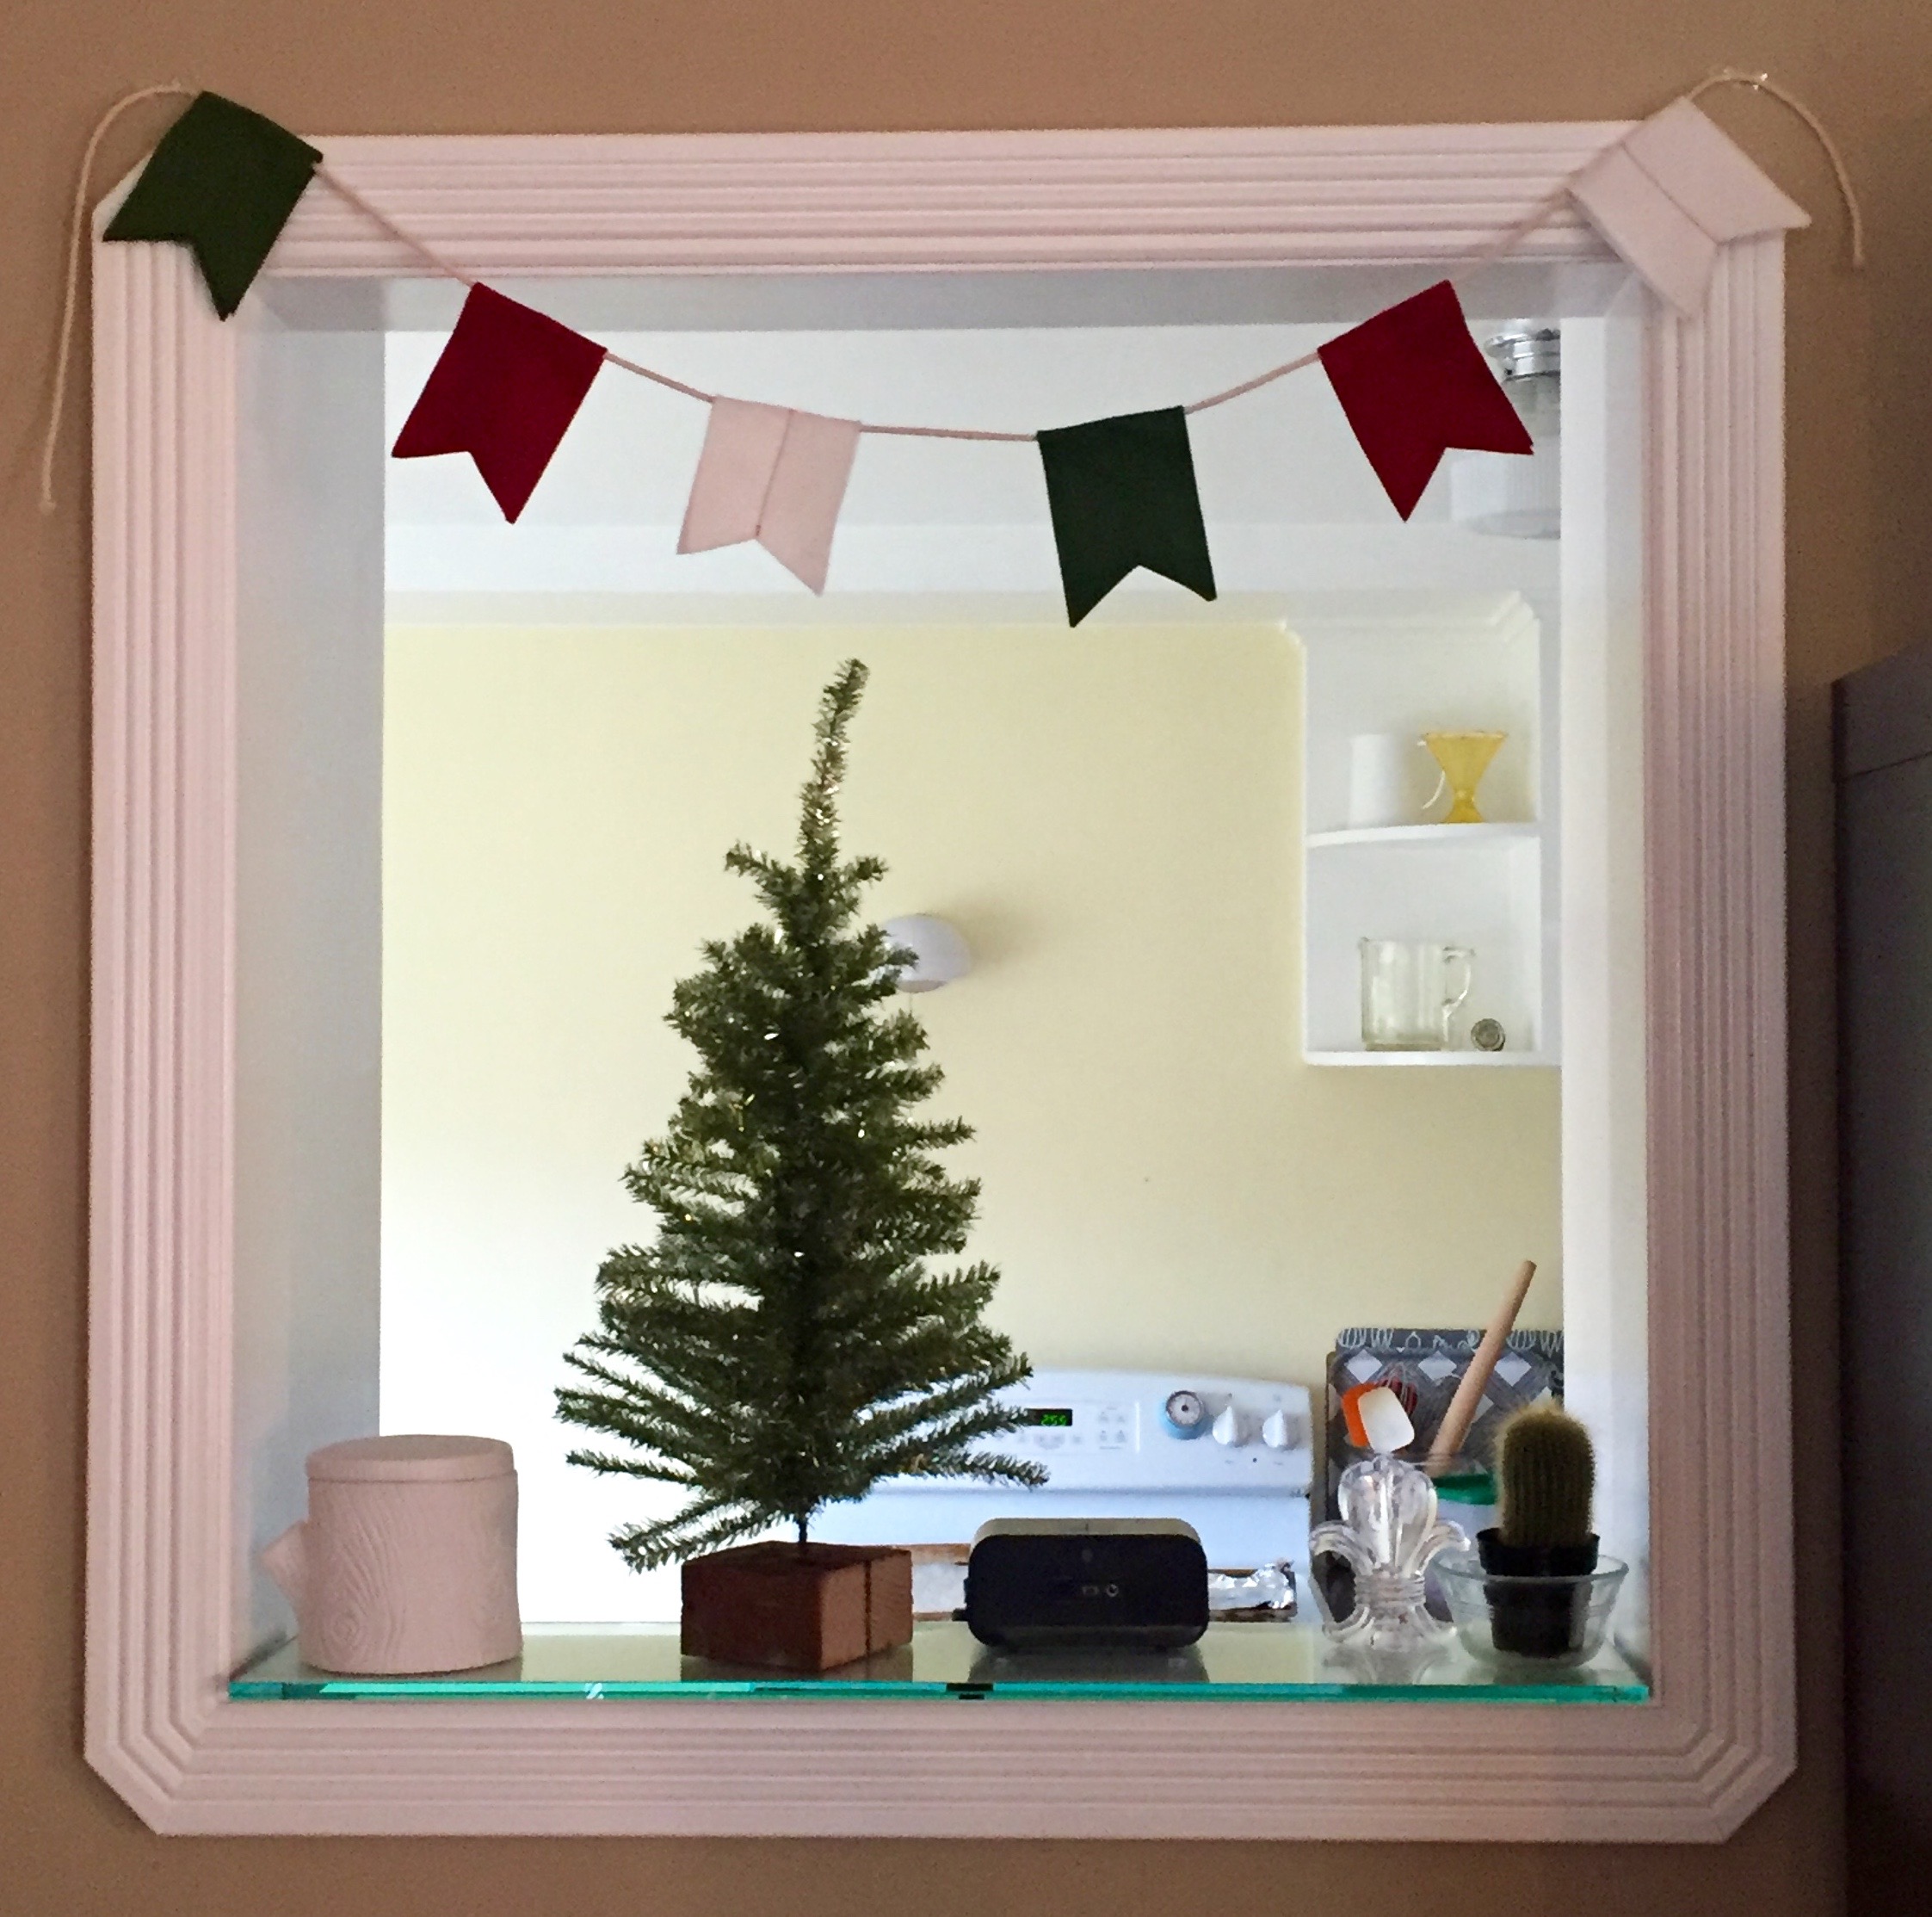
I really love how they turned out. They are a nice little touch to bring the whole house together. I hope you get are finding the time to get your home in the holiday spirit. 

Wednesday
Nov182015

Little Otsu - Portland OR

Visiting my mom in Bend, Oregon has its perks. Portland perks to be exact. Full of great eats and fun shopping. We love exploring the different neighborhoods on our little stop overs. With a baby in the car we never know if the timing will work out, but I usually insist we stop on the way back if not on the way there just so I can get my hands on a scoop of ice cream from Salt & Straw. 

With Salt &B Straw in so many neighborhoods we usually just pick one based on what we want to eat or maybe shopping we want to do. I love to hit the fabric stores and Mr. Ramon loves to hit a record store. This trip we stopped on Division St. Home of the famous Pok Pok. Neither of us were really very hungry but I wanted ice cream and to take in the little stores dotting the street. 

Ice cream flavors featured were all about Thanksgiving - Buttered Mashed Potatoes and Gravy, Sweet Potato with Maple Pecan and more. We tasted them all and walked out with a couple scoops. If you have not been - and are a lover of ice cream it is imperative you stop when in Portland or LA.

One of the reasons we like to stop is that Lady likes to stretch her legs. Its a long ride to be crammed in a car seat. Now that she is walking and on the move I try to let her get as much activity in as she needs. Hard on a road trip. So these little stop overs are perfect. She can sun up and down the sidewalks and shop in the stores with us. Sometimes we find park for swinging and flower picking. 

There were some cute shops and lots of yummy places to eat in this neighborhood but one shop caught my eye and ended up being the place I couldn't resist picking up a few things. Little Otsu is the kind of place I wish was mine. Filled with paper goods - planners, journals, cards and other treasures like beautiful pens, kids books, calendars and gifts. 

I've been looking for a new calendar as we head into 2016. I am a paper calendar girl. I have tried so many times to convert to a digital calendar and sync with Mr. Ramon so our whole family is online and organized. But it s just not me. I need to feel it as I write it and be able to open it and look at many months in front of me. This last year I went with a very slim version only containing months. I am ready to get back to a calendar with full months as well as week views for more detailed calendaring. I also continue to try and get Mr. Ramon to use a calendar. He is not great at it - and since I calendar for the family he doesn't think he has a lot of need. 

We loved looking around this store and I could have spent all my dollars easily. Lady was helpful rearranging their card selection. She's so helpful! We did walk out with a few items that really are lovely and represent the kind of things you can find there. 

I picked up a beautiful Rifle Paper Co 18 month calendar, an adorable zipper pouch (I am addicted to zipper pouches) and Mr. Ramon decided on a week to week calendar that is blank so if he falls off the calendar wagon he can pick right up without the guilt of empty months to look at! 

Clockwise -

Cute cat bag - Darling Clementine

Rifle Paper Co 18 Month Calendar 

Tiny Pencil from Little Otsu

Little Otsu Week to Week Planner 

If you find yourself in Portland this is a lovely shop with beautiful goods and helpful people inside, stop and take a look! 

Tuesday
Oct272015

Learning Tower 

Ever since Lady Paloma was born, I looked eagerly ahead to when she would be able to help me in the kitchen. From my good friend Rachel I learned about Montessori Learning Towers and why they are a great choice for babes entering the Practical Life stage. Stool and chairs can be dangerous to balance on. One misstep and a fall can easily happen. Also - getting up on stools and chairs requires assistance, taking away the independence a child has in a Montessori environment.

A Learning Tower is a safe way for a child to be at counter height practicing real life skills with safety and balance. When looking at my options for a Learning Tower many of these started at the $200 mark. Beautiful and everything I wanted but way out of our budget!!

A little more looking around the World Wide Web and we found an amazing Ikea Hack for a learning tower on this blog - What the Vita. The bright yellow they painted their Learning Tower caught my eye. It is a fairly easy project which we did with a hand saw, a power drill and a paintbrush. If you had an electric saw things would move quicker and be a bit more accurate I believe. This could easily be completed on a weekend. 

The base of this project is the Bekväm Stool from Ikea. At $14.99 its a steal. The natural color is what we used as I was going to paint the entire thing after it was together. Then a trip to Lowes. We picked up a long 2x2 square board, a 1x4 and a 5/8 dowel. I used some wood putty to fill in the screws and sanded them smooth. Also you need some wood screws and medium grit sandpaper to smooth things out. To paint I used a basic wood primer and chose a lovely color and a sample size of paint was perfect for 2 coats. I also added felt pad to the bottom of the feet to protect the kitchen floor. 

For tools you will need a tape measure, a saw to cut the boards and a power drill to put the dowel hole in (5/8) as well as screw it together. 

The first step is to put the all stool together except the top step. You will attach the top guard rails to this step first. 

Next you cut 4 of the 2x2 boards in a length from the top of the stool to the height of your counter. This will be slightly different for everyone. Then screw each of these on to the corners of the top step. 

You will want to then cut 2 2x2 lengths to fit between the right and left side rails about half way down. These get screwed in on each side. 

Next - drill horizontal holes across the back two posts for the dowel to fit through. Cut the dowel so it is even across the entire tower. 

The remaining cuts are the 1x4. We used one across the front of the tower rails at the same height as the 2x2 and then cut 3 to make the rail across the top edge. The side rails will cover the dowel holding it in place. 

Finally - fill the holes, sand everything smooth and hit it with a coat of primer and 2 of paint. I let it dry for 4 days with no use to really get it dry. Then I added the felt feet. 

Take a look below and see how ours came together.

I was super excited about the color. A sort of creamy tangerine. The kitchen is yellow and white with a lot of light in the windows and this color is so pretty in this room. 

Lady loves it!! She said "wow" when she saw it and once she knew what it was for cant stop asking "up up" whenever she is in the kitchen. She is still figuring out how to get in and out by herself. She heled me bake the other day for over an hour. I gave her a few little bowls and some flour and spoons. Happy as can be.

This is a simple, fun project that can make your kitchen or work space super safe for your toddler! I hope you get a chance to put one together. 

Just remember "Small hands can!".

Friday
Nov142014

Fake Thanksgiving Stuffing

Ahhhh fall. Changing leaves, crisp mornings, scarves all so nice. Then there is the food. Bring on the roasted root vegetables, squash, soup and rustic desserts - pies, galettes, crisps. Fall feels like gravy weather. Like all your food needs a nice warm blanket to cover it. The height of fall cooking comes at Thanksgiving for most people. All the favorite dishes from candied yams to green bean casserole and in between. 

But why wait - this meal is pretty awesome anytime. You can pull out all the stops and have a "Fake Thanksgiving" or just add one of your favorite Thanksgiving dishes to a roast chicken dinner. The options are endless. Who says gravy calls for grand occasion??

I have had Thanksgiving on my brain. I could not wait to taste the flavors of this amazing meal. Mr. Ramon and I have already planned most of our menu. But I needed a taste - something to get me even more excited. So with dinner guests heading over and celebrating both of their birthdays I decided to really go there with this Fake Thanksgiving. We also found out once they got here that they are going to be out of the country for the holiday so this was the only "traditional" Thanksgiving they were going to get. 

Of course I was not yet ready to handle a turkey so I decided a roast chicken would do. To round out the meal I added roasted brussel sprouts, stuffing and mashed potatoes with gravy. Such a great day to cook. The babe took a couple long naps so I could get my groove on in the kitchen. The house smelled amazing with stock simmering on the stove. 

I love stuffing. Bread is my favorite thing on earth - now add aromatic bits of leek, onion, celery and kale and toss it all together with broth, sage and parsley. Bake that until the top is crispy. The crispy bits are the best. This stuffing I married all I know and love about stuffing and it was amazing! So amazing it is gone. Mr. Ramon took some for lunch and I just crisped up the rest in a pan with an egg on it. Yum!

This was my Fake Thanksgiving stuffing - my real Thanksgiving stuffing will be very similar I bet - but there will be a lot more of it!

This can be made a day in advance and baked the day of your meal. This recipes serves 6 hungry adults. 

Fake Thanksgiving Stuffing

1lb loaf of rustic sour dough bread

1 bunch lactino kale 

3 stalks celery 

1 leek 

1 onion

2 cloves garlic 

1/4 c pumpkin seeds

2 teaspoons sage

1 teaspoon thyme

2 cups stock - chicken, turkey or vegetable

2 eggs

3 tablespoons butter 

salt 

pepper

Tear the rustic loaf into bite size pieces. Place on a cookie sheet in a 200 degree oven until dry and crisp. Cool and place in a large mixing bowl.

Place pumpkin seeds on cookie sheet and toast in a 350 degree oven for about 6 minutes - watch these. They can burn easily. Cool and add to bowl with bread pieces.

Fine dice the onion, celery and white parts of the leek. Heat some olive oil in a large skillet on medium and add the diced vegetables. Season with salt and pepper. Cook until soft and fragrent about 10 minutes. Pour over the bread pieces. 

Rough chop the kale removing tough stems. In the same skillet on medium add some olive oil then cook the kale until wilted and soft about 10 minutes. Season with salt and pepper. When cool add to bowl with bread pieces. 

Mix with your hands or 2 large spoons all the cooked vegetables with the bread pieces until everything is well incorporated. 

Warm 1 cup of broth with the butter. Let cool a little then whisk in the 2 eggs, sage, thyme and salt and pepper. Pour the broth over the top of the mixture and mix again so it is well distributed. If you think the stuffing feels to dry - pour some of the remaining broth over the mixture. You can also add broth if needed during cooking or after to moisten.

Bake covered in a 350 degree oven for 30 minutes - uncover and bake another 15 minutes so the top gets nice and crispy. 

Enjoy! 

Thursday
Jul242014

Life without an infant car seat

We have all seen them - cumbersome plastic buckets being lugged around by new parents, containing a well protected newborn. This is the infant car seat a device that doubles as a carrier. A modern day convenience. You can easily transport your baby to and from the car without waking them or having to hold them while trying to manage all the other baby gear you brought with you. They also snap into specially made strollers to provide you with an easy transportation option. Just click and go. Sounds like the best invention ever. Or is it. 

Sure I love convenience. It can make life so much easier. But I believe it can also be a crutch sometimes. 

Infants usually sleep well in the car - the road noise and motion lulling them to sleep. Then snug in their bucket they continue to snooze. This allows the parents to carry them in and place them on the floor or a chair at a restaurant and have an evening out without having to hold or manage their baby. I even had friends "baby sit" an infant of friends once that arrived asleep in its infant car seat. This baby slept the entire time they were "baby sitting" and so stayed in the car seat that evening. How great to have a device that keeps your baby comfy while you enjoy life. 

When Mr. Ramon and I were going through the list of "gear" that is recommended for babies car seats were at the top of the list. The first thing we needed to consider was my car. I drive a Mini Cooper. Super small car. I scoured the Mini Cooper forums looking for the car seat options that worked well in the Mini. There were several great options and even a couple infant car seats that fit in - barely. Most of the infant car seats had to be taken in and out of the car through the rear hatch - super inconvenient. This opened the conversation about starting with a convertible car seat and bypassing the infant car seat completely. 

There were some other things to consider when making the decision. One was that we would have to invest in a new car seat when baby out grew her infant seat. This could be somewhere between 6-24 months depending on which brand of seat we chose and her rate of growth. The biggest factor for me when deciding to skip the infant car seat was the carrying around baby in a bucket - not interacting with her - not holding her and letting others hold her. 

We were called crazy by a few parents - what? You are going to wake her up every time you take her out of the car. What will you do if she is sleeping? How will you go out to dinner or social gatherings? Even Mr. Ramon asked "What do we do at a restaurant?". I honestly was amazed. I have to look back at my baby days and wonder how my parents managed to have a great social life and take me everywhere they went without this device. Maybe they just held me. Crazy - but that's what arms are for I think. Especially when there is a baby - who doesn't want to hold a baby. 

Then I have to believe that being in a car seat in this position for hours at a time cannot be good for an infants body. I know that if I sit in one position for long periods I get uncomfortable. And when it comes to sleeping is this the best position for a baby? 

We knew we were going to do a lot of baby wearing when we were out and about. Research has shown how baby wearing is one of the best things you can do for your baby. Benefits of being able to connect at a deeper level with your baby, proper spine and body alignment when worn correctly and a baby that cries and fusses less. These are some fantastic benefits.  

We chose the Ergo carrier for our out and about baby wearing and the Moby Wrap for me to use mostly at home. For the car seat we chose the Maxi-Cosi Pria 70 with Tiny Fit

The Maxi-Cosi is super safe and really compact for the type of seat it is. It fit great in the Mini Cooper. It fit her from the very beginning at 7.5lbs and will continue to fit her until she is 70lb. The Tiny Fit feature is for babies 4- 22lbs is what makes this carseat have a smaller footprint than most infant seats allowing for the front passenger to have more legroom.  

We are now 17 weeks into our new baby life and have managed to make it through with our convertible car seat. We have been out to numerous restaurants, shopping trips and events all without an infant car seat. We have baby carried her when walking around and when sitting have mostly held her in our lap. She has seemed to enjoy being in the action from the beginning - checking out all that these environments have to offer. 

Of course eating one handed is a skill to acquire and Mr. Ramon and I have supported each other during meals. We switch off with her sometimes or cut up one another's food. Teamwork for sure. 

Friends have loved meeting her and holding her while out as well. If she is tired she can fall asleep in arms or we baby wear her. Usually we try to respect her sleep needs and be home during those times - choosing to go out when it works best for her. 

There are times where she falls asleep in her car seat. Of course - the car seems to be her drug. Lulling her into a deep sleep we could only dream of at home. Sometimes we just have to run a few errands and she has to get in and out of her seat. She handles this well most of the time and I like to believe this helps her learn to be adaptable. If she is asleep when we get home I hope Mr. Ramon is around - he is a magician and can move her out of her seat and into the house to continue napping without a fuss on most occasions. 

So this is the path we chose for our babe and everyone has the right to choose what works for them. But I also say - do your research. What is best for the child? I would rather be a little inconvenienced if necessary to make the best decision for my child's best development.