Entries in Holiday (11)

Thursday
Dec102015

Holiday Felt Banner Garland

This is the first Christmas in the new house and I wanted to really spend some quality time decorating. Especially since this is Lady Paloma's first Christmas where she is involved and interested in what is happening. She decided to nap today so I am taking full advantage of this time - the dishes and laundry can wait. 

Over the years I have experimented with different themes and color schemes for Christmas but always seem to come back to a more traditionally influenced theme. Now I think I've settled on something that I can add to and really own. 

About 16 years ago I picked up a felt angel tree topper. I have always loved her and continue to want to keep her around. Something about her just feels right for me. The other piece I continue to go to every year is a hand felted mistletoe branch. I hang it with a piece of red and white striped ribbon. So these two items are the base of my holiday decorating schematic. 

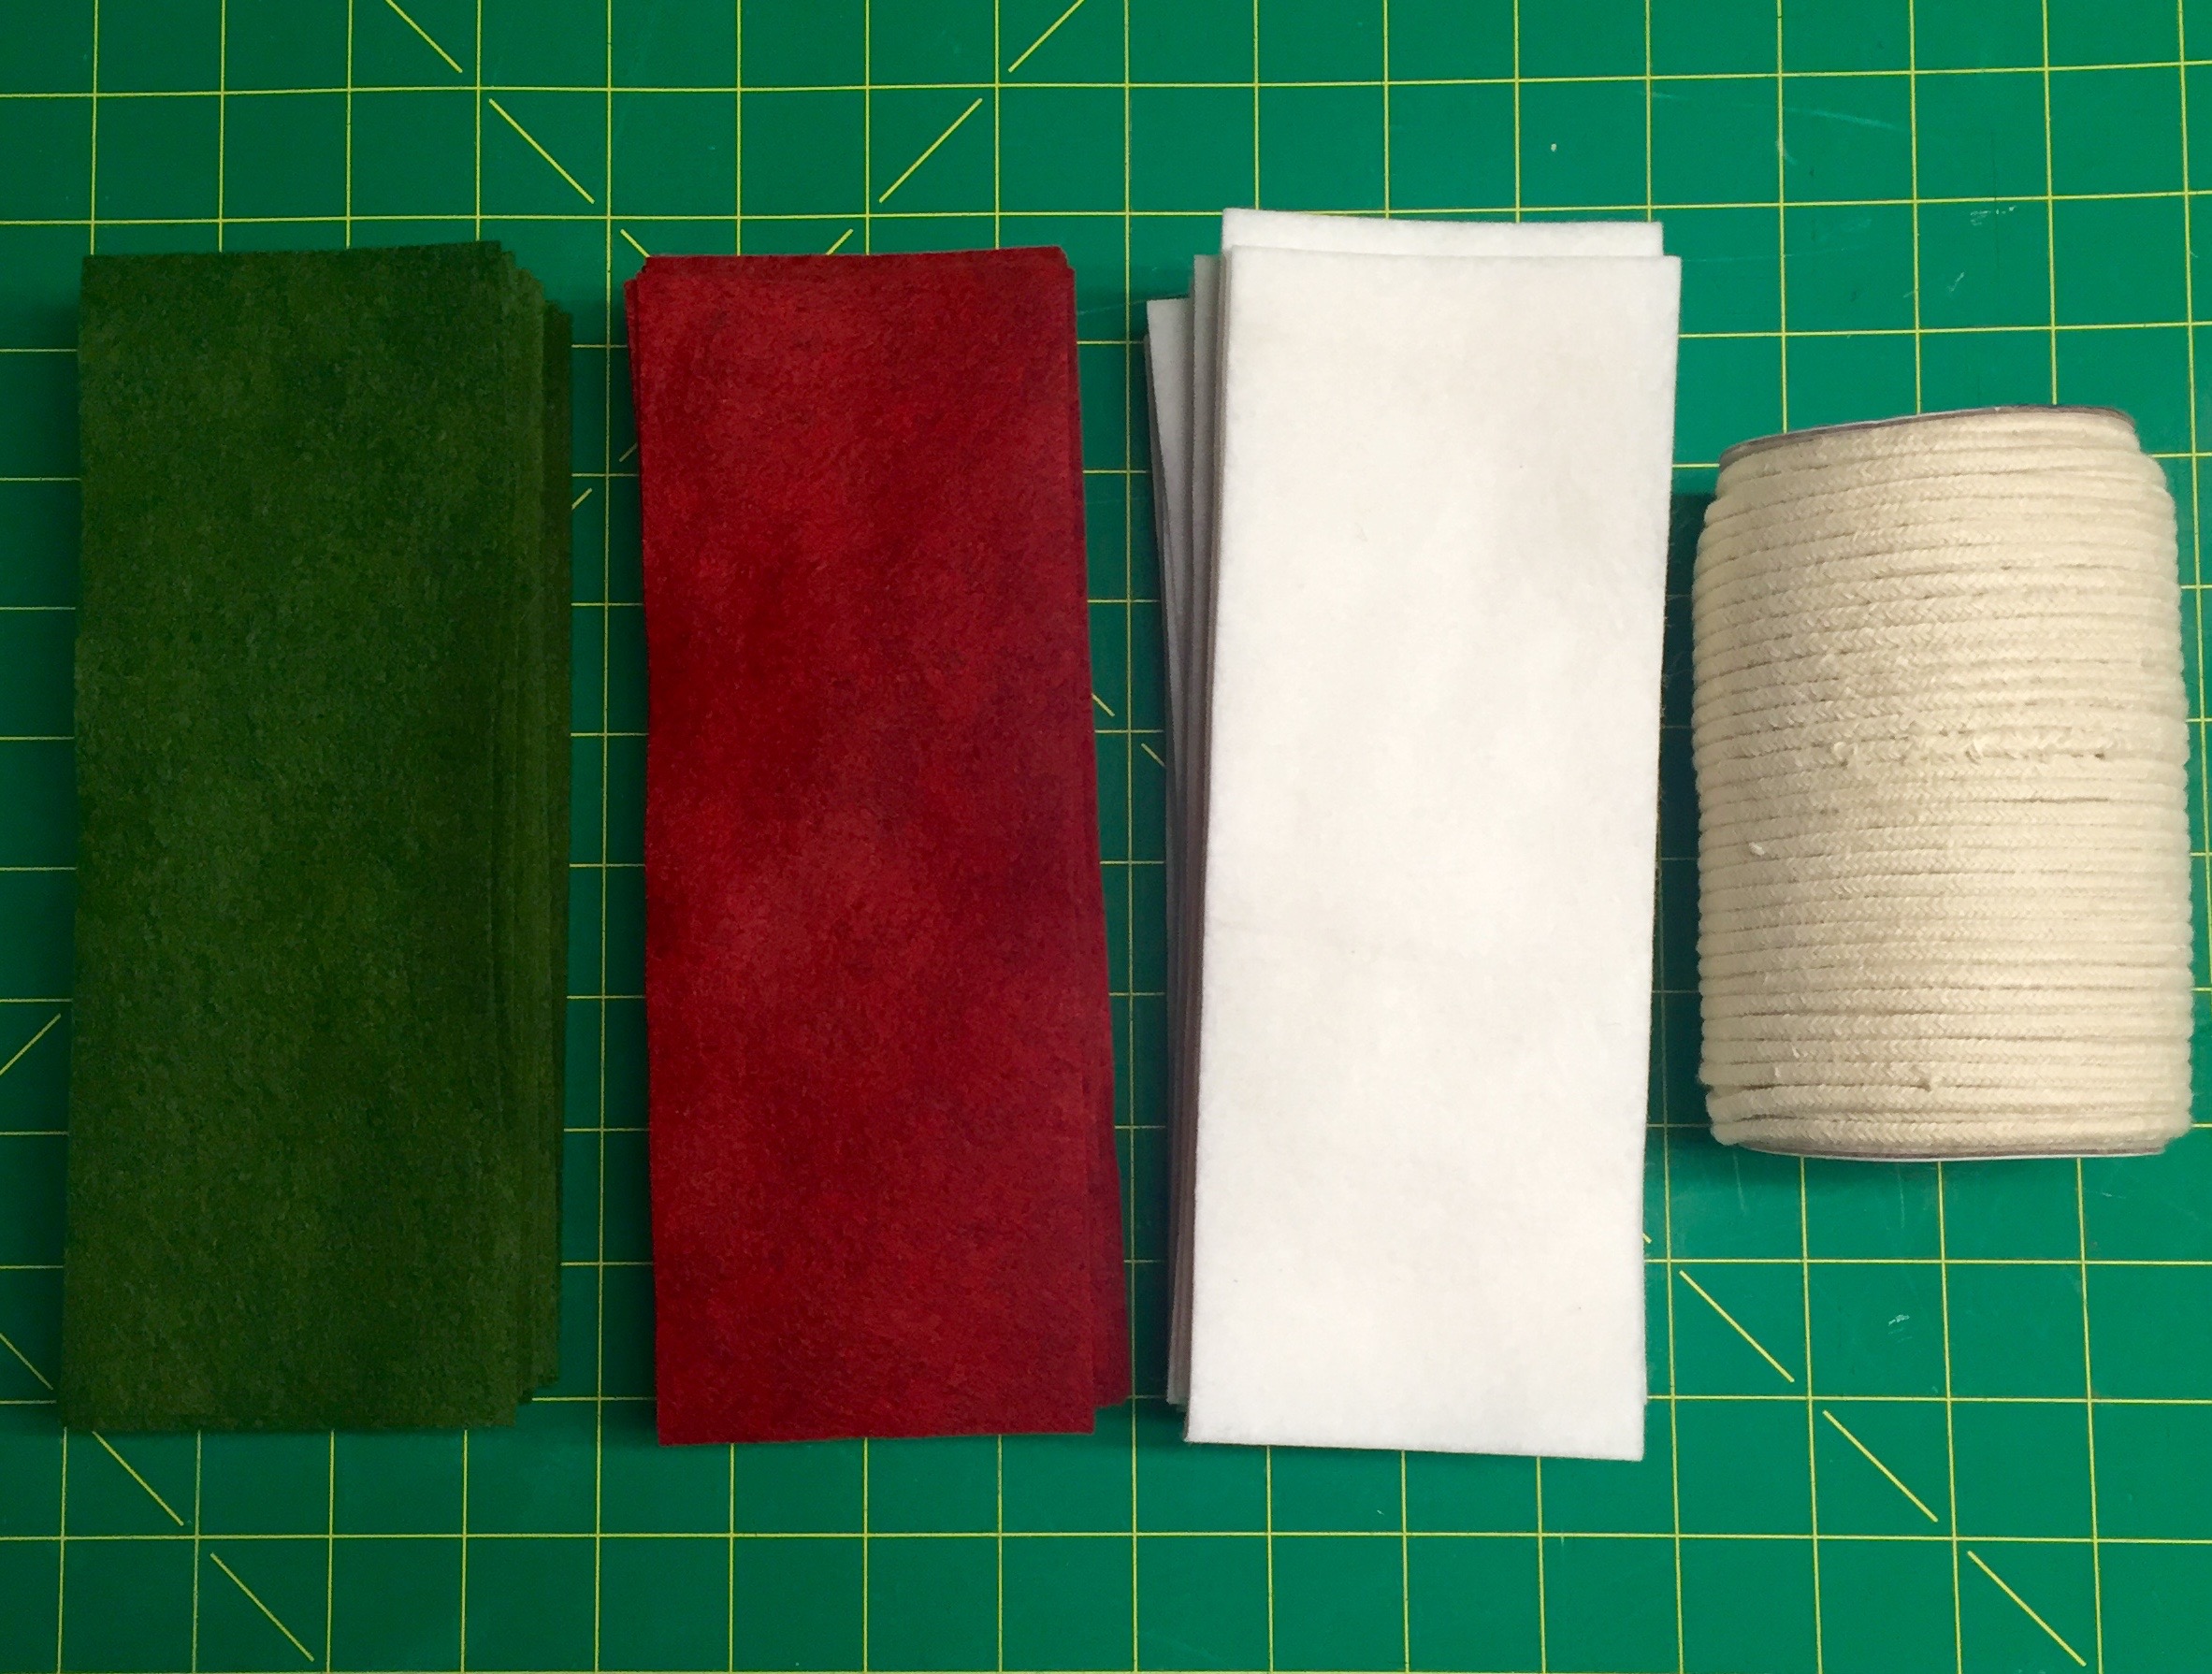
I decided on a felt flag garland for another element to support this handmade felt look. I went to a local fabric store and had them cute me 1/2 yard of thick felt on a bolt in red, white and green. The felt on a bolt is thicker and comes in some great colors. You could use craft felt also or really any fabric you wanted. 

To hang it on, instead of just jute twine or a ribbon I picked up this slightly off white macramé cord. You also need scissors, a straight edge/ruler, straight pins, sewing machine, thread and a template. I made my flag template out of stiff paper. I am using a rectangle flag shape and want it to be the same on each side of the flag so cut one long template so the fabric pieces will wrap around the cord. 
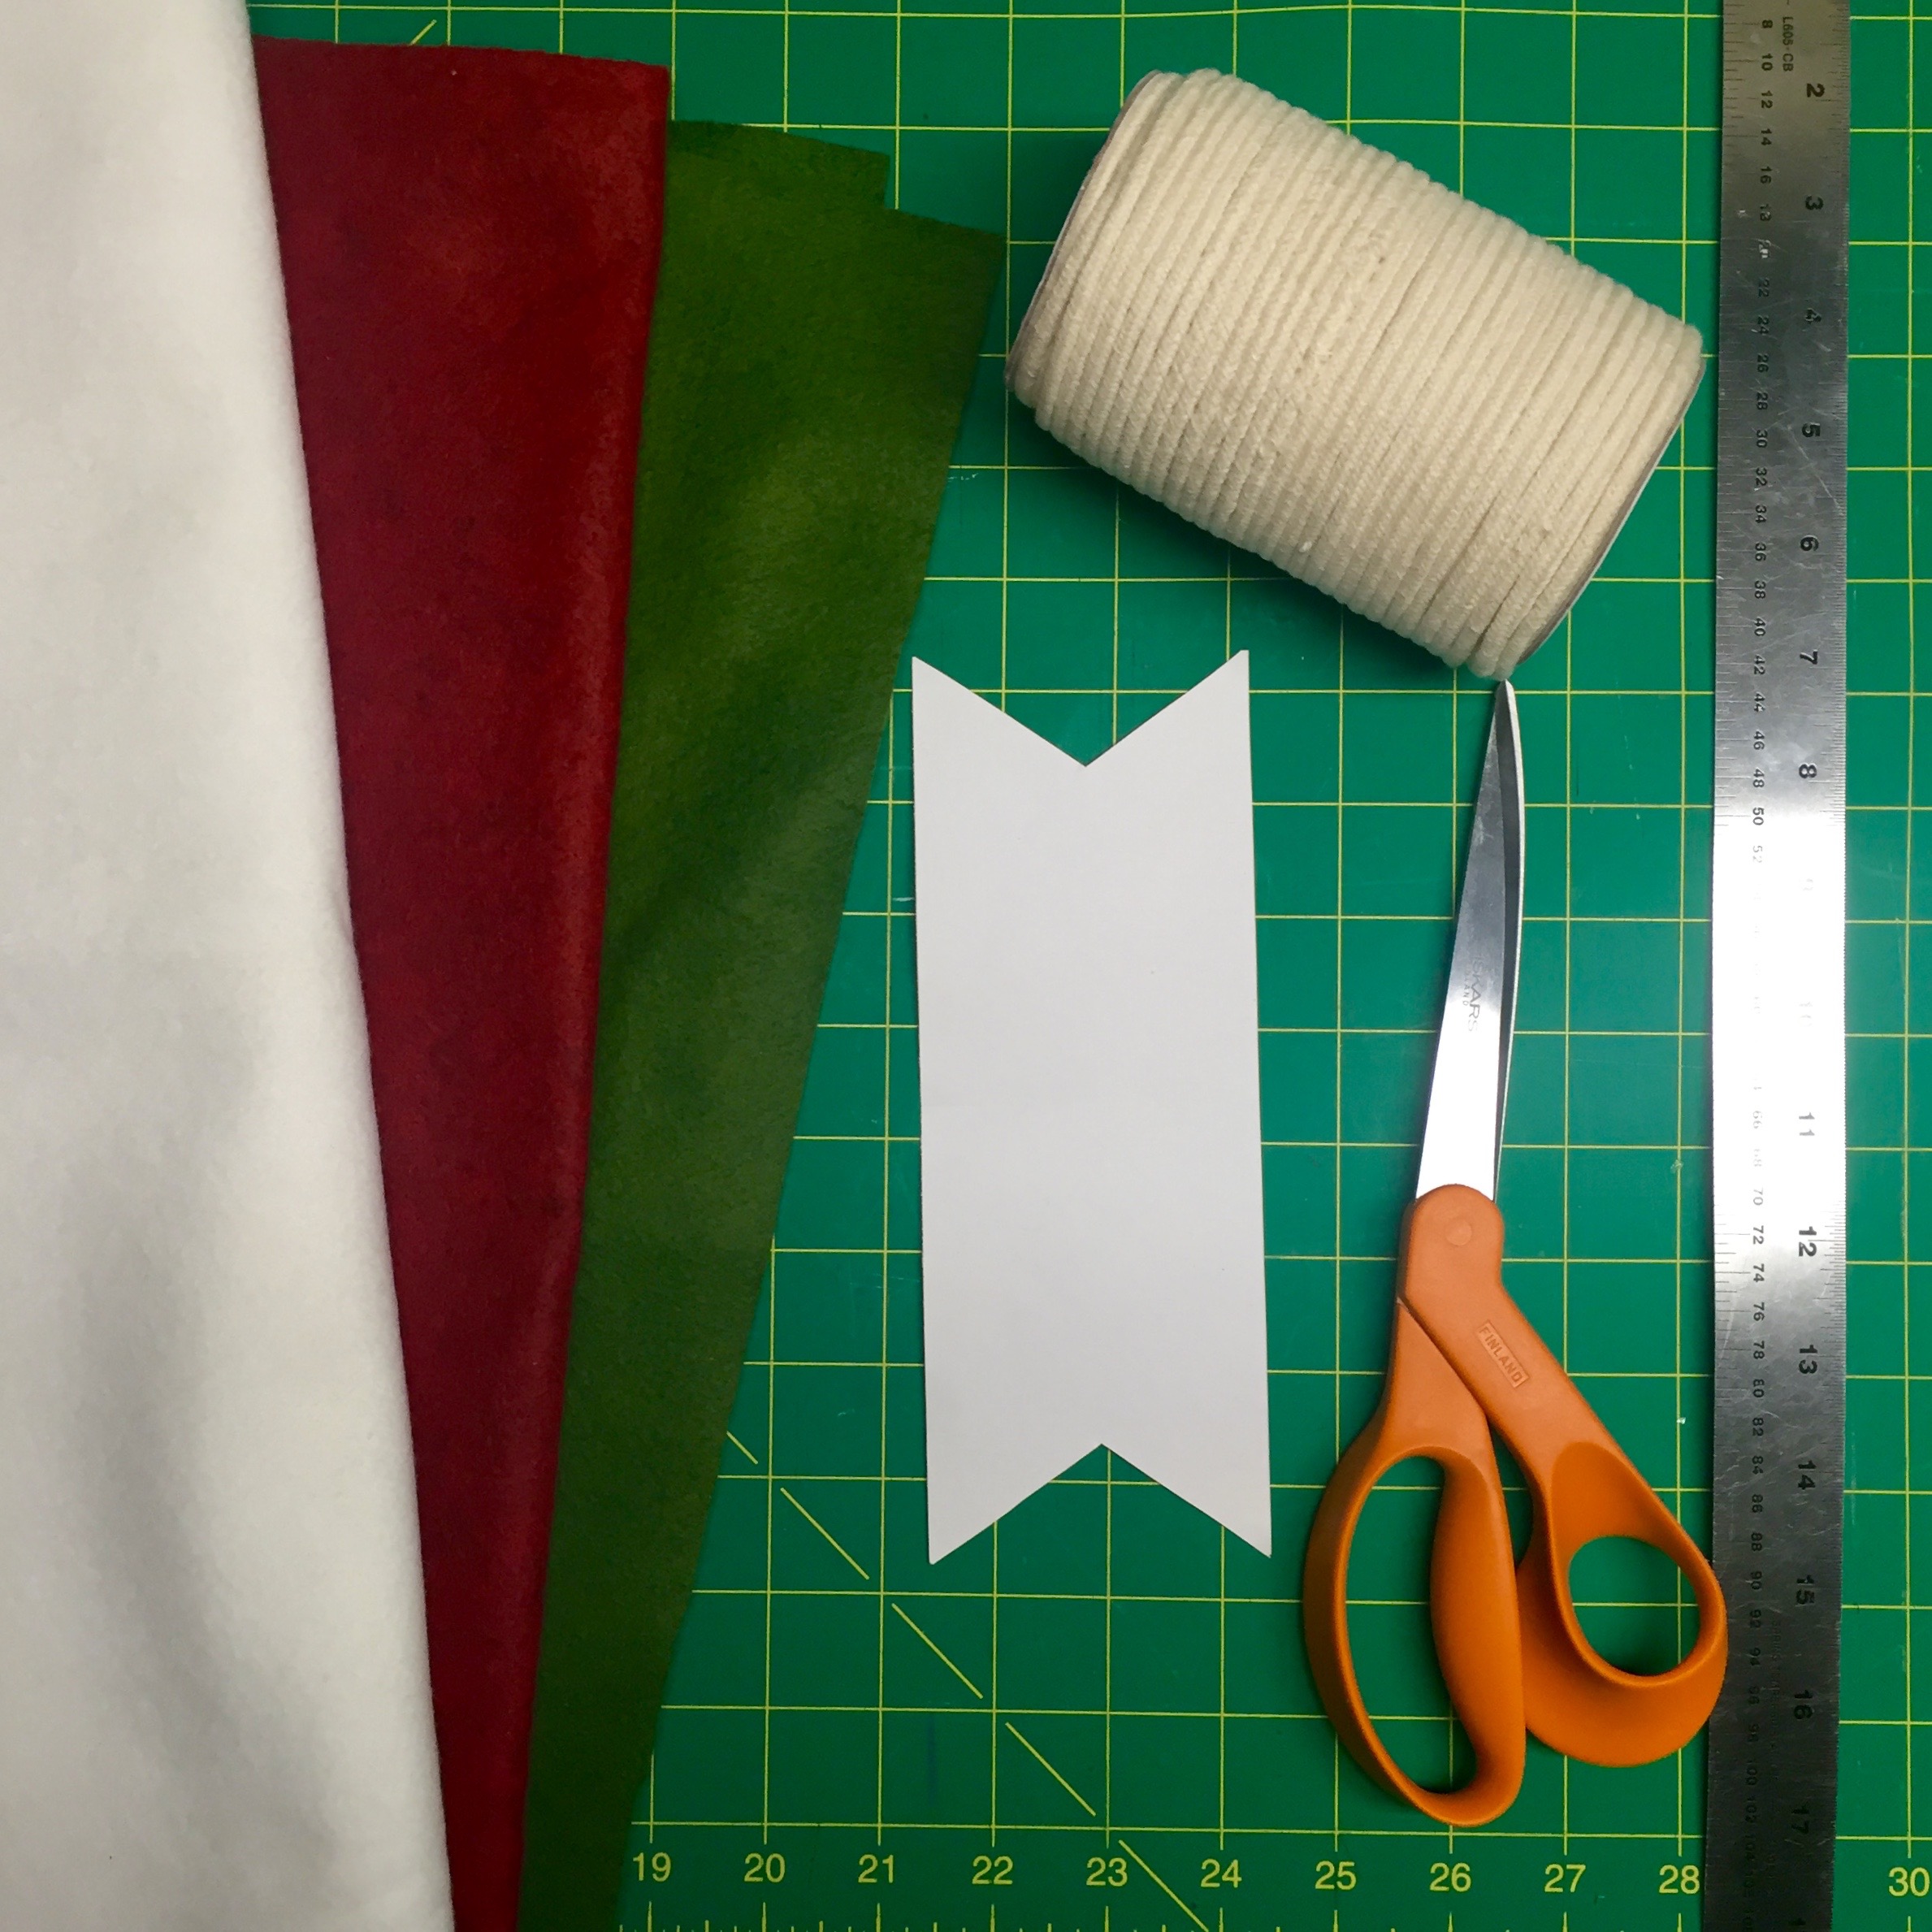
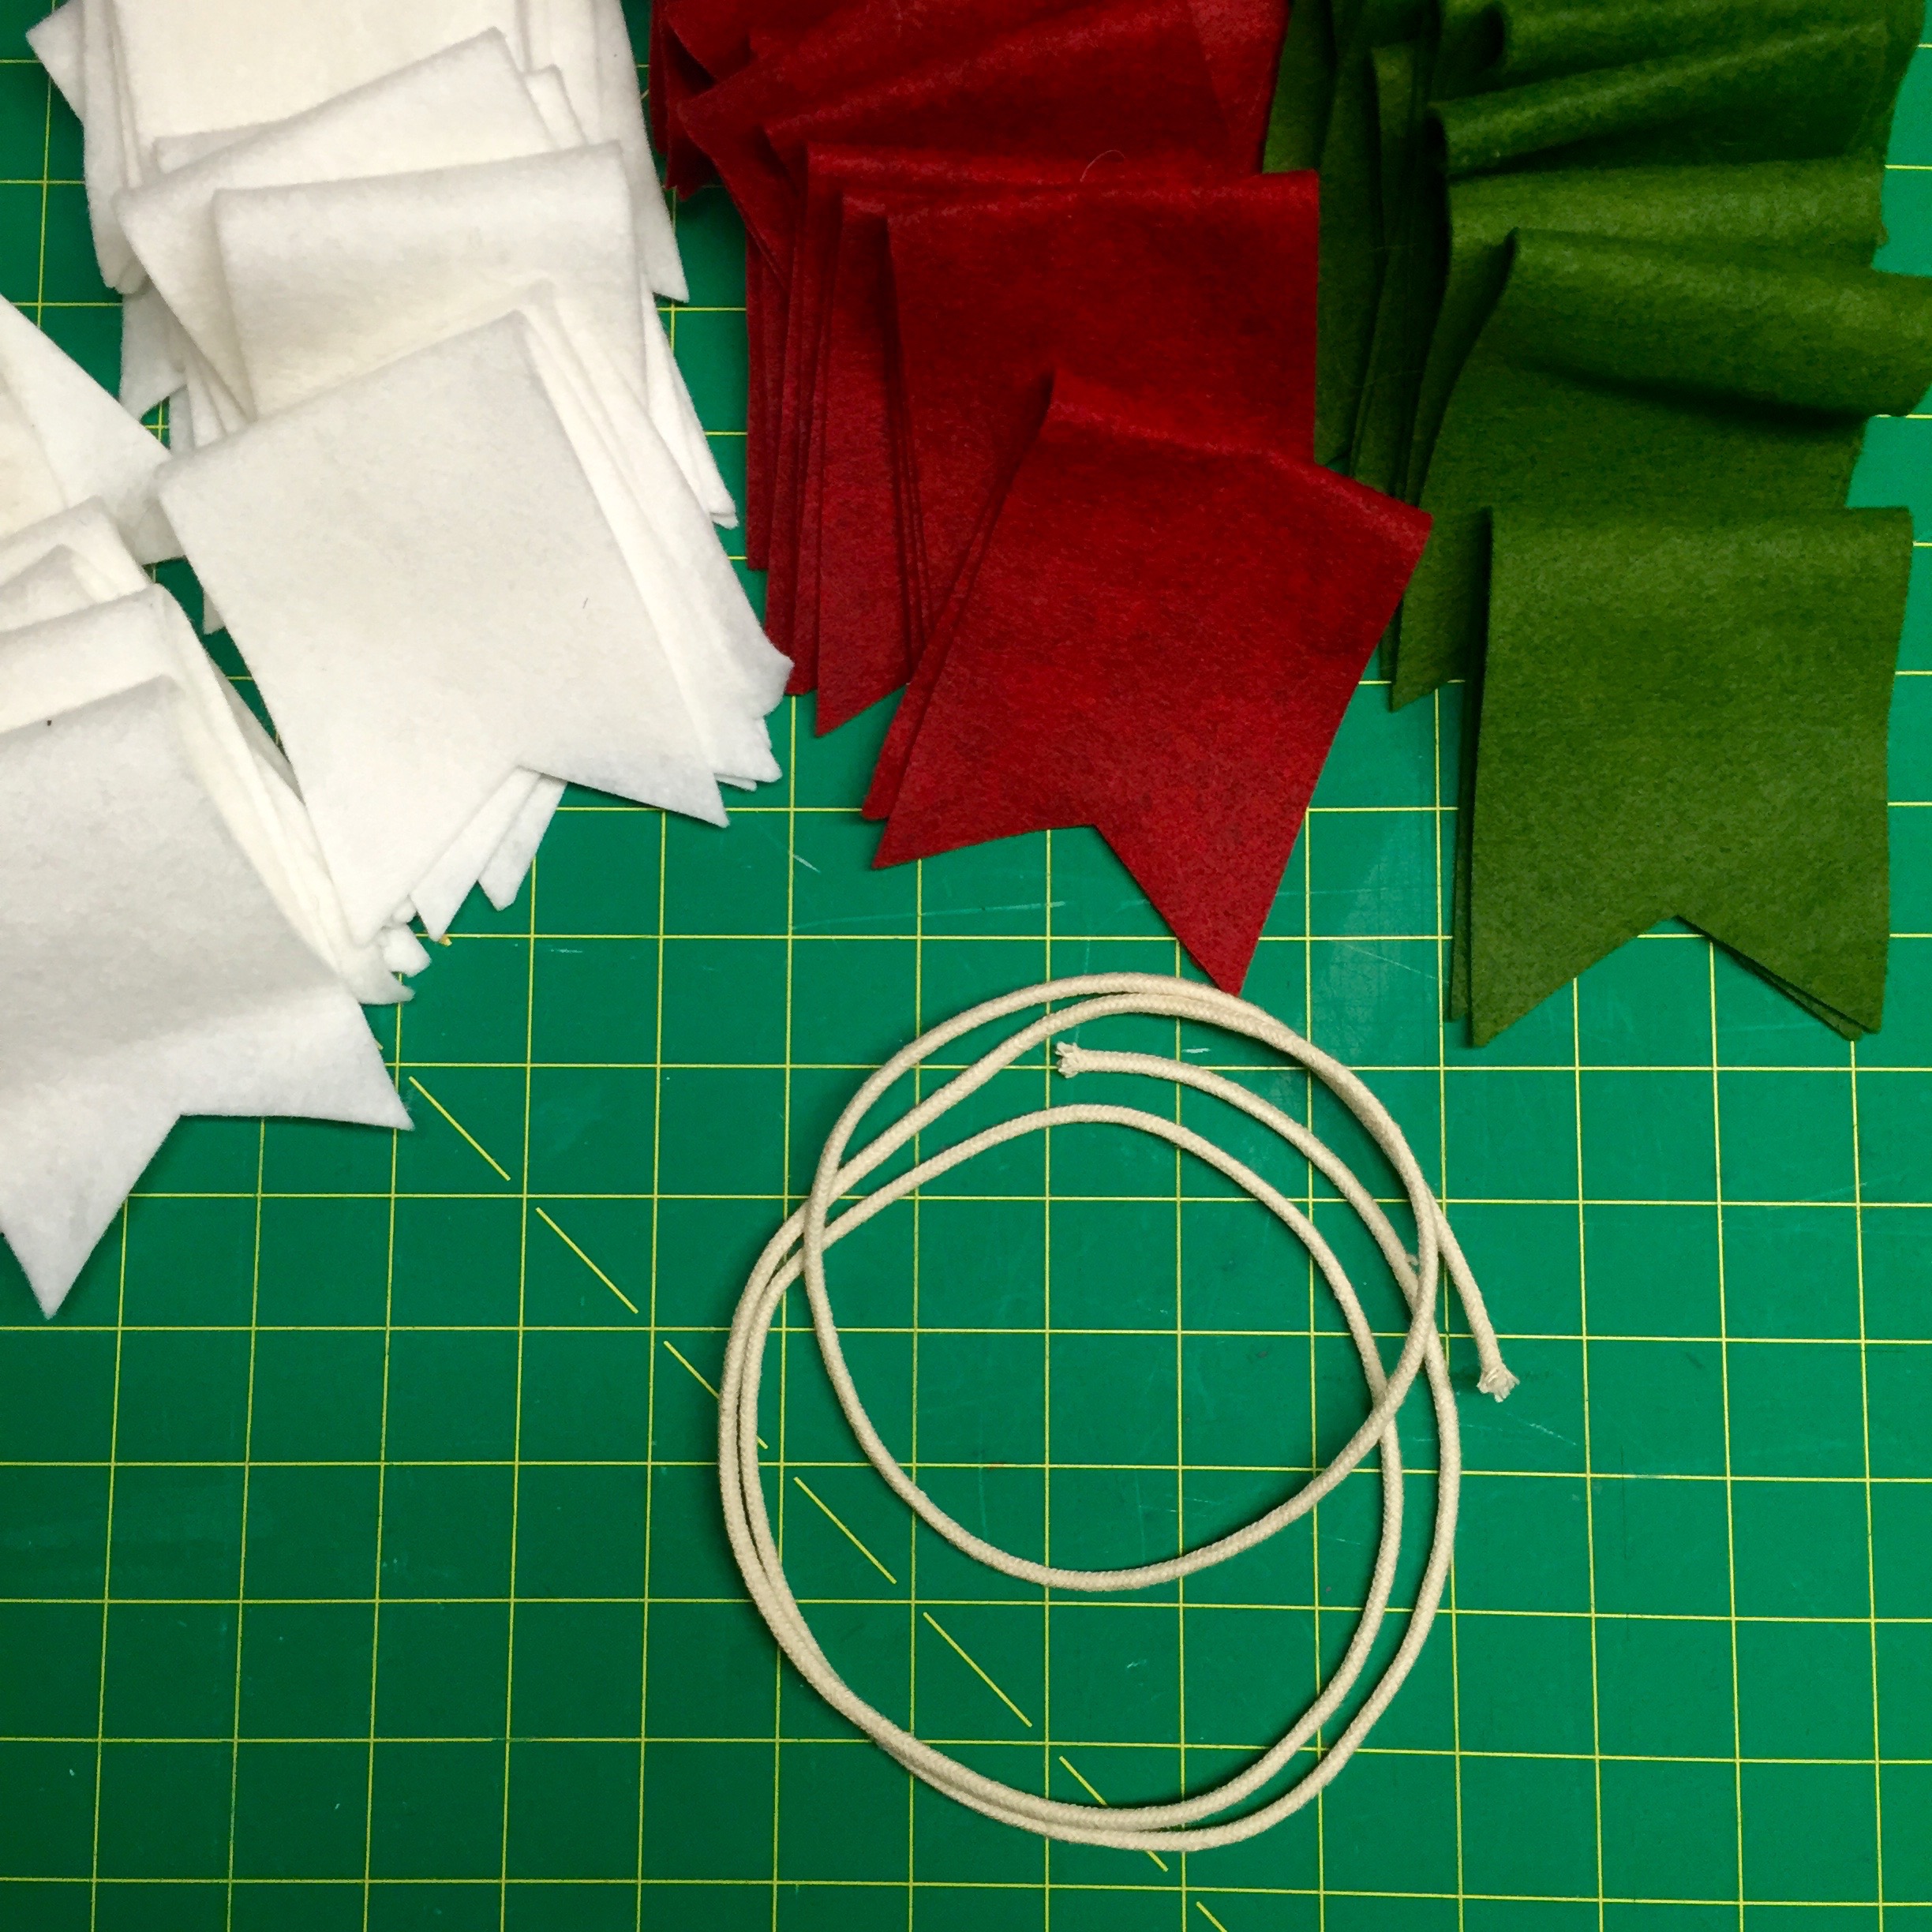
Next I ironed the felt and cut all my flags out. I decided to cut the notch after cutting out the main body of the flag. 
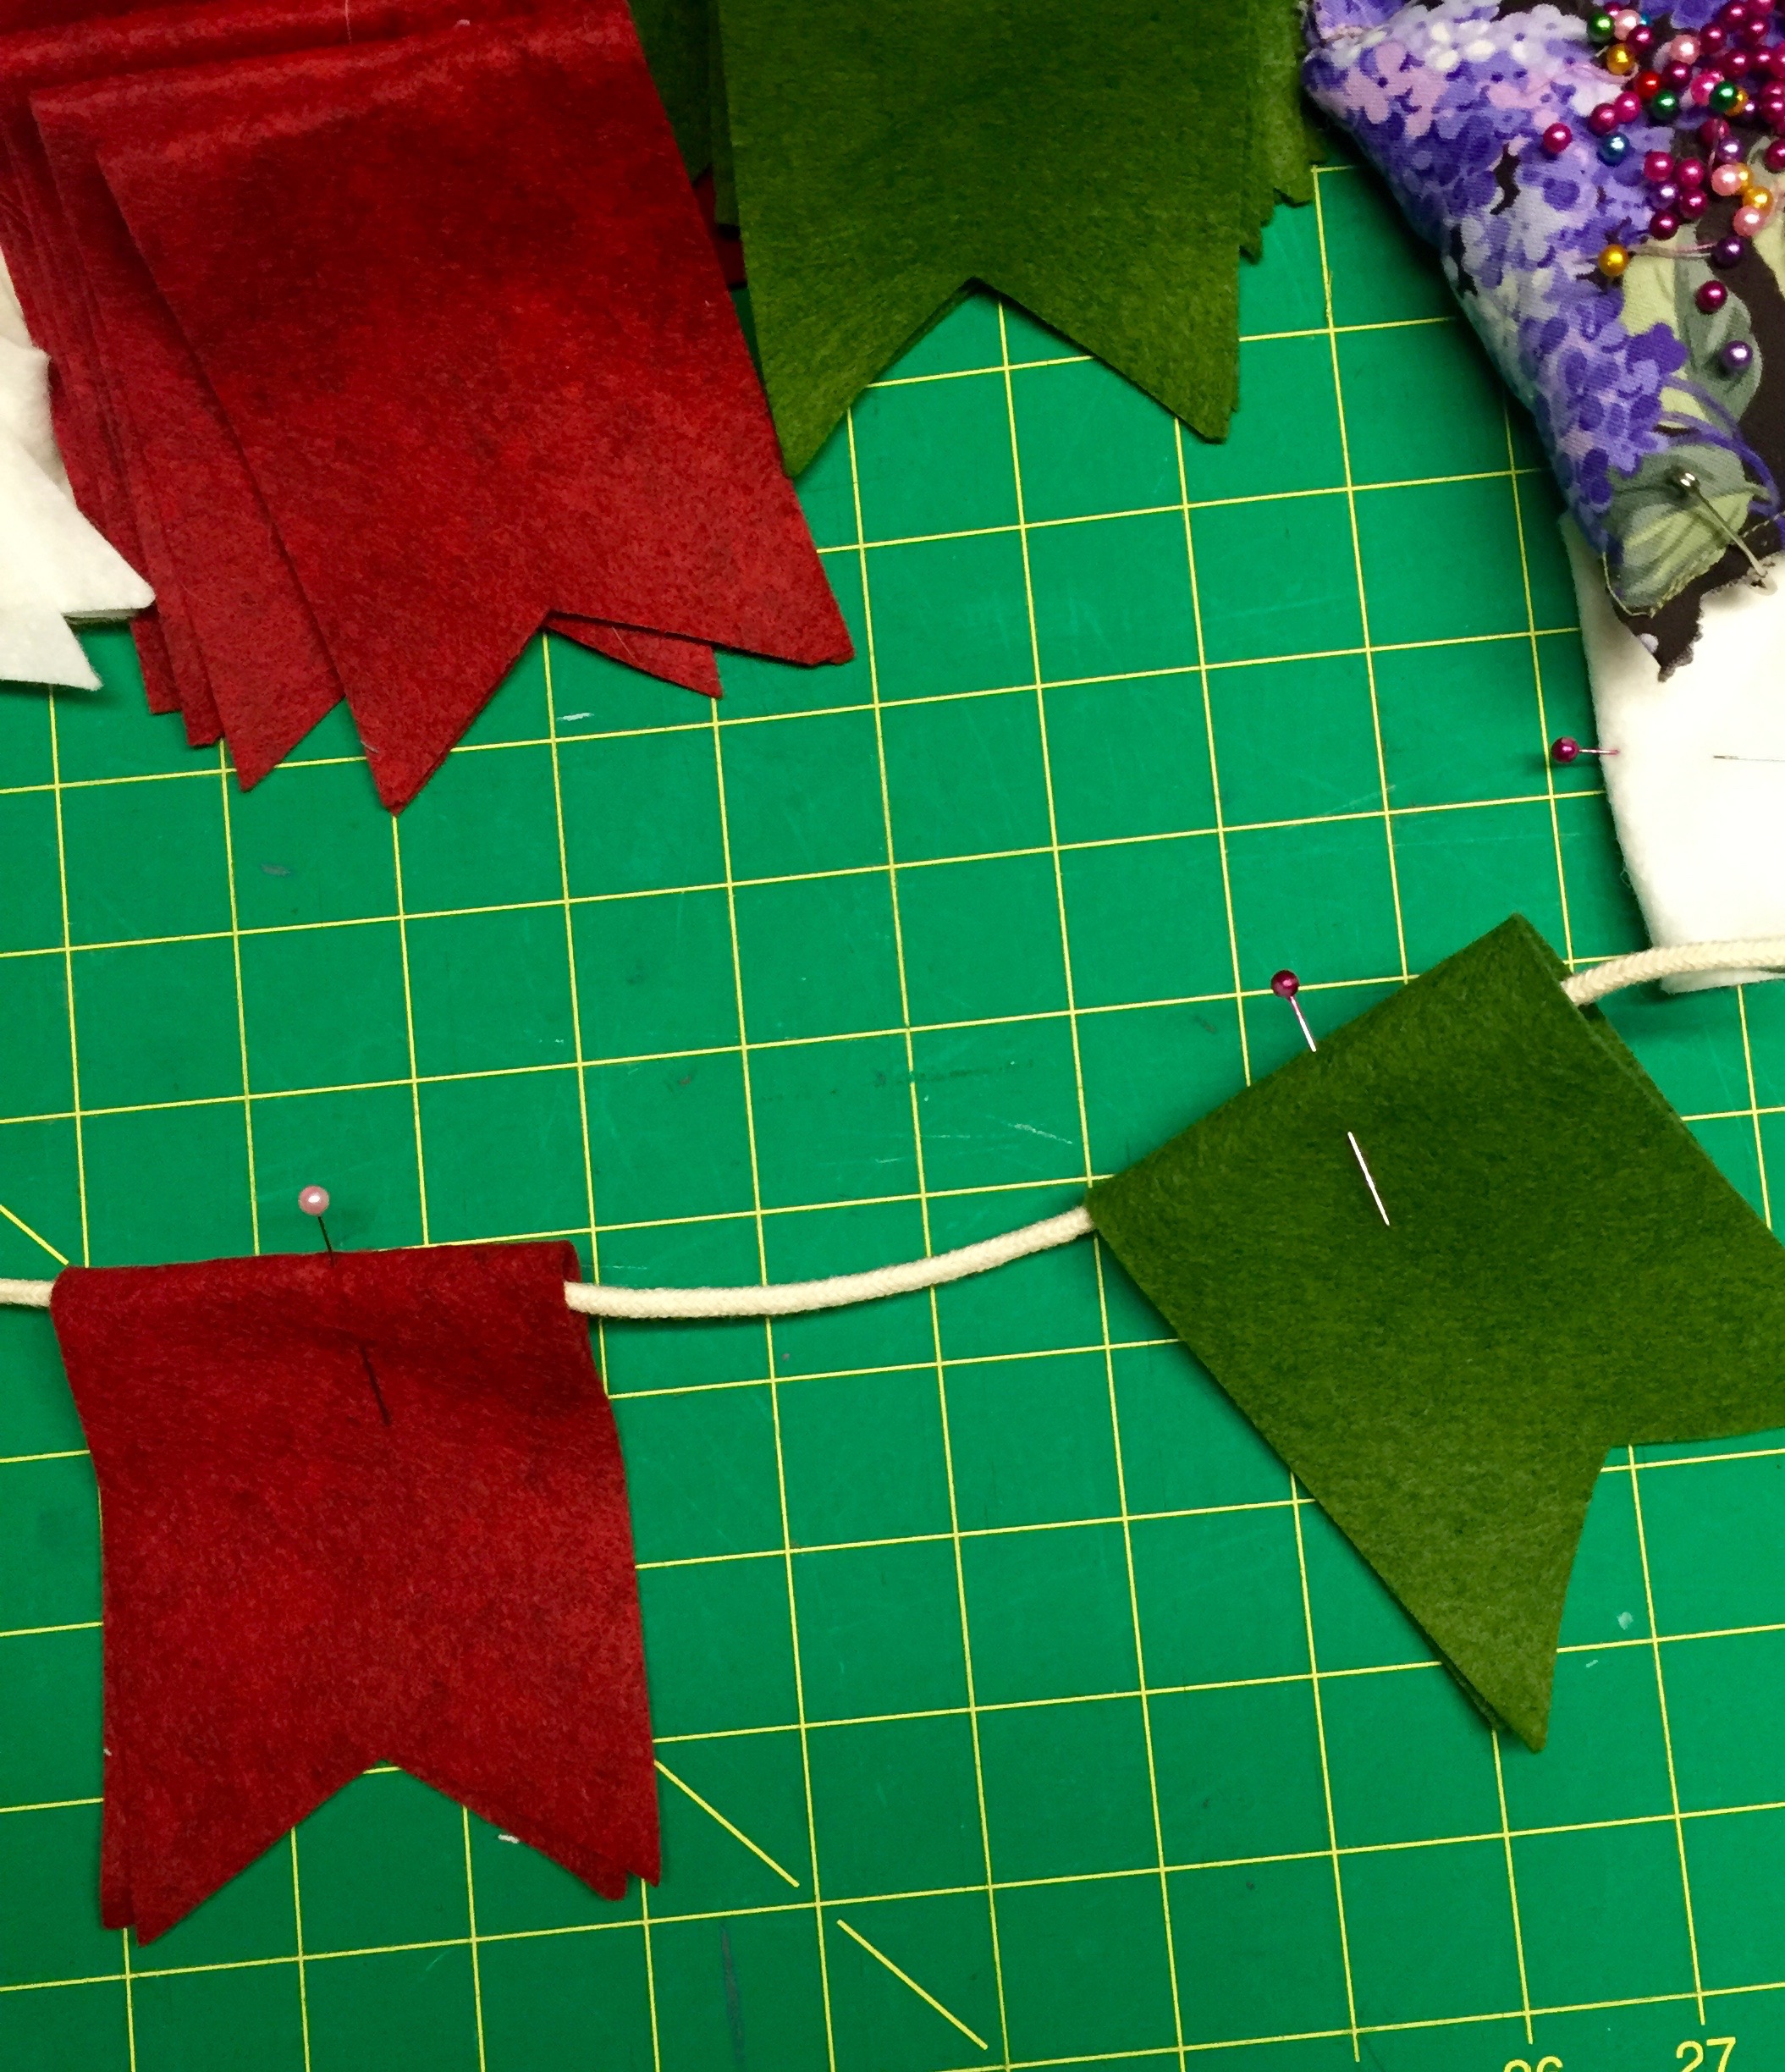
I measured the cord to get the length of the area I was hanging the finished garland. I added 6 inches on each end for tying on etc. Then I folded each piece around the cord three inches apart and secured with a straight pin. 
Once I had them all in place I headed to my sewing machine. I chose red thread for contrast on some of the flags. You could use any color you like. The goal here is to secure the flag to the cord. So sew in a straight line from the notch in the flag over the cord. Then trim all threads. 
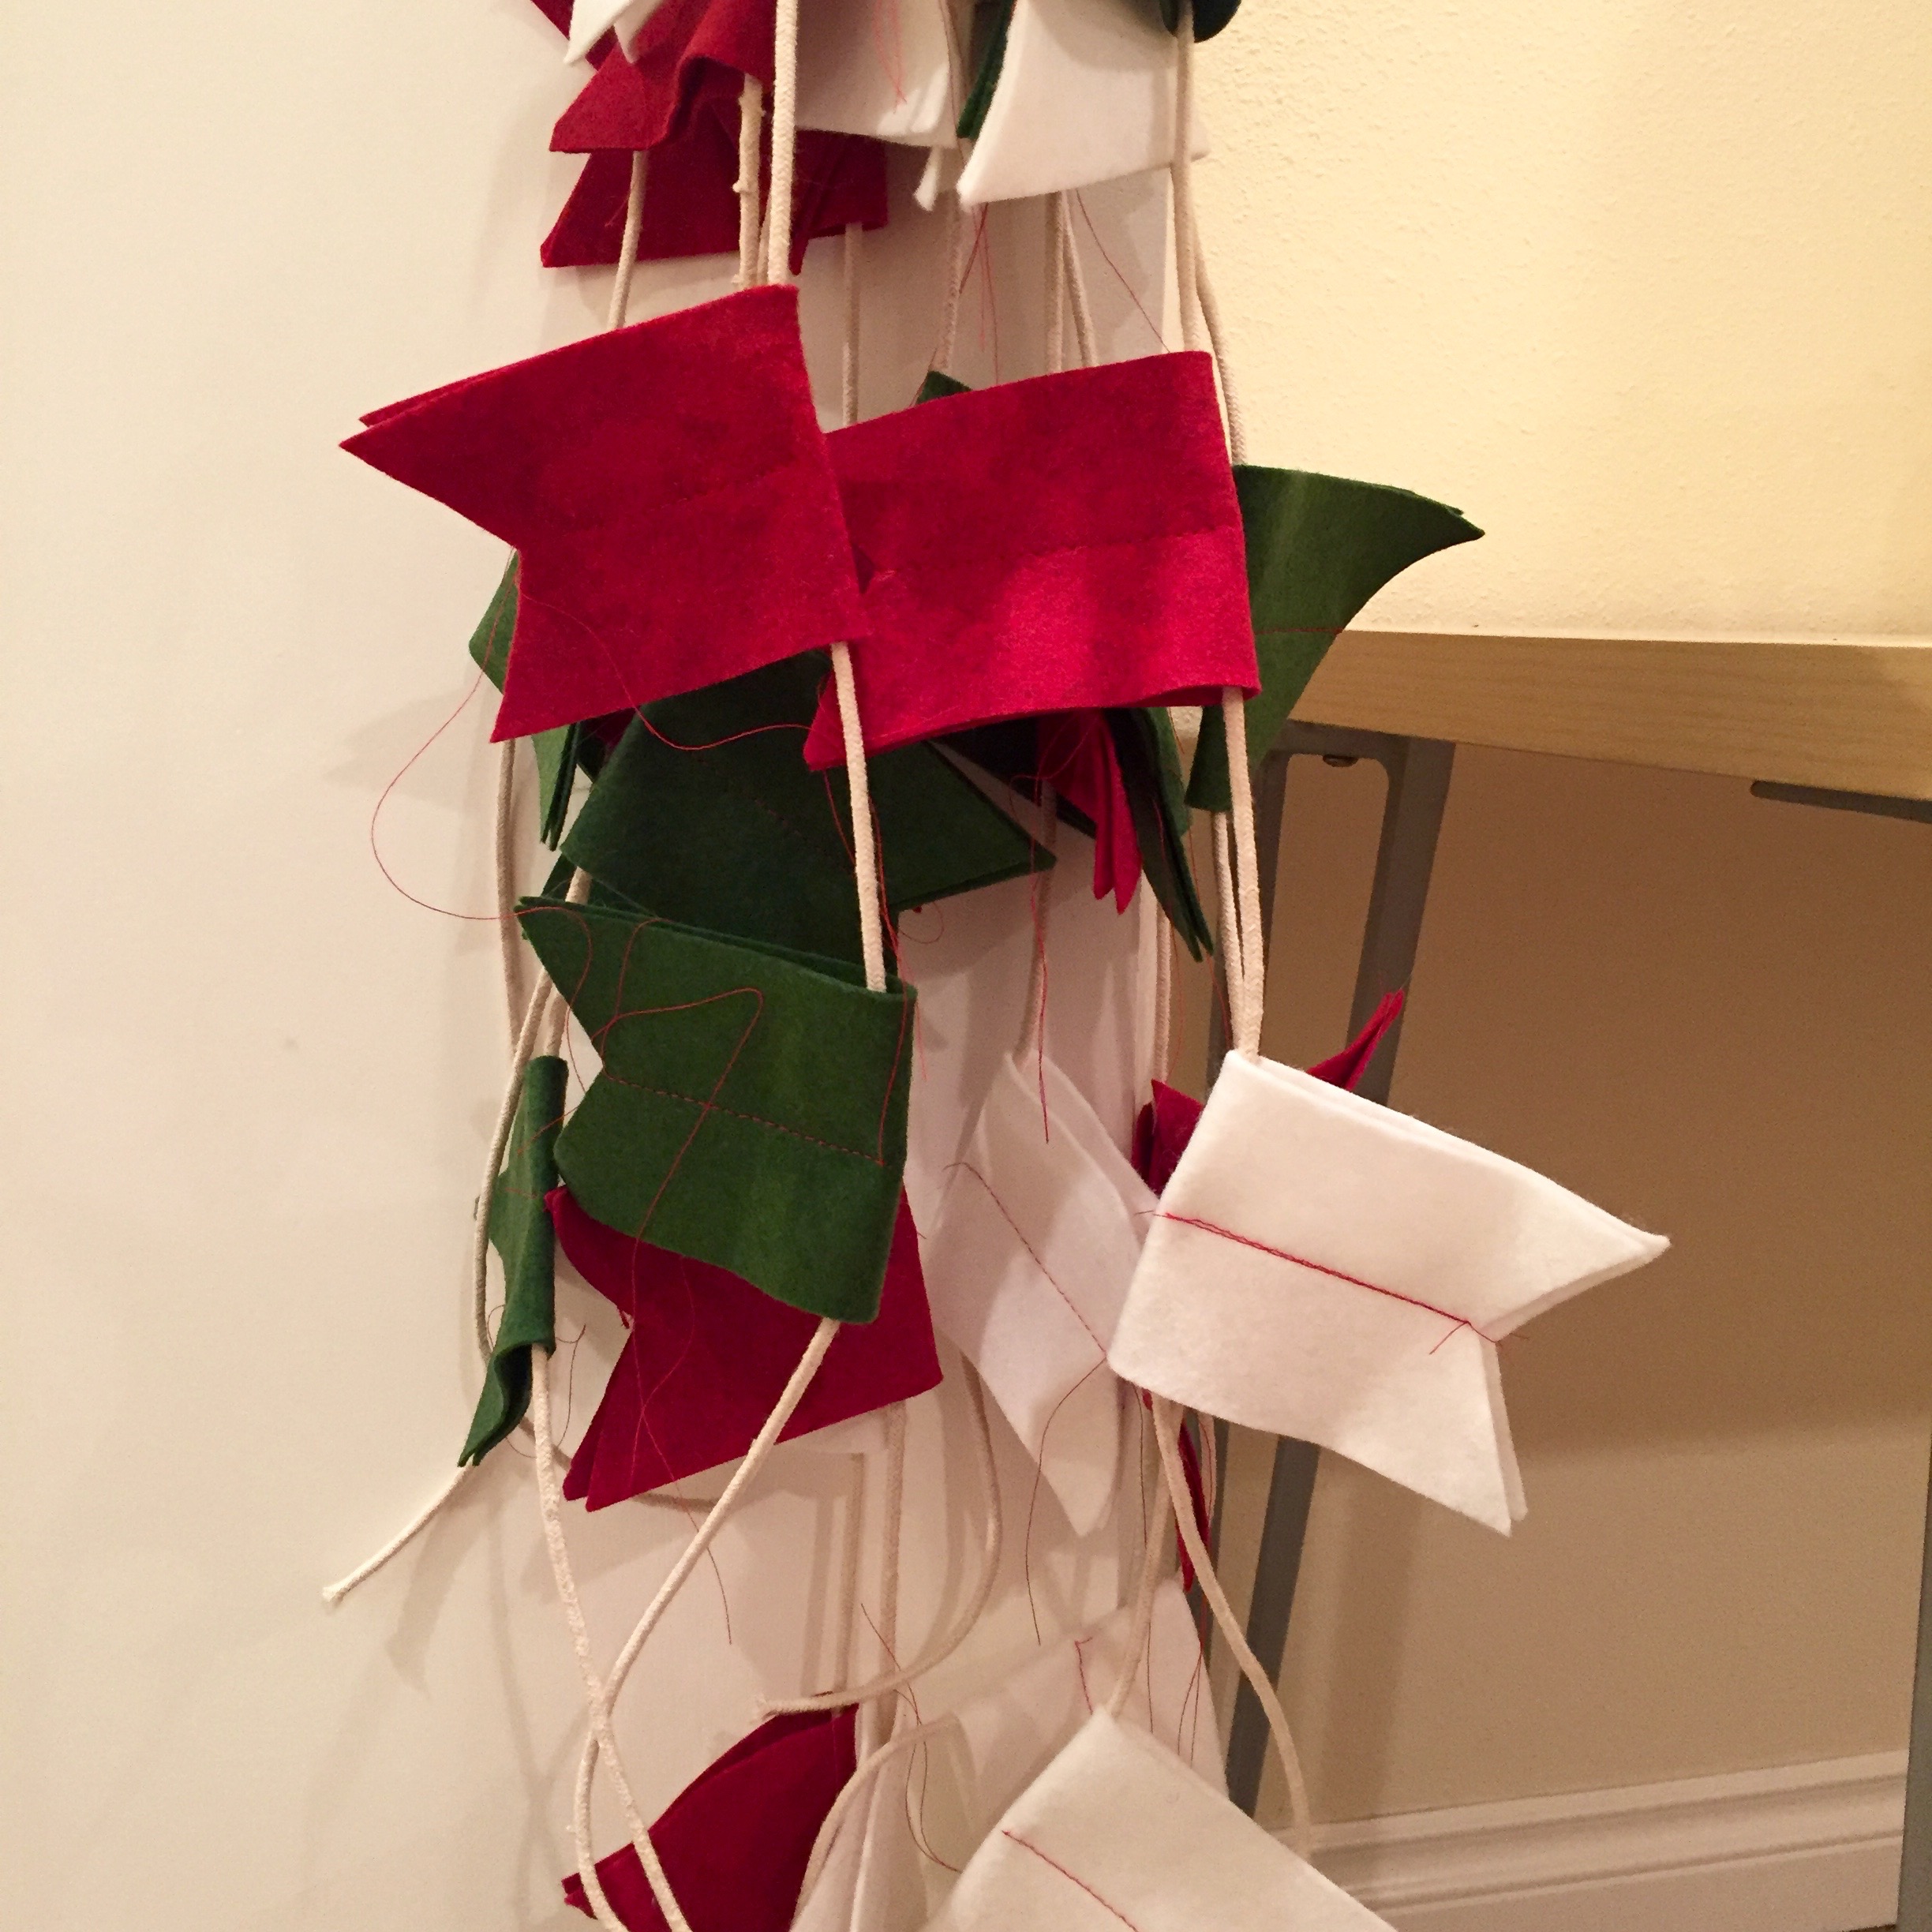
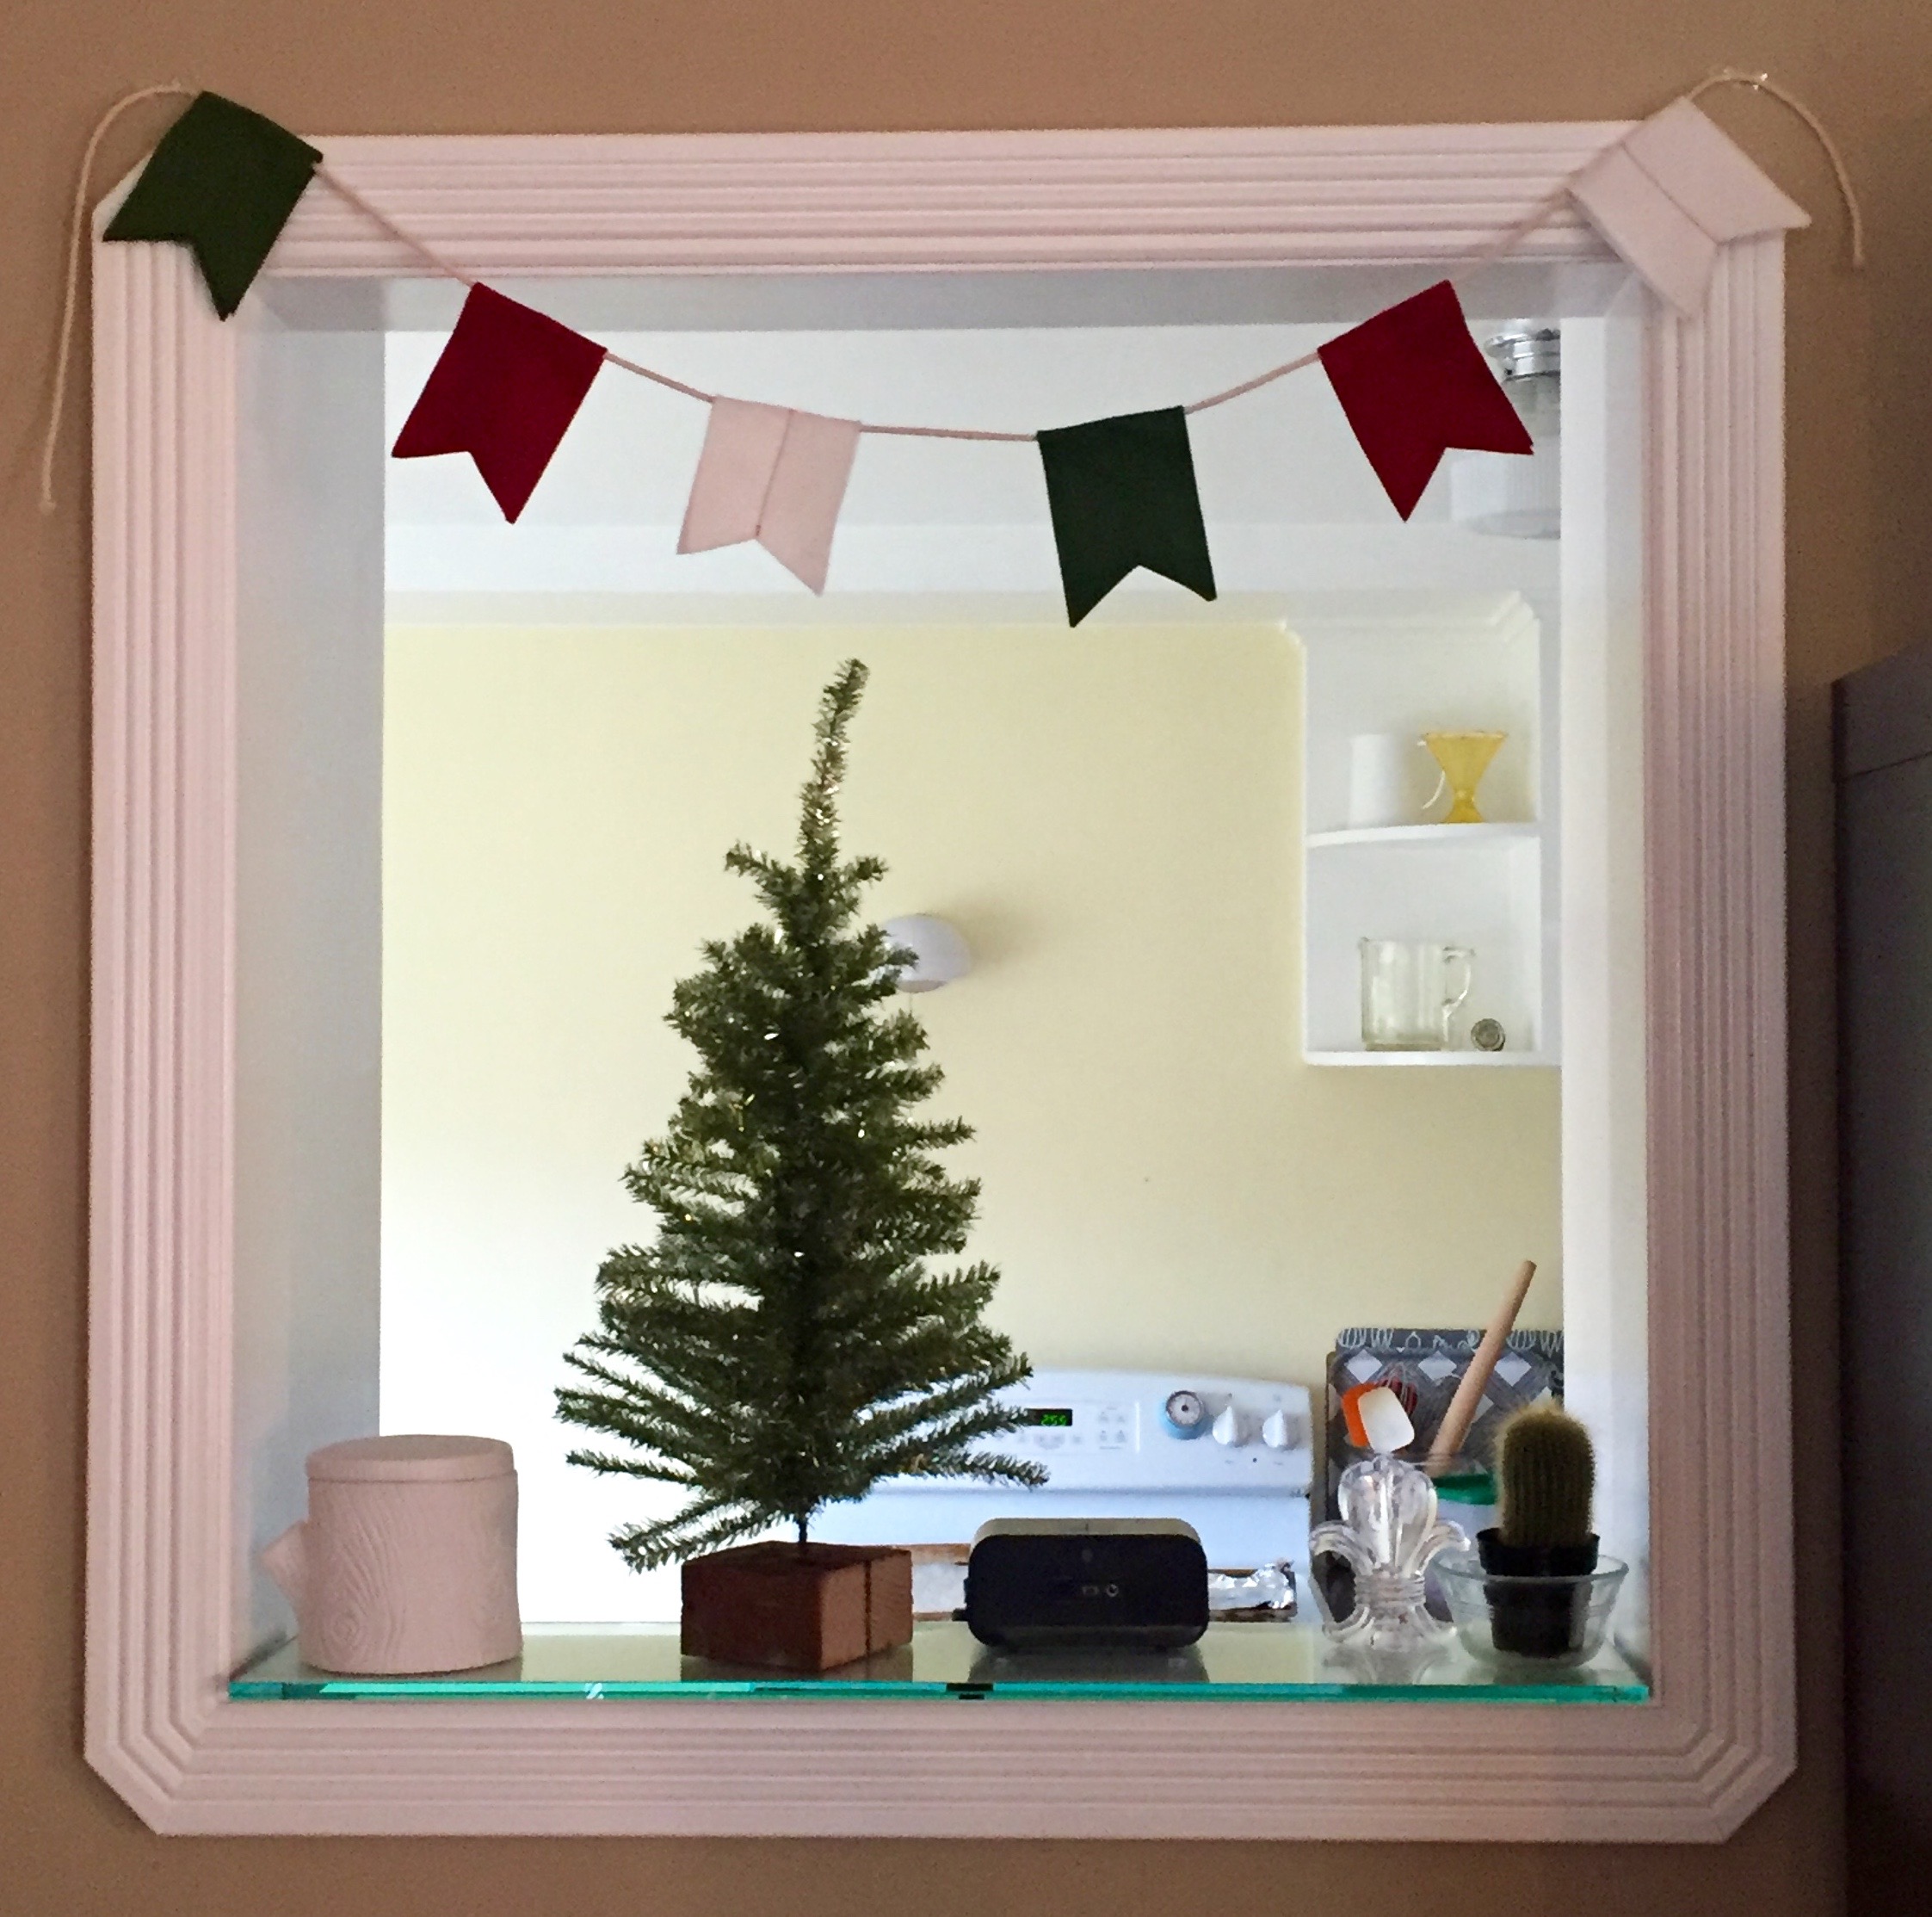
Now hang in your desired location. I made one for several doorways and over our fireplace. You can hang with tiny nails, pins or small clear Command Strips for decorating. I used these and just threaded my cord through them to keep them in place.
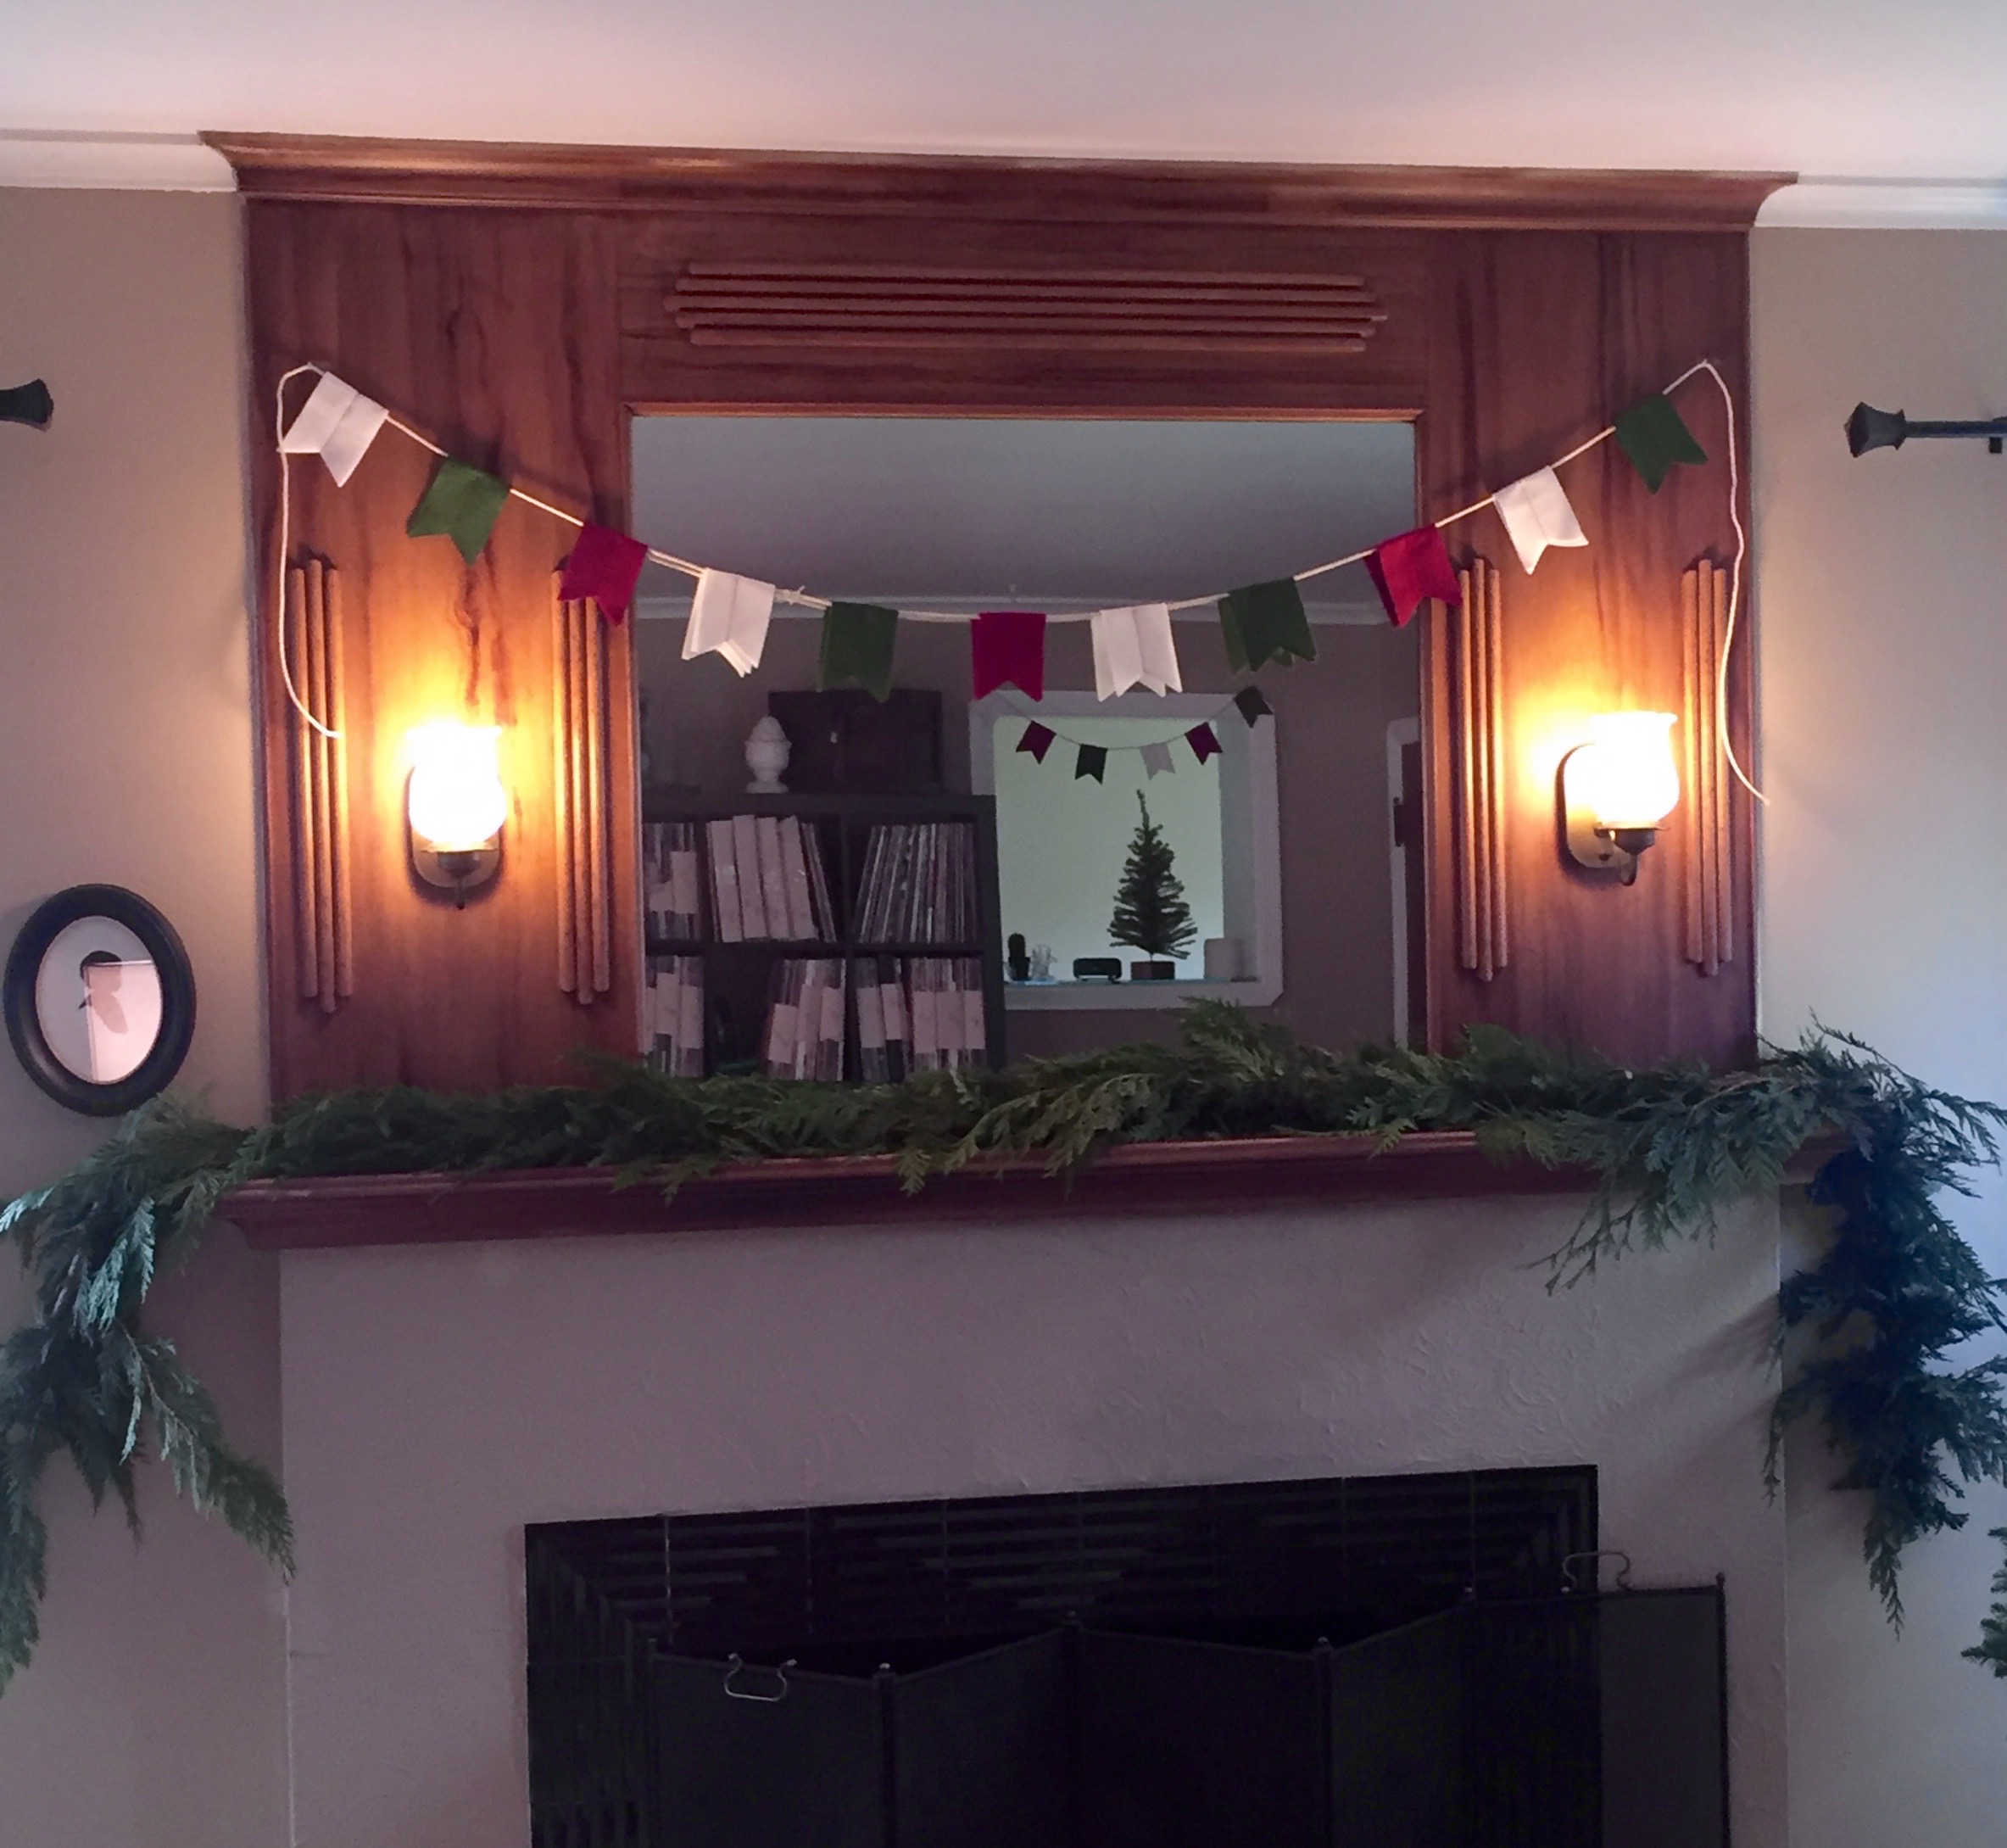
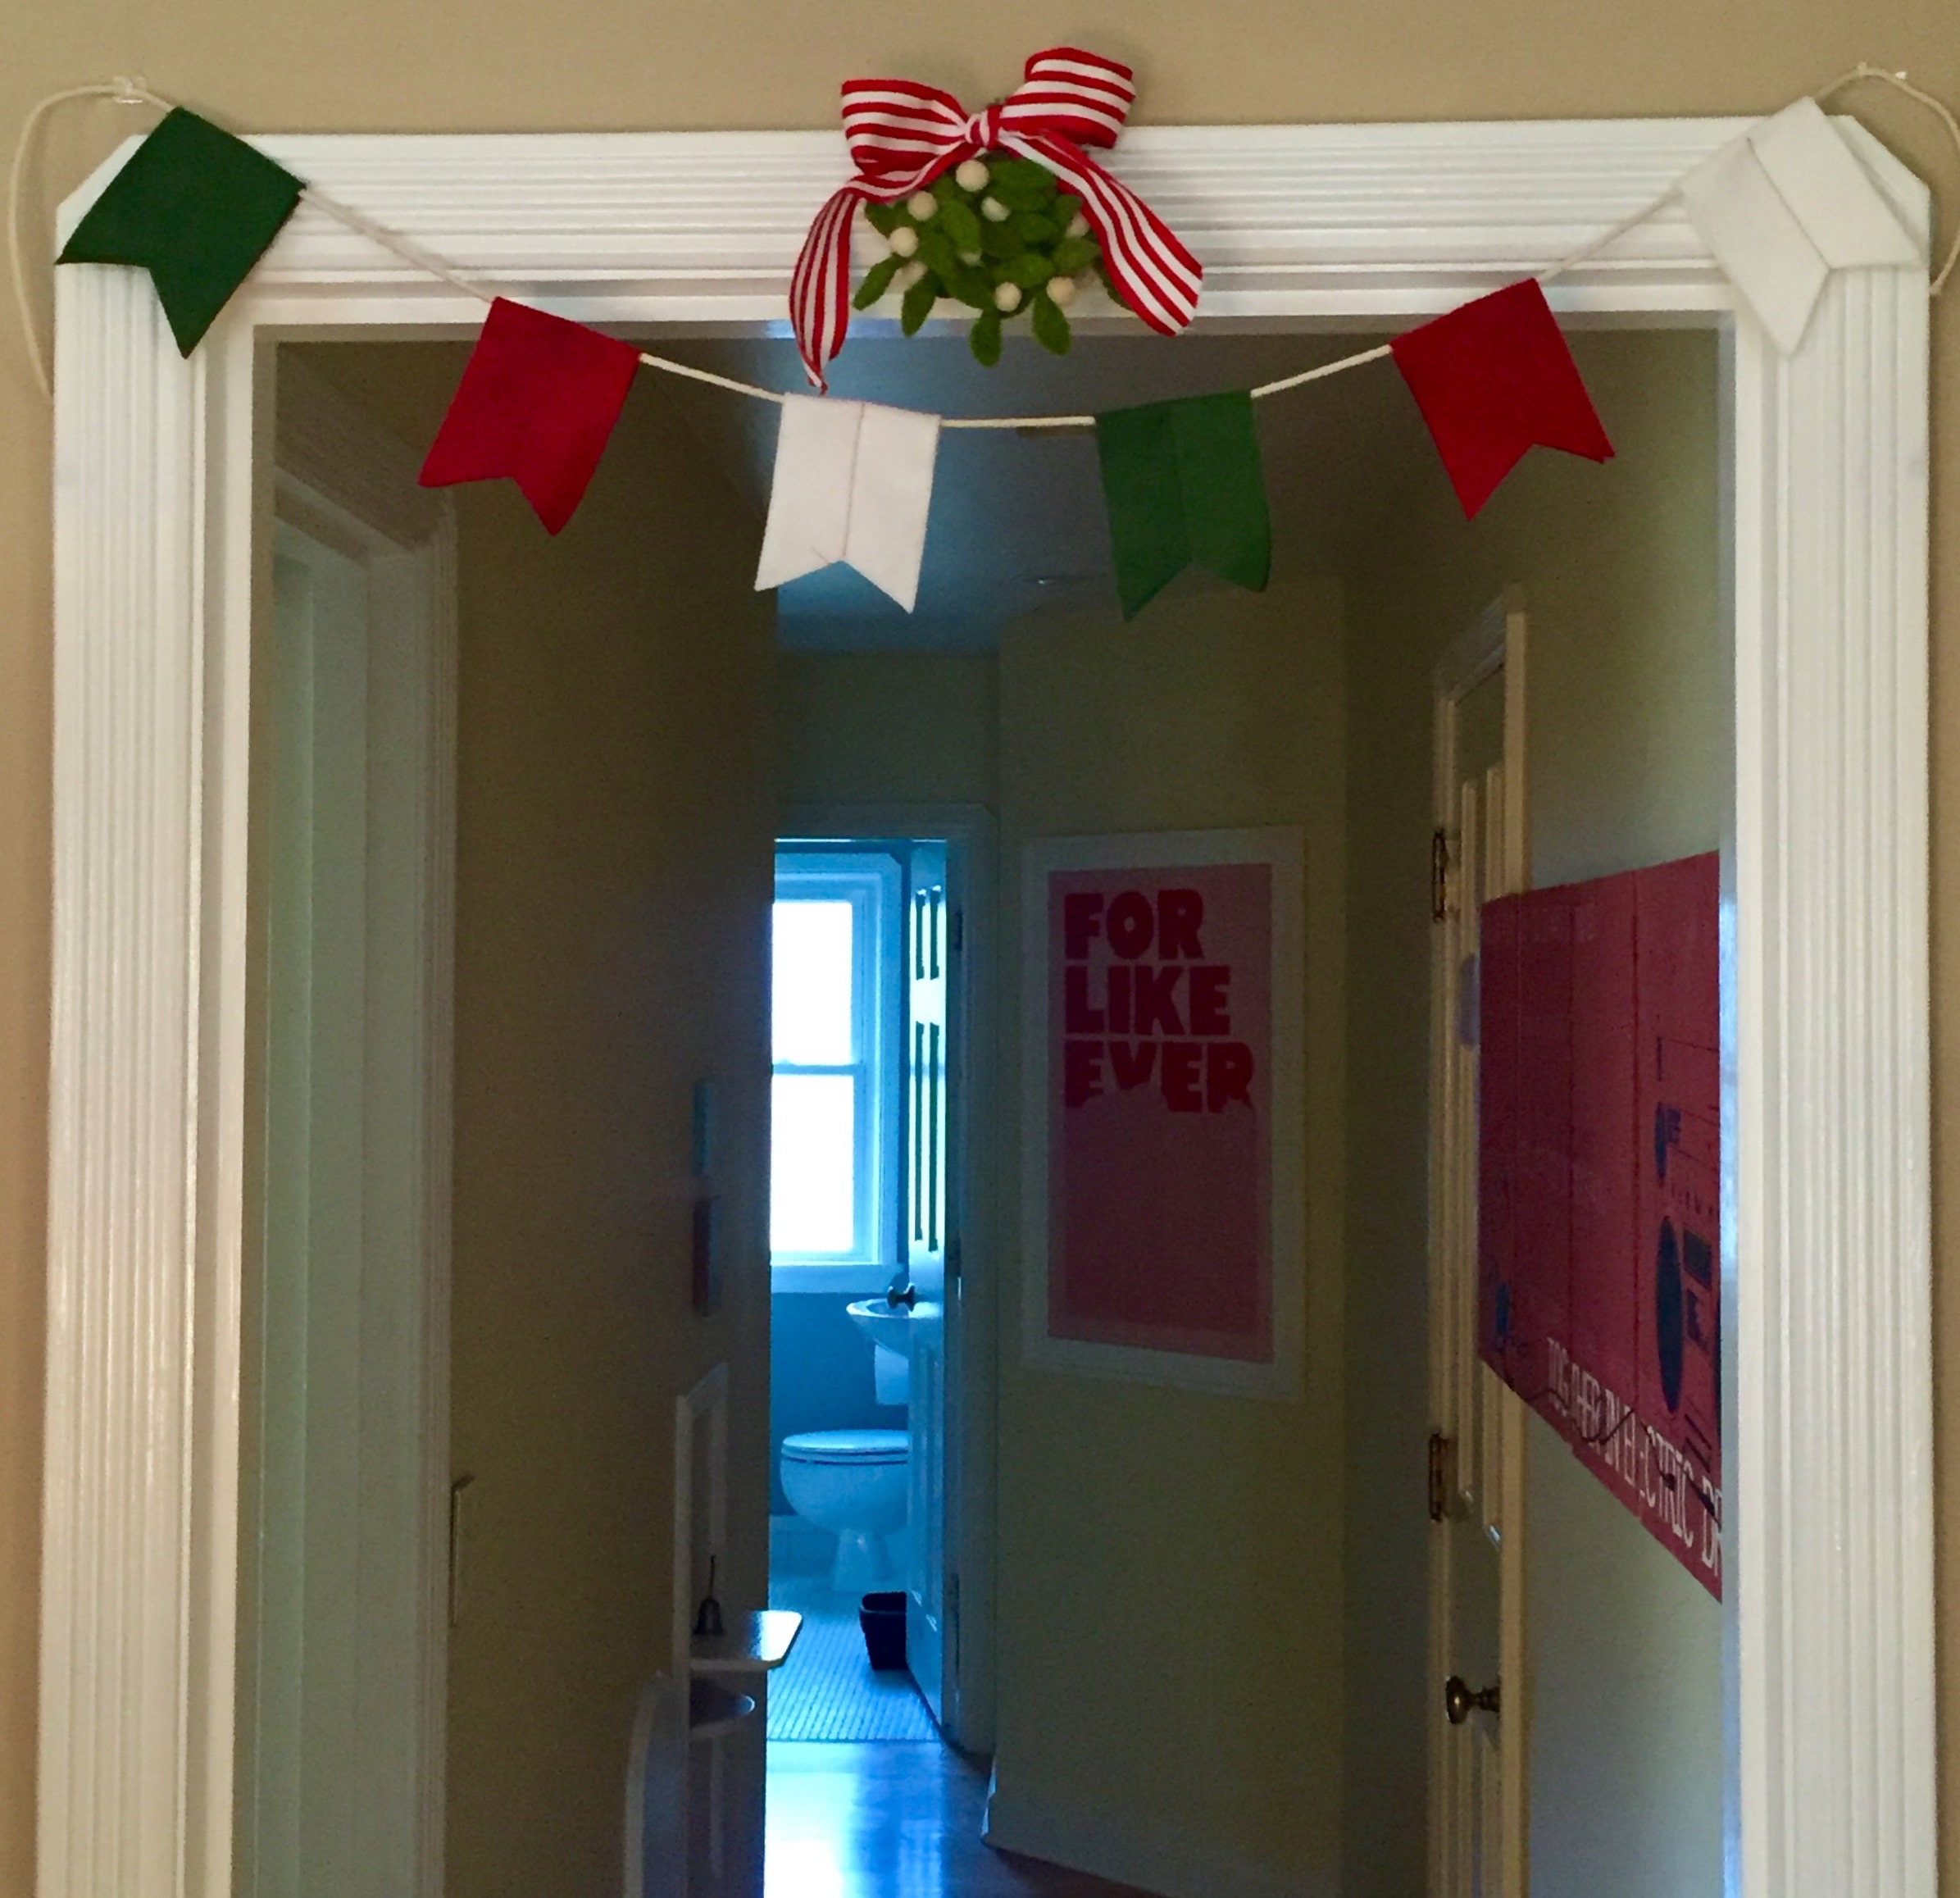
 

I really love how they turned out. They are a nice little touch to bring the whole house together. I hope you get are finding the time to get your home in the holiday spirit. 

Friday
Nov142014

Fake Thanksgiving Stuffing

Ahhhh fall. Changing leaves, crisp mornings, scarves all so nice. Then there is the food. Bring on the roasted root vegetables, squash, soup and rustic desserts - pies, galettes, crisps. Fall feels like gravy weather. Like all your food needs a nice warm blanket to cover it. The height of fall cooking comes at Thanksgiving for most people. All the favorite dishes from candied yams to green bean casserole and in between. 

But why wait - this meal is pretty awesome anytime. You can pull out all the stops and have a "Fake Thanksgiving" or just add one of your favorite Thanksgiving dishes to a roast chicken dinner. The options are endless. Who says gravy calls for grand occasion??

I have had Thanksgiving on my brain. I could not wait to taste the flavors of this amazing meal. Mr. Ramon and I have already planned most of our menu. But I needed a taste - something to get me even more excited. So with dinner guests heading over and celebrating both of their birthdays I decided to really go there with this Fake Thanksgiving. We also found out once they got here that they are going to be out of the country for the holiday so this was the only "traditional" Thanksgiving they were going to get. 

Of course I was not yet ready to handle a turkey so I decided a roast chicken would do. To round out the meal I added roasted brussel sprouts, stuffing and mashed potatoes with gravy. Such a great day to cook. The babe took a couple long naps so I could get my groove on in the kitchen. The house smelled amazing with stock simmering on the stove. 

I love stuffing. Bread is my favorite thing on earth - now add aromatic bits of leek, onion, celery and kale and toss it all together with broth, sage and parsley. Bake that until the top is crispy. The crispy bits are the best. This stuffing I married all I know and love about stuffing and it was amazing! So amazing it is gone. Mr. Ramon took some for lunch and I just crisped up the rest in a pan with an egg on it. Yum!

This was my Fake Thanksgiving stuffing - my real Thanksgiving stuffing will be very similar I bet - but there will be a lot more of it!

This can be made a day in advance and baked the day of your meal. This recipes serves 6 hungry adults. 

Fake Thanksgiving Stuffing

1lb loaf of rustic sour dough bread

1 bunch lactino kale 

3 stalks celery 

1 leek 

1 onion

2 cloves garlic 

1/4 c pumpkin seeds

2 teaspoons sage

1 teaspoon thyme

2 cups stock - chicken, turkey or vegetable

2 eggs

3 tablespoons butter 

salt 

pepper

Tear the rustic loaf into bite size pieces. Place on a cookie sheet in a 200 degree oven until dry and crisp. Cool and place in a large mixing bowl.

Place pumpkin seeds on cookie sheet and toast in a 350 degree oven for about 6 minutes - watch these. They can burn easily. Cool and add to bowl with bread pieces.

Fine dice the onion, celery and white parts of the leek. Heat some olive oil in a large skillet on medium and add the diced vegetables. Season with salt and pepper. Cook until soft and fragrent about 10 minutes. Pour over the bread pieces. 

Rough chop the kale removing tough stems. In the same skillet on medium add some olive oil then cook the kale until wilted and soft about 10 minutes. Season with salt and pepper. When cool add to bowl with bread pieces. 

Mix with your hands or 2 large spoons all the cooked vegetables with the bread pieces until everything is well incorporated. 

Warm 1 cup of broth with the butter. Let cool a little then whisk in the 2 eggs, sage, thyme and salt and pepper. Pour the broth over the top of the mixture and mix again so it is well distributed. If you think the stuffing feels to dry - pour some of the remaining broth over the mixture. You can also add broth if needed during cooking or after to moisten.

Bake covered in a 350 degree oven for 30 minutes - uncover and bake another 15 minutes so the top gets nice and crispy. 

Enjoy! 

Friday
Feb142014

Valentines Brownie Hearts

I had quite a few orders for baked sweets come in for Valentines Day. One client lets me decide which type of goodies to bring and I decided to bring them an assorted box of cookies, cupcakes and these adorable frosted brownie hearts. Perfect for the sweetie in your life!! 

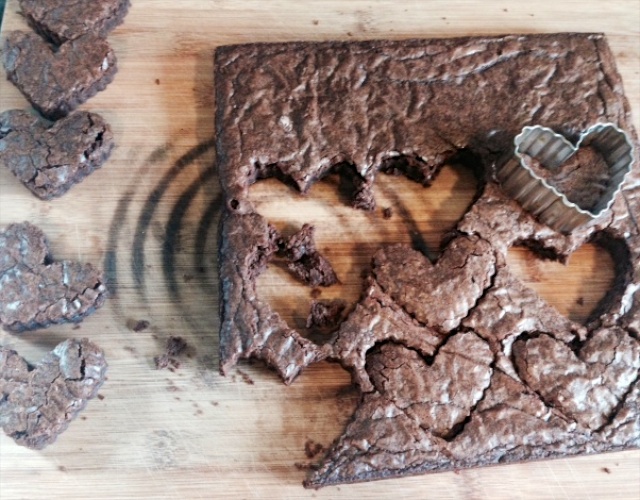
The great thing about these is you can use any brownie recipe - even a box variety if you are short on time and ingredients. You want to bake your brownies in a 9x9 pan so they are thinner and you get more hearts. Choose a cookie cutter that is the size you like for your brownie cut outs. I used hearts since its Valentines Day but you could use any shape for any occasion. 

I lined my brownie pan with parchment so when the brownies were fully cooled you could pull them out in ine sheet and easily cut them with the cookie cutter. I save all the leftover brownie pieces for someone in the house to snack on! 

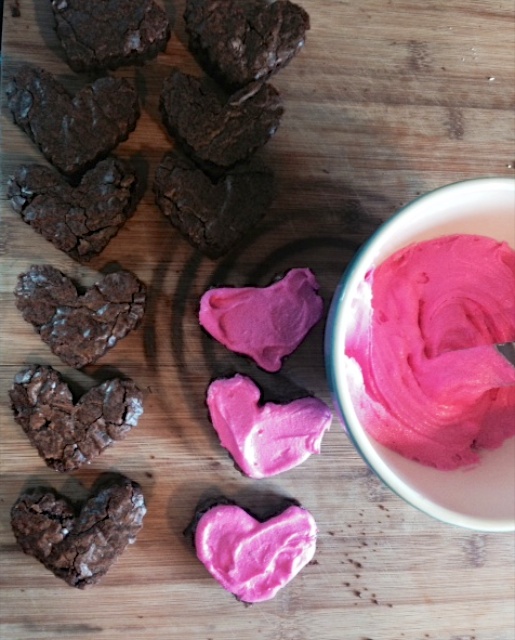
These are fun the way they are but an easy frosting and some toppings make them really special. I made up a quick "buttercream" in a pretty rose color and frosted all of them. Some I added sparkles to and the others I rolled in toasted coconut. Yum!

The possibilities are endless. Pretty much any sprinkle or topping canbe used. Have fun. This is a great thing to do with your children. 

Easy Buttercream Fosting

4 tablespoons cold butter cut into pieces

2 cups powdered sugar

1 tablespoon milk

1 teaspoon vanilla

Place all ingredients into the bowl of your mixer. Blend all ingredients until smooth. 

Should be a nice smooth texture. 

Add food coloring if desired

Tuesday
Nov262013

Espresso Biscuits

I like a little sweet in the morning. Usually I am on my best behavior and stick to oatmeal or cereal to start my day right - but sometimes I go the other way. A cup of coffee and something sweet and a little sinful to pair with it. A kick-start to my morning. 

Instant espresso is one of my pantry secret weapons. I love adding it to a variety of chocolate baked goods. It deepens the cocoa flavor in such a lovely way. Often I add a tablespoon or two into the liquid ingredients in a recipe. Sometimes I add it to the dry ingredients for cookies. 

The other ingredient in this recipe to call out is the Dutch Process Cocoa. Unlike regular baking cocoa, Dutch Process Cocoa is made from cacao beans that have been washed with a potassium solution, to neutralize their acidity and mellow out the cocoa flavor. When recipes call for Dutch Process Cocoa you want to not swap it our for natural cocoa as it can change the outcome of your recipe. 

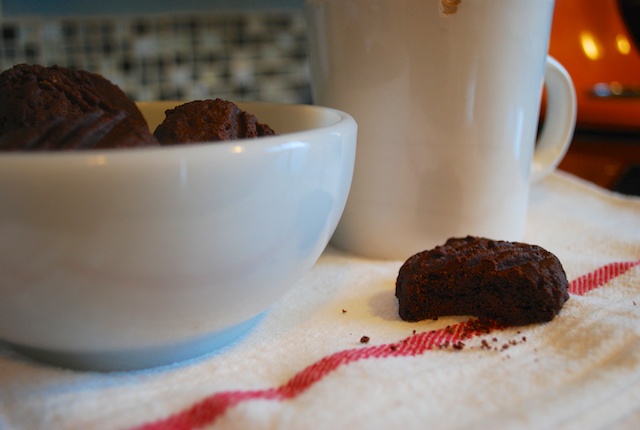
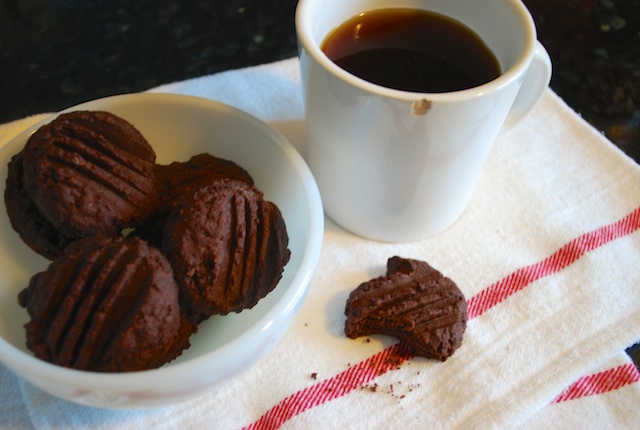
These Espresso Biscuits are perfect with a cup of coffee or a bowl of ice cream. I also love to wrap some up and take them to a friend. They have a really full cocoa taste and are dry in a really good way - that must be all the butter balancing them. 

Espresso Biscuits

1 1/2 cups all purpose flour

1/2 cup Dutch cocoa

1 1/2 tablespoon instant espresso powder

1 cup unsalted butter at room temperature

3/4 cup confectioners sugar

1 teasponn vanilla

Heat oven to 350 degrees and line a cookie sheet with parchment

In a small bowl sift together the flour, instant espresso and cocoa 

In a larger bowl blend the butter, sugar and vanilla until creamy with an electric mixer - about 3-4 minutes

Gradually mix in the flour mixture to the butter mixture - making sure to scrape downt he sides of the bowl

Roll 2 tablespoons of dough at a time between your hands to form a ball

Place on cookie sheet 2 inches apart

Use tines of a dinner fork to press the dough down into the biscuit shape

Bake until firm to the touch - 10-12 minutes

Transfer to a wire rack to cool 

Will store for 3 days in airtight container

Monday
Nov252013

Lebkuchen Bars

Thanksgiving is right around the corner and all I want to do is bake. The holiday season is my favorite time to be in the kitchen. I love the tastes of fall - pears, pumpkin, citrus and cranberries. The spices so rich - nutmeg, ginger, cinnamon and clove. With that in mind I thought I would begin baking some of my favorite holiday treats. 

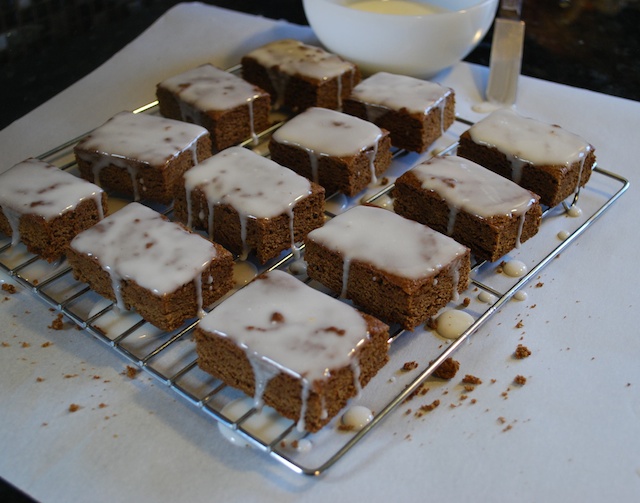
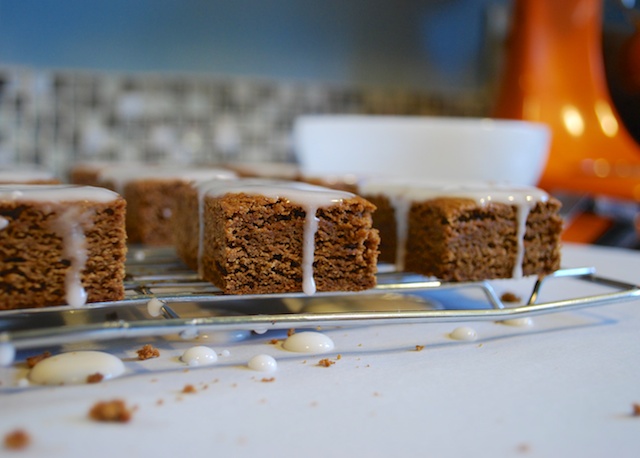
Lebkuchen Bars are a a spicy gingerbread type bar hailing from Germany. They are a traditional Christmastime treat and would be delightful with a cup of tea after a cold day outside. Some recipes call for almonds, candied citrus peels or ginger. 

These bars are great the day they are made but only get better over the next couple of days - if they last that long!

Lebkuchen Bars

4 tablespoons butter

4 tablespoons vegetable shortening

3 cups all purpose flour

1 tablespoon cinnamon

1 teaspoon baking soda

1 teaspon cardamon

3/4 teaspoon ginger 

1/2 teaspoon salt

1 cup molasses

2 large eggs

1 teaspoon grated lemon zest 

Glaze

1 tablespoon  lemon juice

1 1/2 cup confectioners' sugar

3 tablespoons whole milk

Preheat oven to 325. Set oven rack to lower middle. Prepare a 13x9 pan by lining it with foil or parchment and greasing it. 

Melt butter and shortening together and let cool slightly. 

Whisk together flour, cinnamon, baking soda, cardamom, ginger and salt together in a small bowl. 

In a large bowl, whisk granulated sugar, molasses, eggs and lemon zest loather, then whisk in cooled butter until combined. Stir in the flour mixture until just combined. 

Spread batter into prepared pan and smooth top. 

Bake 35-45 minutes - rotating pan halfway through baking. A toothpick inserted in the middle should come out clean. 

Let bars cool completely in pan on wire rack - about 2 hours. Lift bars out with parchment/foil overhang. Cut into 24 pieces. 

Whisk the Glaze ingredients in a small bowl and spread evenly over each bar. Let glaze set for 30 minutes before serving. 

Store in airtight container for 3 days.