Entries from April 1, 2012 - April 30, 2012

Friday
Apr272012

Instagram Flowers

I love Instagram. If you are not using this ap on your smart phone I highly recommend it. It is a great way to enhance pictures, share with friends and be inspired by others. I use my camera phone more than my regular camera. I always have my phone with me. 

Spring is here and our neighborhood is filled with amazing flower displays. Here are a few from our yard and our neighborhood that I love. Happy spring!!


Friday
Apr272012

Garden Part 3

Wishing I had a truck today. I want to fill it with dirt for our garden. Instead I will fill the little mini cooper with bags and bags of compost and garden soil. Poor little car - she is so overloaded. 

This marks the final step in gardern prepardness. We are filling these beds with Sky Nursery's planting mix and lots of local compost. We also picked up some vegetable starts. With these and the few we started in the house we will be on our way to filling up the garden with tasty vegetables!

I wanted to be organized on how we fill up the beds so I marked the first one off with tape in 12"x12" squares. We put in our few plants and some seeds for radishes, carrots and beets. 

Over the next couple of weeks we will add in more plants. So far we have carrots, 2 kinds of beets, radishes, pickling cucumbers, fava beans, crookneck squash, bush beans and bell peppers. Now all we need is sun!

Friday
Apr202012

Garden Part 2

With the fence up we now have a dog secure area and can start on the beds. I have seen so many types of beds in my neighborhood and online. I learned a few things about building beds. 

 - Treated lumber has chemicals that might be bad for you and the earth. It lasts longer in the ground as beds - but are they worth the risk.

- Redwood is preferred by most but is expensive. We are in a rental so we decided on untreated pine.

I used this tutorial on the Sunset website as my guide. We decided to go with 6" high beds knowing we were going to dig into the dirt at the site. I loved that they had instructions on how to put on row cover holders. Row covers are new to me. When I had a garden in Southern California there was never any need to cover the beds. We decided on 3 beds that were 6'x3'. That width allows me to easily reach into the middle of the bed. The guys at Home Depot again cut all our wood for us. I put the three beds together with our screw gun on the porch one night when Mr. Ramon worked late. 

Mr. Ramon had the hard part ahead. He had to dig out the beds in the grass to place the beds in. What a job. This resulted in a lot of sod. I had a great solution for that - we had the two large ditches in the front yard from where the junipoers used to be. We did a sod transplant and filled in the ditches with sod and watered heavily to get it started. Hopefully it will take. 

Once the beds were dug out we pounded in the bed frames and leveled them. Now we just need dirt and compost to fill them up completely. 

We are well on our way to having a garden!  

Friday
Apr132012

The pallet gate

I was cruising the parking lot at Lowe's last Saturday looking for a parking spot when I spied an unusually small pallet. We had just finished the fence around our garden and needed a gate to close it up. We spent a morning looking at the salvage yard looking for the perfect "gate" but found nothing. I tried to find someplace to get a basic picket fence style gate and was out of luck. As I sized this pallet up in the parking lot I thought it might make a great gate. 

A quick phone call to Mr. Ramon and I squeezed it in the back of the mini cooper and hauled it home. 

Mr. Ramon was pretty stoked and got right to work on the pallet. He cut off about 6 inches of it to match out 4 foot fence post height and then reinforced it in a couple of places with some scrap wood so it would hang sturdily.

I had picked up hinges, a closure and a handle at Lowe's.

About an hour later we had a gate. Not bad for picking up someone elses garbage. 

Saturday
Apr072012

Garden Part 1

Growing up we had a garden most years. I loved the tiny baby carrots fresh from the dirt. So sweet and tender. My mom grew these amazing strawberries in a rock garden and we had several rhubarb plants. I am sure this is where I learned to love dirt. The loamy feel of it in my hands, the earthy smell surrounding me. Moving into this house has opened the opportunity for us to have our own garden. Mr. Ramon has never actually grown anything before so this is going to be a fun adventure for us. I am so excited. 

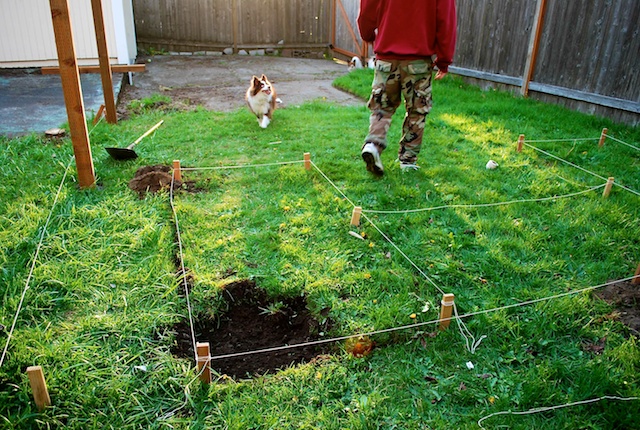
We watched the sun in the backyard for several weeks to determine the location that would get the most sun. With the three dogs I knew we needed to enclose the garden or risk them running through and digging up the plants. 

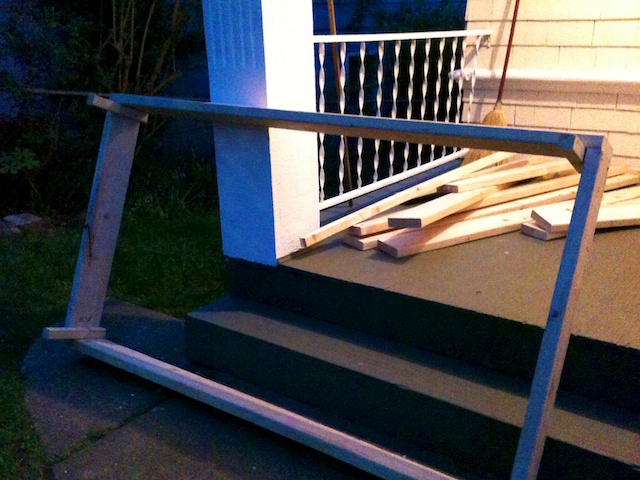
I did some research on building a fence. The key it seems are the posts. Making sure you bury enough post and secure it with the right type of concrete. We mapped out the space and decided on 5 posts and using the current fence as an anchor for the wiring. 

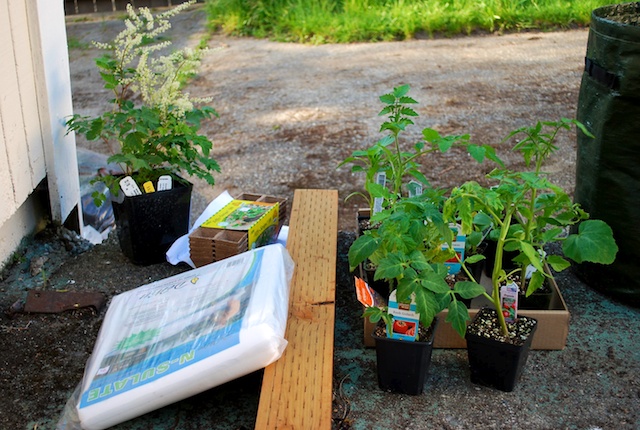
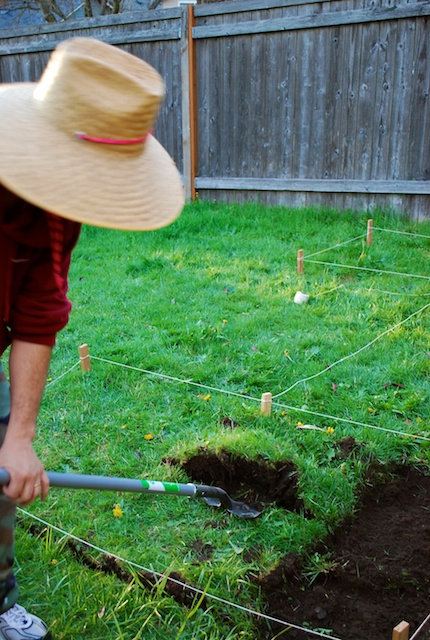
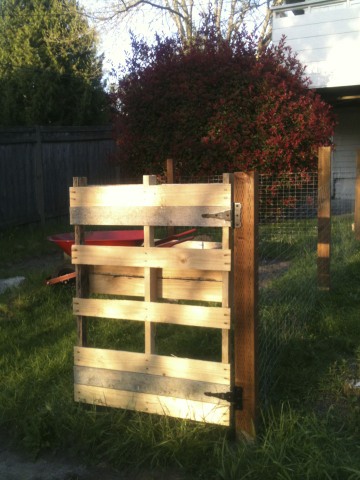
We are without power tools so it is nice that the guys at Home Depot will cut your wood for you. This made it easier to get into the mini cooper as well. We also picked up the concrete - quick type. The next weekend while I was at the shop Mr. Ramon dug the post holes, leveled them and set the posts with concrete. I was super impressed. The fifth post he will put in once we decide on a gate. 

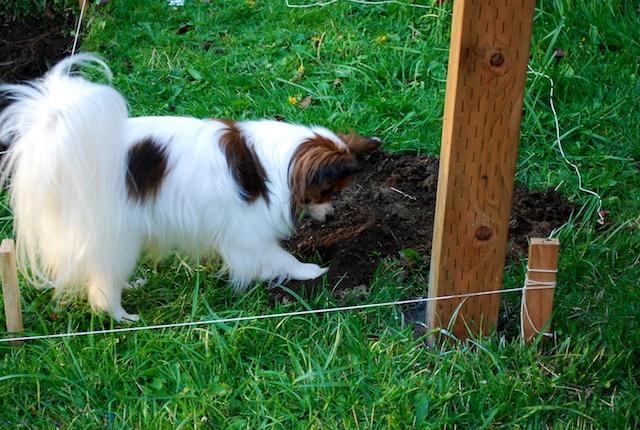
Sophie decided to help dad dig!

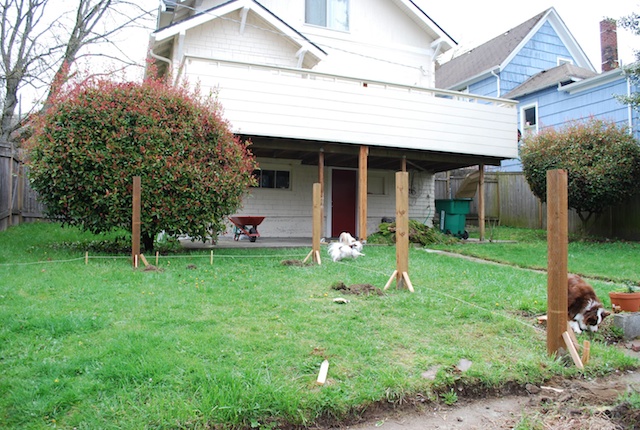
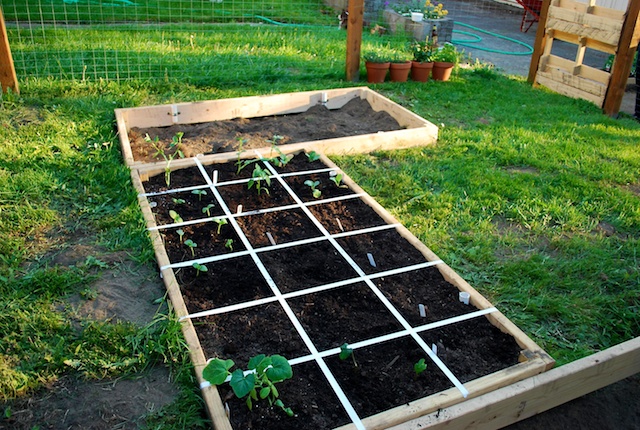
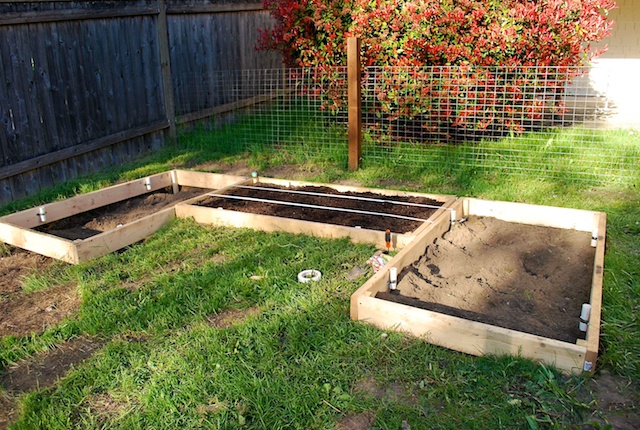
This is a good size area that will work for the size of garden we are planning on planting this year as well as give room for growth next year and then down the road for whoever gardens in this space. 

We decided on open wire fencing. Really affordable and nice looking. We bought a roll of it and I used large staples to secure it to the posts. 

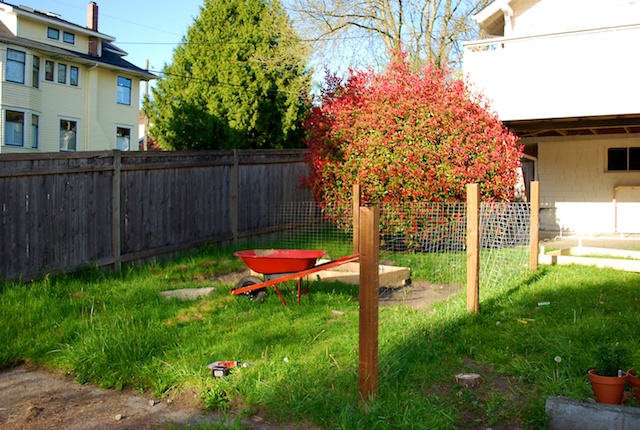
I am excited about the progress so far and looking forward to finishing this part so we can get to the exciting part - the planting!