Easy Vegetarian Three Bean Chili
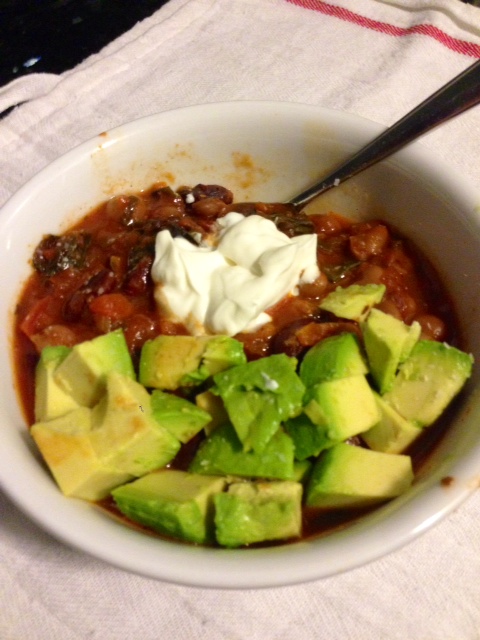
As we get close to the arrival of baby girl I have been determined to fill the freezer with portioned meals that can be thawed as needed. Foods that freeze well are baked pasta dishes, many casseroles, soups and chili. One of our favorite big batch meals is this super easy Three Bean Chili. I will often make up a batch for weekday lunches - the first couple of days we eat it as a regular chili topped with avocado and sour cream. Then we portion it over rice or a baked potato. It is super tasty, filling and versatile.
Vegetarian Three Bean Chili
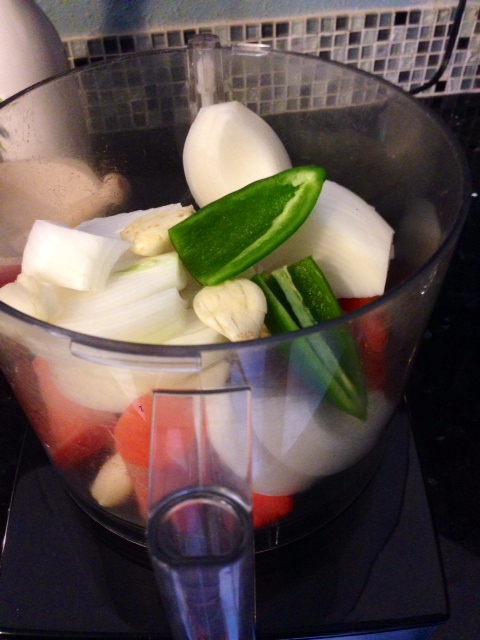
2 carrots
1 large onion
1 jalapeno seeded
3 garlic cloves
olive oil
1 1/2 teaspoons dried oregano - crumbled
1 1/2 teaspoon cumin
1 1/2 teaspoon chili powder
1 chipotle chili canned in adobo sauce - minced
1 28 oz can whole plum tomatoes - drained and crushed
1 bay leaf
1 15oz can each - kidney beans, garbanzo beans, pinto beans - drained and rinsed
2 1/2 cups water
1 1/2 teaspoons coarse salt
1/4 teaspoon ground black pepper
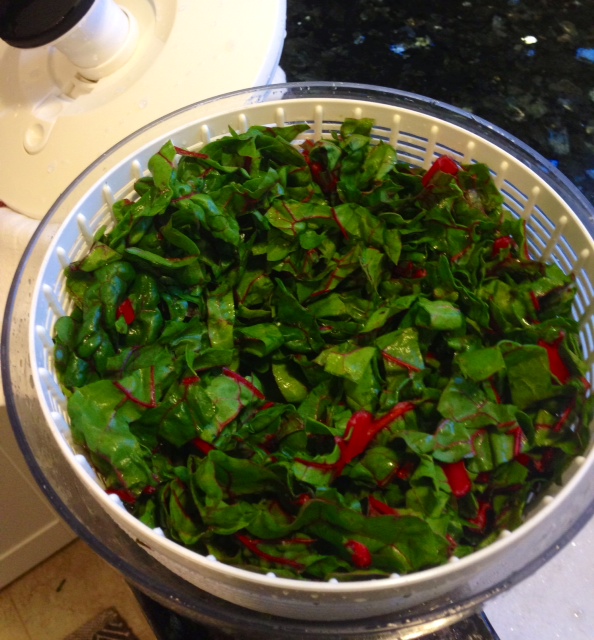
1/2 bunch swiss chard - stems removed and cut into 1 inch pieces
Toppings
diced avocado
lime wedges
chopped cilantro
sour cream
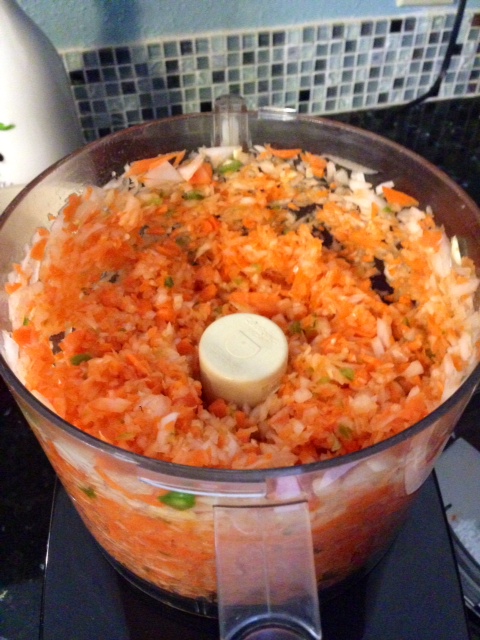
Chop by hand the first 4 vegetables or throw them into the food processor and pulse until chopped.
Heat 1 tablespoon of olive oil in stock pot over medium heat. Add chopped vegetable mixture and cook until softened about 8 minutes.
Add oregano, chili powder and chipotle pepper and cook, stirring constantly for 2 minutes.
Add the next 6 ingredients through pepper and bring to a simmer. Reduce heat to low simmer, cover and cook for 1 hour.
Remove bay leaf. Add swiss chard.
Cook uncovered for 20 minutes to allow chili to thicken.

Serve chili with toppings such as avocado, lime and sour cream. It also is delicious over brown or white rice or a baked potato.
This recipe freezes very well. It makes about 8 servings of 1 cup each. Let chili cool and portion into freezer containers or quart size freezer bags. Soups and chili portioned into bags lay flat when filled and take up less room in your freezer. Remove all air from bags when sealing and label with name of recipe and date. When ready to eat, just pull out and let thaw in refrigerator then gently heat on stove or in microwave.
This recipe is sure to become a favorite of your families for weekday meals or super convienient freezer meals.

 Food, Health, Vegetarian