Refinished Baby Armoire
 Wednesday, March 5, 2014 at 02:03PM
 I love the idea of a child sized armoire in little girls room and hanging some of her clothes eventually at her level so she she can choose her outfits. This gives her some independence and that feels great to me. When looking for any type of furniture for a nursery it is very clear that everything is made and designed for the adults. Just about everything we found under the title "armoire" was something I would use in my room.
I have seen various vintage smaller armoire type pieces over the years on blogs and Pinterest boards but they are few and far between and even rarer in the real world. I started a Pinterest board with ideas and inspiration for what we wanted to find. I was open to converting a dresser to an armoire if we could not find one that was perfect as is.
We are lucky to have a really great Goodwill in our neighborhood. We stop in often and have found some great deals over the years. We stopped in one Saturday morning and could not believe our eyes when we found this piece in the furniture section.

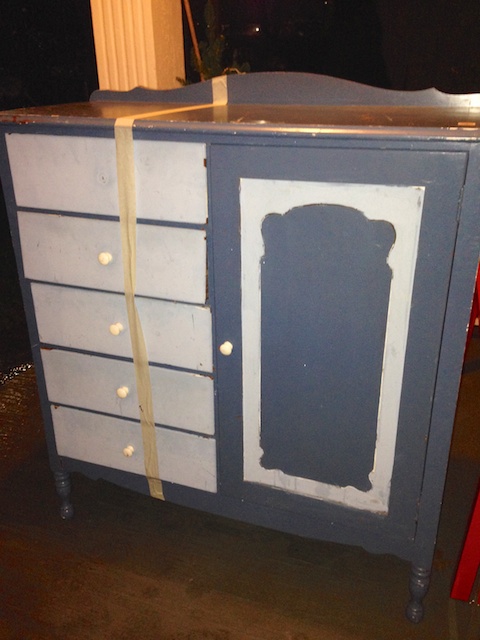
Wowzers!!!! It was exactly what we were looking for! It was priced at only $29! Other than the hideous paint job it only was missing one of the drawer supports - an easy fix.
I was so excited to get this project started. First we had to pick out a paint color. We settled on Pantone Pool Green.

I grew up in a family that built homes, managed remodels and refinished all sorts of furniture. So it is something I love to do. That said, I don't do this everyday so I want to make sure I have all my ducks in a row so the project turns out the best way possible.
These are the supplies I gathered for this furniture painting project:
- Sandpaper - usually 3 grits - rough, medium and ultra smooth
- Primer - I love Zinsser Bullseye 1-2-3 for all my painting projects
- Tack cloth to get up all sanding residue
- High quality paint brush
- Paint in flat finish - I find it goes on with the least amount of brush strokes
- Minwax Polyacrylic - I usullay use gloss for furniture
- Blue tape
- Floor covering
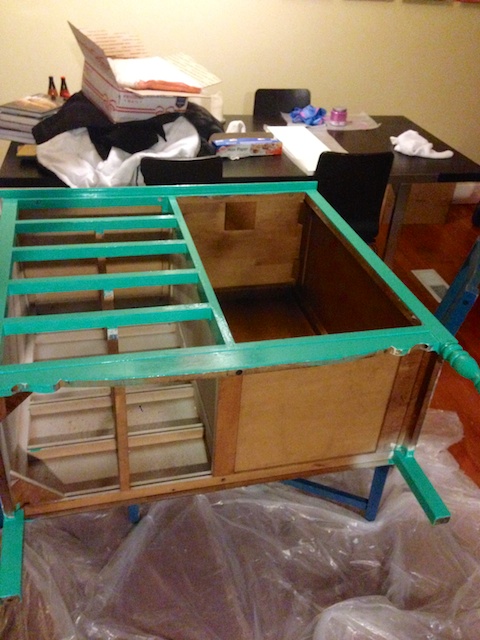
First I took the piece apart. Pulled out the drawers, took off the armoire door and the hardware to clean it of old paint residue.
The armoire had a very thin coat of paint on it so it only required a small amount of hand sanding to get it smooth and ready for primer. Its important to take your time sanding and prepping your piece as every flaw will show through to the final coat of paint.
Once my primer had a day to sit and dry very well I followed with 2 coats of the Pool Green paint. I used blue painters tape to tape off areas I did not want to get the gree paint on. Like the back side of the drawer fronts and the inside of the armoire door.


Once the two coats of paint dry completely I inished the piece with 2 coats of polyacrylic. The reason I use polyacrylic over other types of top coats is because only polyacrylic does not turn yellow over time. I love the gloss on painted furniture and it leaves a nice stong finish for high use pieces.

Mr. Ramon fixed the drawer support with a leftover piece of wood and we ordered these new white ceramic and gold trimmed knobs from Anthropologie. They made the piece just pop! I was so happy with the final results. It looks terrific in the room.


