Entries from February 1, 2014 - February 28, 2014

Wednesday
Feb192014

Hello Robin!!

As a baker of cookies I was very excited to hear about the new cookie shop Hello Robin that would be opening in Seattle on 19th, a block that is quickly gaining fame with the addition of Linda Derschangs Newest restaurant Tallulaha and the beautifully curated grocery Cone & Steiner. Hello Robin is a beautiful partnership between Robin Wehl Martin and Molly from the well know Molly Moon's Ice Cream

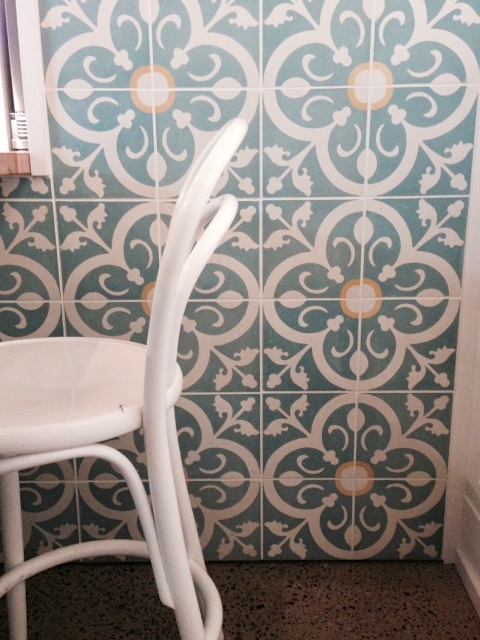
Mr. Ramon and I stopped in one night to check out this spot and get our cookie on. I was blown away by the design of the shop. The use of robins egg blue and white were clean and sophisticated. The space - though small feels full of light and air with the high ceiling and open plan. I was so excited to see a huge work table/bar with chairs around it allowing for classes, demos and getting up close and personal to the cookie making process. I think one of the most beautiful parts of the store is the blue and white tile. 
Now the cookies. I am a bit of a cookie snob and know just what I like. Mr. Ramon chose the Habanero Orange Chocolate and I decided on a classic chocolate chip and a ginger cookie. I really liked the domed shape of the cookies knowing I would find it chewy in the center and just crispy enough around the edges. Honestly I was prepared to be a bit let down as I usually am when buying others cookies - but these were magical in every way. I honestly can't say I have had a better cookie anywhere in the city. 

The customer service was also fantastic. The employee working, Sophie was excited about her wares and we swapped cookie stories. It was so nice to have a freindly face working in this beautiful shop. 
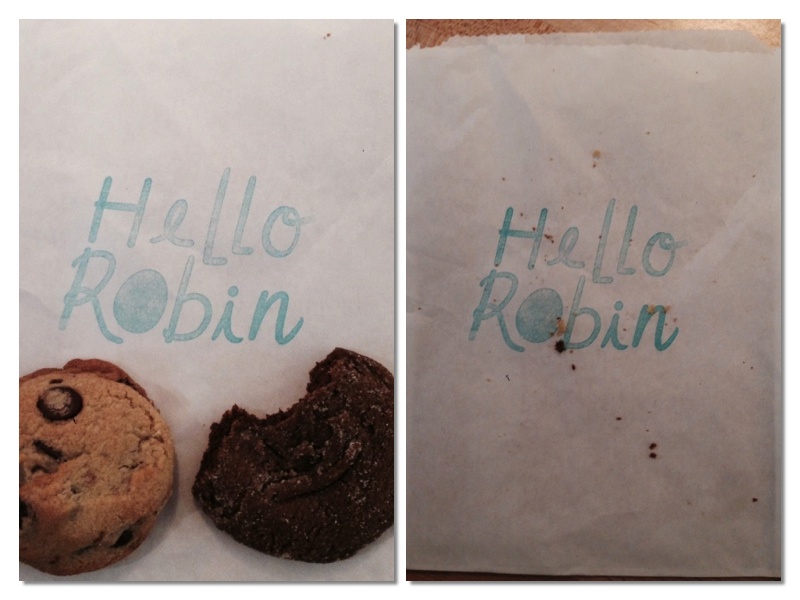
If you are out and about I recommend you stop in at Hello Robin and pick up a couple of these amazing cookies to snack on. 

Friday
Feb142014

Valentines Brownie Hearts

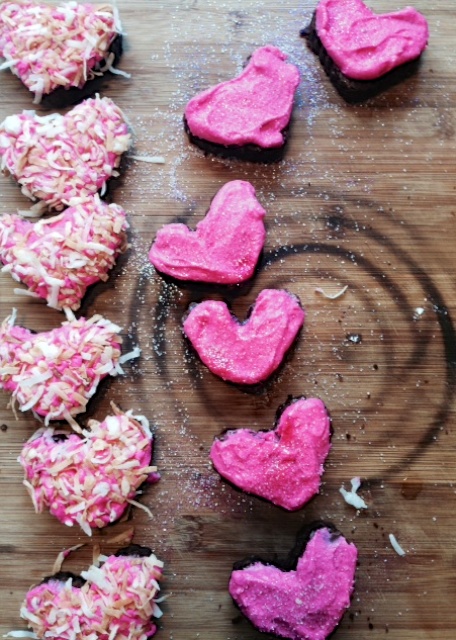
I had quite a few orders for baked sweets come in for Valentines Day. One client lets me decide which type of goodies to bring and I decided to bring them an assorted box of cookies, cupcakes and these adorable frosted brownie hearts. Perfect for the sweetie in your life!! 

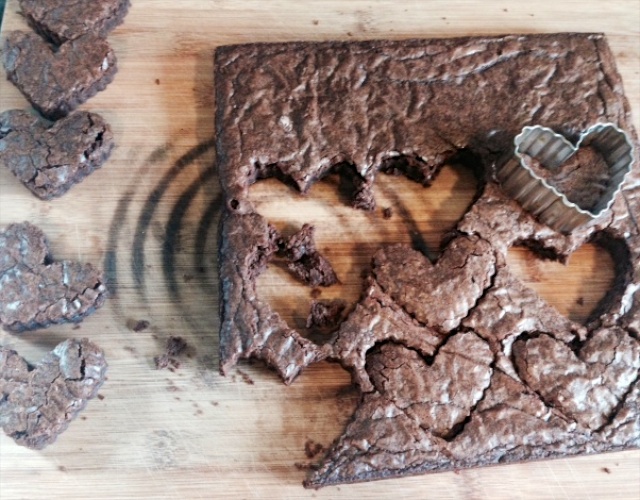
The great thing about these is you can use any brownie recipe - even a box variety if you are short on time and ingredients. You want to bake your brownies in a 9x9 pan so they are thinner and you get more hearts. Choose a cookie cutter that is the size you like for your brownie cut outs. I used hearts since its Valentines Day but you could use any shape for any occasion. 

I lined my brownie pan with parchment so when the brownies were fully cooled you could pull them out in ine sheet and easily cut them with the cookie cutter. I save all the leftover brownie pieces for someone in the house to snack on! 

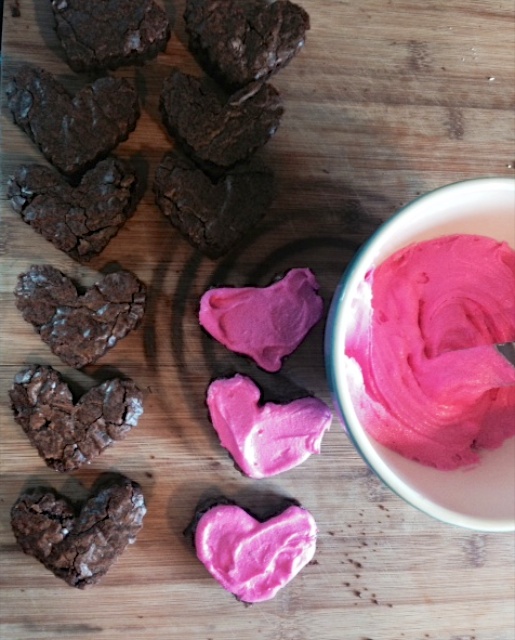
These are fun the way they are but an easy frosting and some toppings make them really special. I made up a quick "buttercream" in a pretty rose color and frosted all of them. Some I added sparkles to and the others I rolled in toasted coconut. Yum!

The possibilities are endless. Pretty much any sprinkle or topping canbe used. Have fun. This is a great thing to do with your children. 

Easy Buttercream Fosting

4 tablespoons cold butter cut into pieces

2 cups powdered sugar

1 tablespoon milk

1 teaspoon vanilla

Place all ingredients into the bowl of your mixer. Blend all ingredients until smooth. 

Should be a nice smooth texture. 

Add food coloring if desired

Tuesday
Feb112014

Quick Bathroom Storage Update

The house Mr. Ramon and I are currently renting went through a total renovation right before we moved in. This 1909 home has some great qualities: original hardwoods downstairs, large closets in each of the 3 bedrooms and a lovely brand new kitchen. Overall the remodel was done pretty well and enhanced the homes value. One big downfall for me is the paint color scheme chosen - the main part of the home  including the ceilings is a "neutral" we call zombie skin and the bath and a half are painted a sage-ish operating green. To say I can't stand this color is an understatement. 

I knew I needed to remedy this bathroom paint choice. I decided to go with a blue grey for both bathrooms. It was an instant change for the better. I wanted to take the downstairs bathroom one step farther. It is pretty bland with a toilet and a pedestal sink with mirror only. No storage options at all. 

There is a lot of space over the toilet for a couple of shelves. This would add some storage options for my makeup brushes, maybe some pretties and a candle for when we have dinner parties. 

I picked up 2 sets of metal shelf brackets at Lowe's. I wanted to add a pop of color to this project so I painted the brackets a neon orange. I love spray paint it is so magical in the way it can transform just about anything. I used this spray painting tutorial to get smooth results. I did use a primer - not only to get it smooth and consistent but to also make the neon paint pop. 

I bought a plain board and cut it the length I needed for the 2 shelves. I then painted it a nice glossy white. But you could easily buy 2 pre made white shelves at any home store. Once every piece had dried for a couple of days I hung them over each other. 

This is where precision comes in. First I marked the center of this wall with pencil. I had a specific small area to hang these sheves in and wanted them to be centered. I also marked the center of the shelf. I lined these 2 marks up and made marks at each end of the shelf on the wall. This allowed me to figure out where each bracket should be. 

I placed the first bracket into the wall with one screw. I then rested the shelf on the attached bracket and used my level to ensure I had the second bracket in the correct location and the shelf was level. I marked a dot in the hole of the second bracket where the screw would go and took off the shelf. I then attached the second bracket wth both screws and placed the second screw in the first bracket. 

The second shelf was easy - I just figured out what spacing I wanted by holding the shelf up to the wall. Then I used the bottom shelf as a guide and hung the brackets. 

The shelves I used were thin so I didn't want to screw the shelf to the brackets. I knew that these shelves would not be holding to many items and nothing super heavy. So I opted for attaching the shelves to the brackets with a strip of Liquid Nails adhesive that I had left over from another project. 

Here they are all done. I let the paint cure on them for about a week before I put anything on them. 

A week later I added some pretty touches and voila - storage!!

I was so glad to get some personality into this space and add a little much needed storage. 

Wednesday
Feb052014

Celebrating Wedding Anniversaries

I have always loved celebrating milestones. Growing up my mom took birthdays, anniversaries and other milestones very seriously. Our birthday parties were always something to remember - from surprise parties to large gathering of friends. I can't remember when I was first aware of my parents wedding anniversary, but at some point I knew that this special day existed. These moments were filled with tokens of love from flowers and cards to jewelry and other gifts. I knew that these anniversaries were important moments and something to be treasured.

Mr. Ramon and I are celebrating our 3rd wedding anniversary this year. From the beginning of our marriage I knew I wanted to find a neat way to celebrate our anniversary. I thought of the universal list of wedding anniversary gifts and knew that we could use that as the basis for any gift giving when our anniversaries rolled around. 

The history of giving certain gifts for certain milestones dates far back to medieval times when milestones of 25 and 50 years together were celebrated. The list became even more popular during the Victorian era when additional gifts for certain milestones were added. The gifts start off with modest materials like pottery and paper and over time the value of the gift material increases to the likes of silver and diamond. 

There are two versions of this anniversary gift list - the traditional list with items like paper, tin and fruit on it and a more updated list that replaces some of these items with modern gifts like clocks, appliances and desk sets. We settled on the tradional list for our anniversary gifts. 

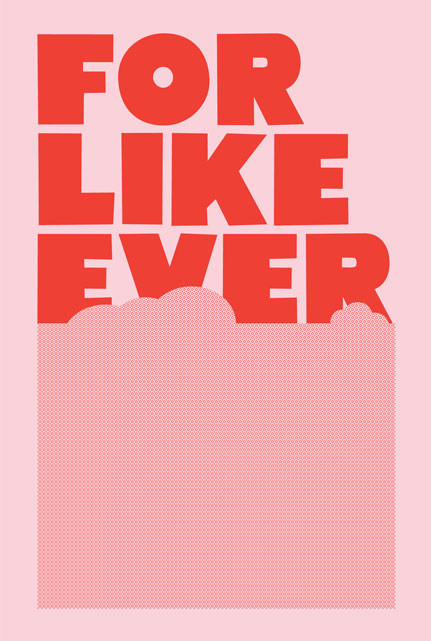
For our first anniversry paper was the tradional gift on the list. We both suprised each other with art for this anniversary. I had been eyeing an amazing poster from this great design site - Super Rural for some time and it was perfect for my gift to Mr. Ramon. I framed it in a big white frame and we hung it over our first floor landing. 

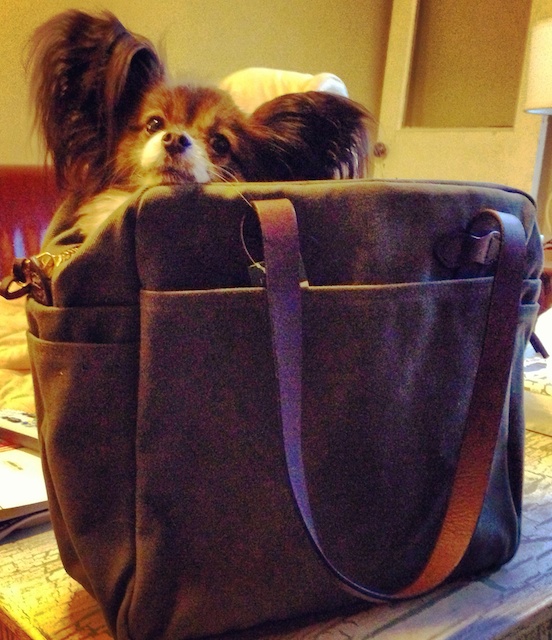
When our second anniversary came around we both embraced the theme of cotton. Mr. Ramon chose a cotton canvas bag from Seattle company Filson. I was starting a new job around this time and it was a practical and beautiful gift. Mischa thought this bag was for her!

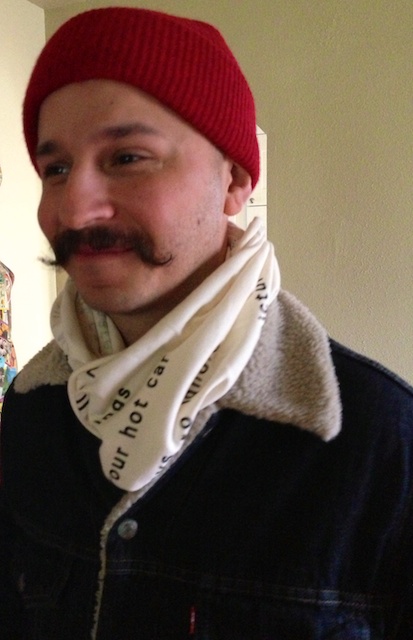
For Mr. Ramon I tried to find something reallly unique that would celebrate our special day. I found someone on Etsy that makes cotton knit infinity scarves with hand printed wording on them. I chose to have the lyrics of the song I walked down the isle to - Radiohead - All I Need printed on it. I was really excited about this gift and it looks awesome on Mr. Ramon.

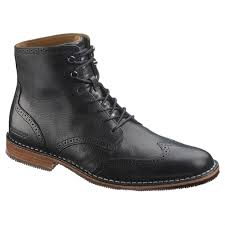
This year the list prompted us for leather gifts. There were a lot of "normal" leather gift type items Icould have picked up for Mr. Ramon - wallets, watch, key fob etc. He has some really nice leather items already that do not need upgraded or replaced. So I opted for a ver nice pair of leather boots that he can wear often and get some gret use from. 

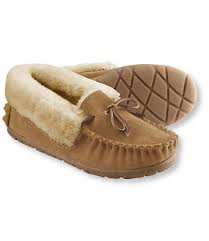
Mr. Ramon was a little more practical and I was super excited about my gift. He chose a pair of fancy leather LL Bean slippers. I have been wearing the same worn out, ratty slippers for several years. This gift is going to be great at keeping my toes warm in our cold house!

I look forward to many more anniversaries with Mr. Ramon and using this list to guide our gifts. Would love to have you share how you celebrate anniversaries and milestones.