Entries in Garden (24)

Monday
Oct142013

Preserving Onions - Freezing

While this may sound like a no-brainer - it was a nice "light bulb" moment for me. When faced with a large amount of Walla Walla Sweet Onions from my garden and the desire to keep them around until I was ready to use them I had to ask myself "Can I freeze onions?". Of course I can!! What an easy way to store them. 

If you find yourself with an abundance of onions or even 1 that you want to not waste here is a great way to keep it on hand. 

You need your onions, freezer quart size bags and a way to chop - I used my Cuisinart food processor. I just didn't have it in me to chop the many onions I had by hand. 

Peel and chop your onions to the size you like them. I like a small dice. Then scoop them into the freezer bags in measured amounts. I went with 1 cup per bag. Seems like a common amount for a recipe. Squeeze all the air out and seal the bag. I used a permanent marker to label each bag. I placed them on a cookie sheet and slipped them into the freezer. 

Voila!! Already chopped onions ready to go for the next cooking adventure!! 

Tuesday
Oct082013

Preserving Onions - Pickling

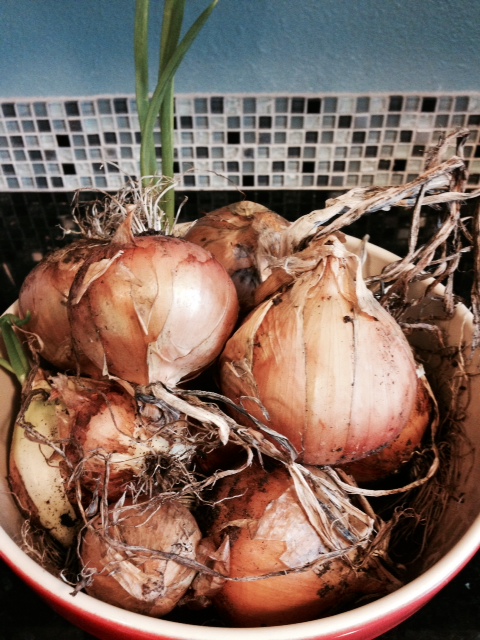
I had no idea that our garden was going to blow up this summer!! With that came an amazing crop of Walla Walla Sweet Onions. These onions are amazing and we loved using them in all of our cooking all summer long. These onions are so popular they have their own website dedicated to them. Check it out if you want to learn more about these special onions. 

The rough part about sweet onions is that they do not store well due to the high sugar content. I wanted to find a couple of ways to hold on to these guys as long as possible. 

With the amount of pickling and preserving I have been doing I thought that some of these would be awesome as pickles. This is a quick and easy way to make a tasty addition to your pantry. I imagine they will be great on burgers, with a relish tray and even right from the jar!!

Ball is the expert on home preserving. So I would check out their site if you are new to preserving or if you need a brush up on procedures. They have a great "Getting Started" area of their site. For this recipe of Pickled Sweet Onions you will need the following canning items -  

  • Jars with lids and rings
  • A jar lifter (handy to keep you from getting burned)
  • A large pot to sanitize your jars and water bath them once filled
  • Pot holders

Follow the steps to sanitize and heat your jars and heat your lids. Then prepare the onions and pickling brine.
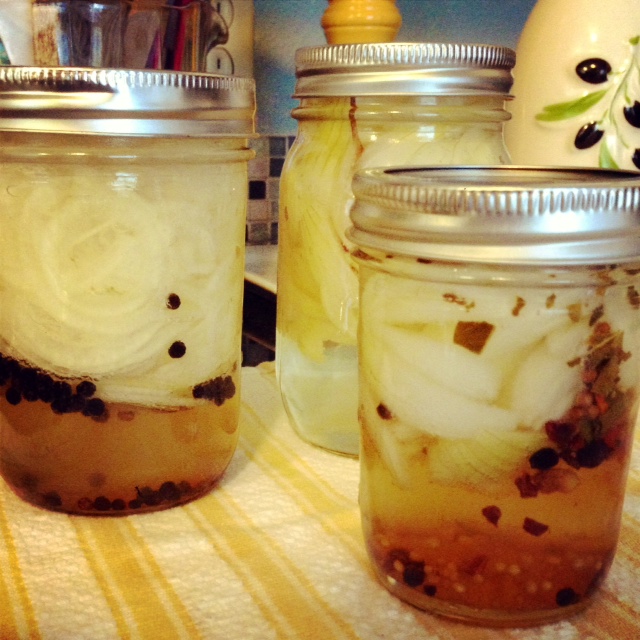
Walla Walla Sweet Onion Pickles

2lbs Walla Walla Sweet onions - or other sweet onions available 

Spices - peppercorns, dried chilies, bay leaves, mustard seed - your sky is the limit!!

Peel and cut the onions as desired. I made some chunks as well as some thin slices that will be great for burgers.

Brine

1/2 c Sugar

2 1/2c White Vinegar

1/2 tsp Canning/Pickling Salt

Bring all ingredients to a boil 

Once you have all your ingredients ready to go it is time to fill jars!

Place your desired spices into the bottom of your jars. I went basic with peppercorns and bay leaves in a couple and dried hot chilies in another. 

Pack your onions into the jars and ladle in hot brine leaving 1/2 inch room at the top of the jar. 

Wipe any brine from the edge of jars and place hot lids on then screw just tight with ring. 

Place in water bath for 15 minutes. 

Let cool on counter after water bath and then store in cool location. Enjoy after 4 weeks!! 

Wednesday
Aug142013

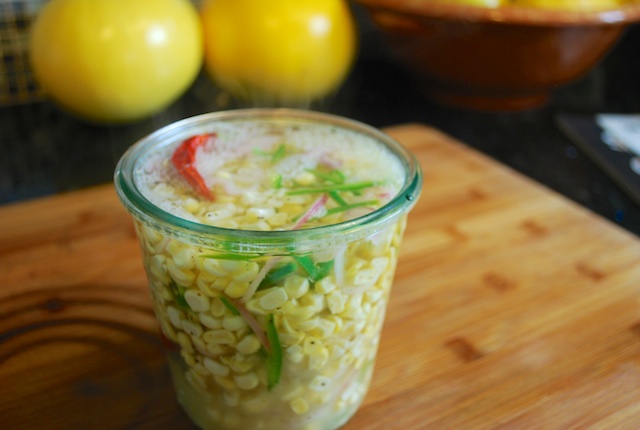
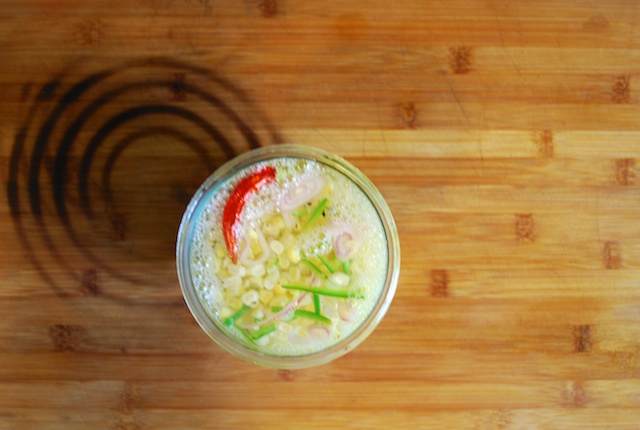
Spicy Pickled Corn

It has been really warm here in Seattle - in a good way. This summer and the amount of heat has been helpful for our garden. We have been experiencing amazing crops of lettuce, cucumbers, squash, onions, peppers, beans and peas. We have had so much fresh produce we have had to give some away. If we have a great summer like this next year I may even start a little farm stand!

One thing for sure is that these amazing flavors of summer just don't last long enough. So while we find 100 ways to eat squash I also look for ways to preserve the flavors of summer. I love quick pickles and find that almost every summer vegetable can be turned into one of these tasty delights. This time I want to make Spicy Pickled Corn. 

Corn like so many summer vegetables is gone quickly. But when it is here it is should be taken advantage of. I like to roast it on the grill or peel it off the cobs and turn it into salads and soups. Today I picked some jalapeno from Mr. Ramons pepper plants and thought the corn and these spicy peppers would be a good match.

Spicy Pickled Corn

You need 1 clean quart size jar with lid - I use either a Mason or a Weck jar. 

Corn Mixture

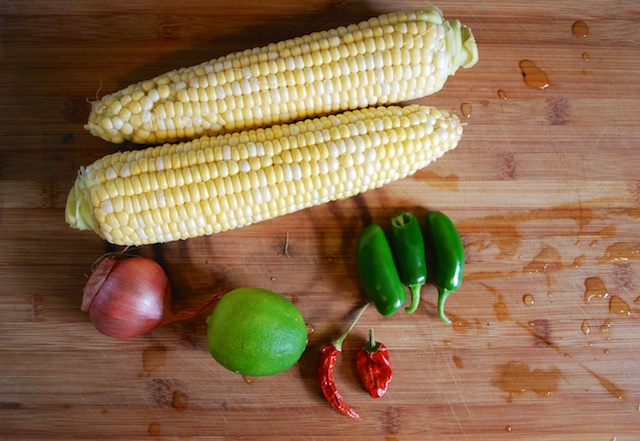
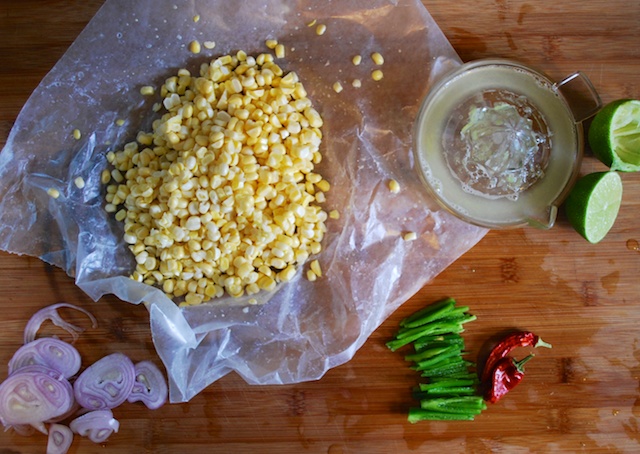
2 cups fresh from the cob corn kernels - about 2 ears of corn

2 small jalapeno seeded and sliced very thin

1 large shallot peeled and sliced very thin

2 small dried peppers of your choice

1/4c fresh squeezed lime juice

1/4 tsp fresh ground pepper

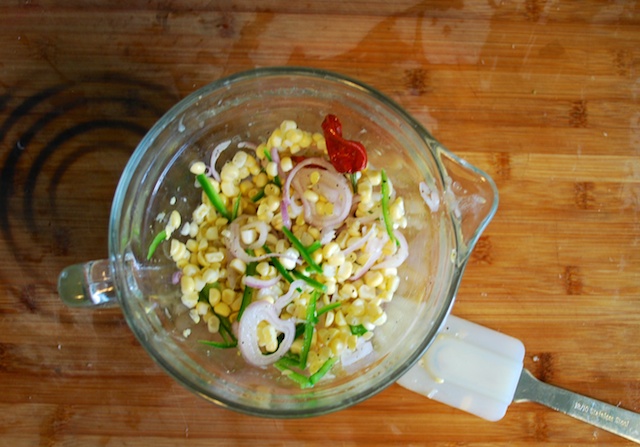
Mix all ingredients together in a bowl then spoon into jar. 

Brine

1/2 cup white vinegar

3/4 cup filtered water

1 tsp sugar

2 tsp kosher salt

Boil these ingredients and pour over corn mixture in jar.

Gently stir and seal jar.

Let cool then keep in refrigerator for about 1 month - if it lasts this long!

I love this spooned over greens or with grilled steak. It is crunchy and tart and delicious. Enjoy!

Tuesday
Jul302013

Tomato Supports

Mr. Ramon asked me the other day what would be the one vegetable I would choose if I could only choose one for the rest of my life. I said tomato. Oh how I love a proper tomato out of the garden - warm from the sun. I have offered to show Mr. Ramon the delights of a tomato sandwich. Just soft white bread, real mayo and warm thick tomato slices with a little salt and pepper. I am just about drooling thinking of it. For right now I will have to buy my tomatoes at the farmers market. Ours are just starting to produce and I am eagerly awaiting their arrival.

Last year we did not have the best supports, using traditional tomato cages that ended up being to small for our plants. We had limbs that were not well supported - it was a sad disaster.

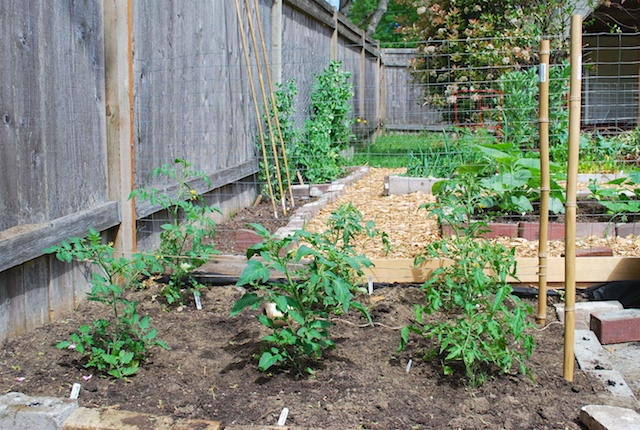
This year we decided to put in 6 tomato plants in one bed. We knew we needed strong supports and I was really eyeing the colored tomato cages at the local nursery. But my budget was pretty non existent. We thought about wire fencing, regular silver cages and PVC. We eventually found a system we thought met our needs .

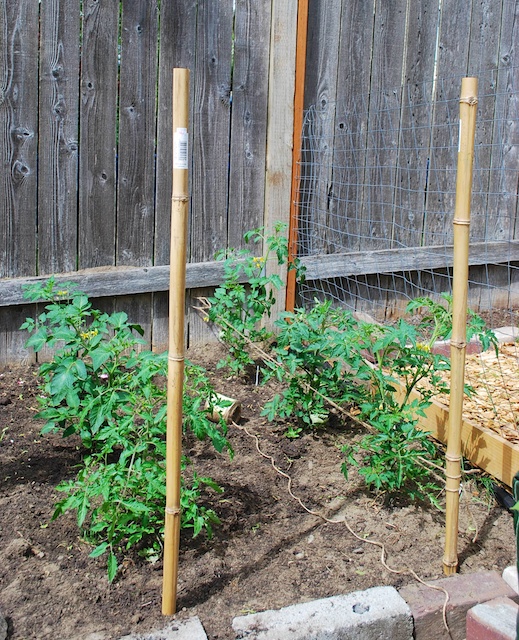
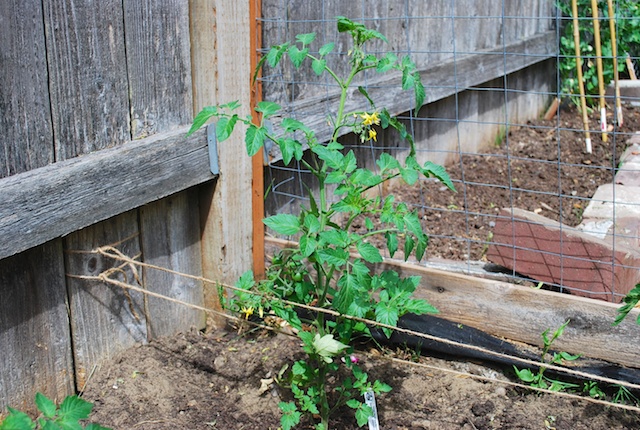
I call this system "string support. It is inexpensive and has worked for us this year. Basically you create alternating string supports on each side of your tomato stalks as they grow - keeping them standing upward. 

You need:

  • 2 8ft -10ft thick bamboo poles per row of tomatoes
  • 1 roll of hemp or other thick natural twine 
  • scissors 
  • rubber mallet or hammer 

Begin by planting your tomato plants in rows the suggested space apart. We planted 3 in each row and 2 rows. We have a fence at one end so only needed 1 bamboo pole per row. 

At the end of the rows of tomatoes pound in one bamboo pole deep enough that it can take the tension of the string and the weight of the tomato plants as they grow. 

Next stretch out your twine a bit. We want to support the lower part of the plant to start. Tie to one of the bamboo poles close to the bottom of the plants - where it will support the first set of branches. Take the twine and pull it tight to the bamboo pole at the other end. Wrap it around the pole and pull it tight then tie it. 

You second row of twine should be just a few inches higher on the other side of the plant. When out plants were this high we added about 4 strings - 2 on each side alternating sides to create a tension support. 

About each week as plants grow - continue to run tight alternation strings to support the plants. You will have to move the growing branches up and through the web of twine here and there. 

We now have tomoato plants over 5 feet tall and they are all very well supported with this system.

I would love to hear if you try this method and how it works for you . 

Friday
Jun282013

Saving Summer - Rhubarb Schnapps

I have a real love for rhubarb. As a kid in Oregon my mom grew a vast sea of strawberries in a rock garden. This garden was topped by several huge rhubarb plants. I remember her picking strawberries and rhubarb, her head covered in a scarf, crouched in the garden. She always trimmed off the big rhubarb leaves and made sure they went securely into the trash so none of the animals would get them since they are poisonous. 

I couldn't quite comprehend a vegetable that acted as a fruit and tasted so horrible raw. So sour your face would pucker up. But my mom worked her magic and made pies and jam with rhubarb that could blow your mind. Her Strawberry Rhubarb pie was a favorite of my dads. Sweet and tart with a beautiful buttery crust. Yum. 

I had an abundance of rhubarb from a friend and wanted to do something special with it. I love the idea of infused spirits and decided to concoct a rhubarb schnapps. 

Schnapps in America translates to a strong grain alcohol base mixed with any variety of fruit and other flavors, sweetened and producing a syrupy like drink. Why not Rhubarb? 

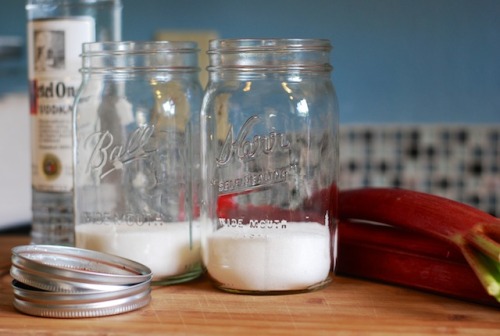
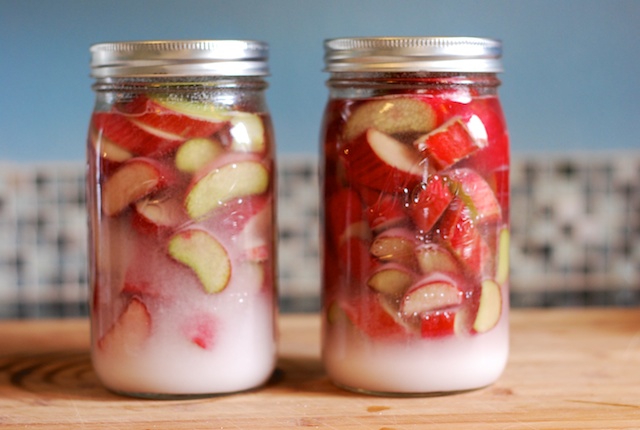
Start with about 2 pounds of rhubarb trimmed and washed. One 1 liter bottle of average vodka, 2 large jars with lids and 1 1/2c sugar. 

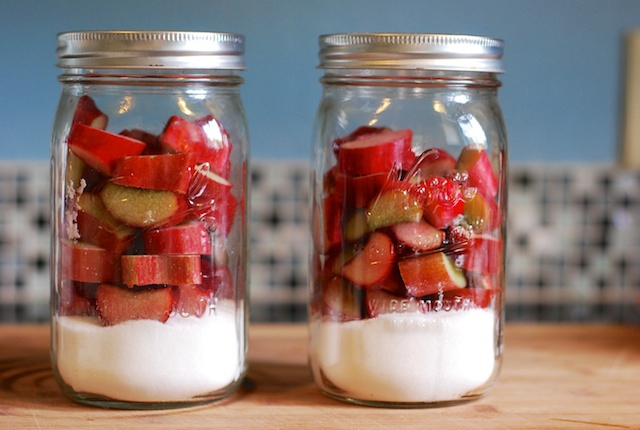
Divide the sugar between the jars. Slice the rhubarb into 1/2 inch pieces and divide between the jars.

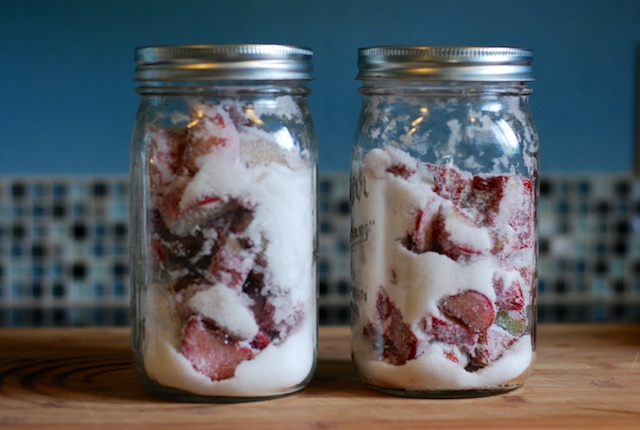
Put the lids on and give the jars a good shake. 

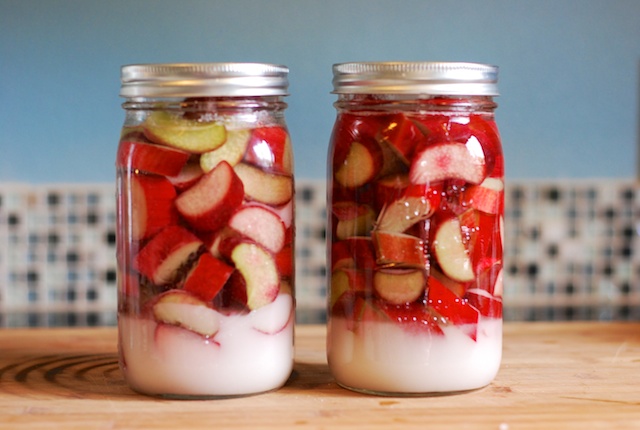
Pour in 2 cups of vodka. If it does not cover the rhubarb - add more. I used the entire liter of vodka. 

Put on the lids and give the jars a good shake. 

Now comes the waiting game. Find a dark cupboard to store this in for the next 6 weeks and up to 6 months. Shake the jars every other day for the first month - helps the sugar dissolve and turns the liquid a lovely pink. 

Drink chilled straight up or mixed with some sparkling water. You can also use it as a base for a cocktail or mix with champagne. Lovely elixer of summer!!!