Entries in garden (18)

Monday
Oct142013

Preserving Onions - Freezing

While this may sound like a no-brainer - it was a nice "light bulb" moment for me. When faced with a large amount of Walla Walla Sweet Onions from my garden and the desire to keep them around until I was ready to use them I had to ask myself "Can I freeze onions?". Of course I can!! What an easy way to store them. 

If you find yourself with an abundance of onions or even 1 that you want to not waste here is a great way to keep it on hand. 

You need your onions, freezer quart size bags and a way to chop - I used my Cuisinart food processor. I just didn't have it in me to chop the many onions I had by hand. 

Peel and chop your onions to the size you like them. I like a small dice. Then scoop them into the freezer bags in measured amounts. I went with 1 cup per bag. Seems like a common amount for a recipe. Squeeze all the air out and seal the bag. I used a permanent marker to label each bag. I placed them on a cookie sheet and slipped them into the freezer. 

Voila!! Already chopped onions ready to go for the next cooking adventure!! 

Tuesday
Jul302013

Tomato Supports

Mr. Ramon asked me the other day what would be the one vegetable I would choose if I could only choose one for the rest of my life. I said tomato. Oh how I love a proper tomato out of the garden - warm from the sun. I have offered to show Mr. Ramon the delights of a tomato sandwich. Just soft white bread, real mayo and warm thick tomato slices with a little salt and pepper. I am just about drooling thinking of it. For right now I will have to buy my tomatoes at the farmers market. Ours are just starting to produce and I am eagerly awaiting their arrival.

Last year we did not have the best supports, using traditional tomato cages that ended up being to small for our plants. We had limbs that were not well supported - it was a sad disaster.

This year we decided to put in 6 tomato plants in one bed. We knew we needed strong supports and I was really eyeing the colored tomato cages at the local nursery. But my budget was pretty non existent. We thought about wire fencing, regular silver cages and PVC. We eventually found a system we thought met our needs .

I call this system "string support. It is inexpensive and has worked for us this year. Basically you create alternating string supports on each side of your tomato stalks as they grow - keeping them standing upward. 

You need:

  • 2 8ft -10ft thick bamboo poles per row of tomatoes
  • 1 roll of hemp or other thick natural twine 
  • scissors 
  • rubber mallet or hammer 

Begin by planting your tomato plants in rows the suggested space apart. We planted 3 in each row and 2 rows. We have a fence at one end so only needed 1 bamboo pole per row. 

At the end of the rows of tomatoes pound in one bamboo pole deep enough that it can take the tension of the string and the weight of the tomato plants as they grow. 

Next stretch out your twine a bit. We want to support the lower part of the plant to start. Tie to one of the bamboo poles close to the bottom of the plants - where it will support the first set of branches. Take the twine and pull it tight to the bamboo pole at the other end. Wrap it around the pole and pull it tight then tie it. 

You second row of twine should be just a few inches higher on the other side of the plant. When out plants were this high we added about 4 strings - 2 on each side alternating sides to create a tension support. 

About each week as plants grow - continue to run tight alternation strings to support the plants. You will have to move the growing branches up and through the web of twine here and there. 

We now have tomoato plants over 5 feet tall and they are all very well supported with this system.

I would love to hear if you try this method and how it works for you . 

Sunday
Jun092013

Radish Quick Pickles

I love pickles. When I was a kid one of my favorite after school snacks was a big green dill pickle wrapped in a paper towel. I was a weird kid. As a grown up I have loved to turn just about anything into pickles. And right now with the radishes going bonkers in my garden I thought I would pickle some. 

Quick Pickles are just that - quick. These pickles last about a month in the refrigerator and require no complicated canning procedures. What can you pickle? I love beets, carrots, green beans, onions, cauliflower and cucumbers. The fun comes in the seasoning - chili flakes, garlic, coriander, fennel seeds and black pepper. So many options! All you need is several caning jars with lids. I like a wide mouth jar if I have them - it is easier to fit he vegetables in. Vinegar - I usually use just plain white vinegar. But you can experiment with red wine vinegar, champagne vinegar or apple cider vinegar. Each add their own special nuance. 

For the radish pickles I decided to add some red onion, garlic and lemon peel. 

I chopped up my onion and peeled my garlic cloves. 

My radishes were fresh from the garden so I trimmed off the green tops, roots and scrubbed them.

Next I cut them into bite size pieces. Many of them were pretty small so I left them whole. 

Then I packed the jars. I added the onions and garlic as well as some black peppercorns and a bay leaf. I topped the jars with pieces of lemon peel. 

Now to the brine - 

I like my brine vinegary. I also don't like my pickles that sweet. But you can add more sugar if you like. 

Quick Pickle Brine

  • 1 1/4 cups vinegar
  • 3/4 cup water
  • 2 tablespoons granulated sugar
  • 2 tablespoons kosher salt

Bring to a boil on the stove and poor carefully into the jars over the vegetables. Submerging them. You may need to make double or triple batches of brine if you are making a lot of pickles.

Let them cool for 20 minutes - cover with lids and refrigerate. Let sit for at least one day before eating. Then store in the refrigerator for 1 month. 

They are great for picnics and BBQs - but mine mostly get eaten directly out of the jar!

Tuesday
Apr302013

Garden update Part 1

Last year Mr. Ramon and I built a little garden in the backyard of the house we are renting. He put up a great little fence and we put in a few beds. We wanted to upgrade our garden in a couple ways this year.

In between the beds our garden was filled with grass. I didn't look bad but was a real pain to Mr. Ramon when it grew long and he had to mow and weed eat between the beds and around the fence. Just awkward. It seemed like to much work to tear all the grass out so we came up with a solution.

Mr. Ramon mowed the grass as low as possible and we covered it with weed barrier cloth. I thought this was going to be super hard - cutting and fitting the cloth in the garden. But it turned out to be really easy to work with. I used these big metal hairpins for lack of a better word to tack the cloth to the ground. The cloth we chose breathes so water will move through it. But it will keep the grass from coming through.

Our next step is to go to the garden center and pick up the play chips needed to co re the cloth.

Stay tuned for the final piece!

Thursday
Oct042012

Canning Tomato Sauce

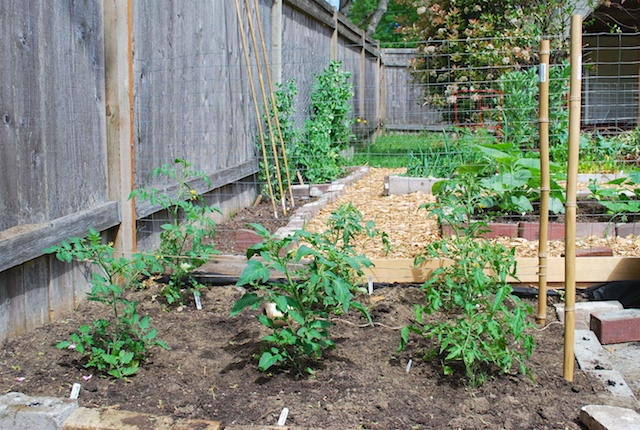
We were really excited to grow tomatoes this summer. We bought 5 varieties, two of them were paste tomatoes. I wanted to can my own basic tomato sauce. This last year we stopped using canned tomato products after reading this article on the 7 Foods Experts Won't Eat. Mr. Ramon and I have already cut out canned foods like soups, beans etc. When I read this we switched to tetra pack tomatoes as jarred varieties are soooo expensive.

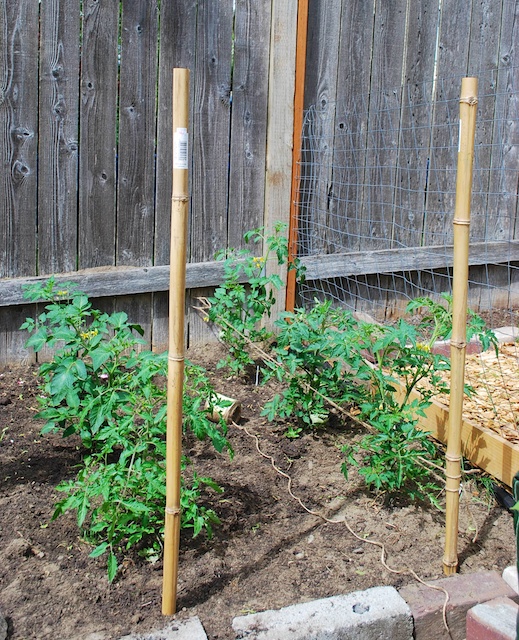
Our tomatoes had s slow start due to the long cold spring. This past month and a half have been super sunny and we have had some really good yields. That allowed me to can up my first tomato sauce.

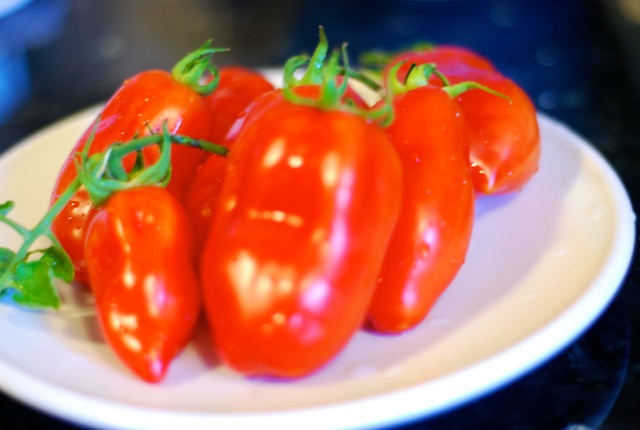
It all starts with fresh ripe tomatoes. Here are some of the San Marzano I used for this sauce. Beautiful!

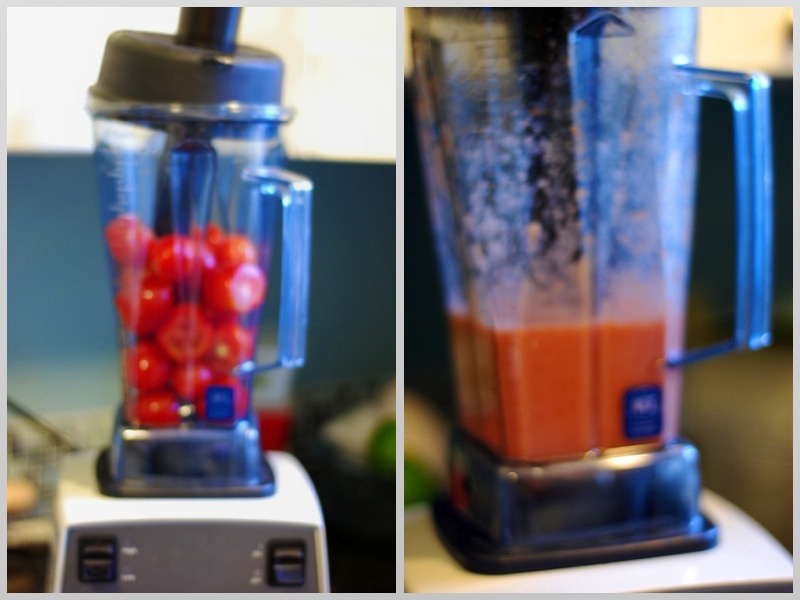
A quick wash and remove the stems. There are many ways to go about sauce and I am lucky to have a Vita Mix Blender that I can use to puree them, skin and all. Without this option you would want to quick blanch them in hot water and toss into an ice bath to slip the skins off. I also leave the seeds in as they will be pureed as well. You could remove the seeds if you want. 

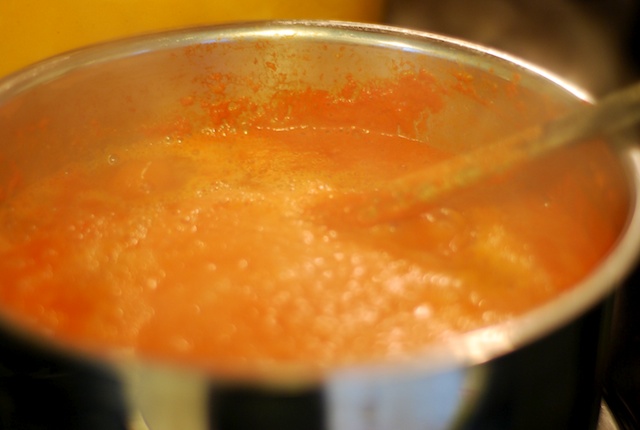
Once I have them blended super smooth I put them in a large stock pot to cook down to my desired thickness. I left this sauce a little thin knowing I can always thicken it when I use in in my recipes. 

While it simmers away I sterilized my jars and got my water bath ready to process them once filled. 

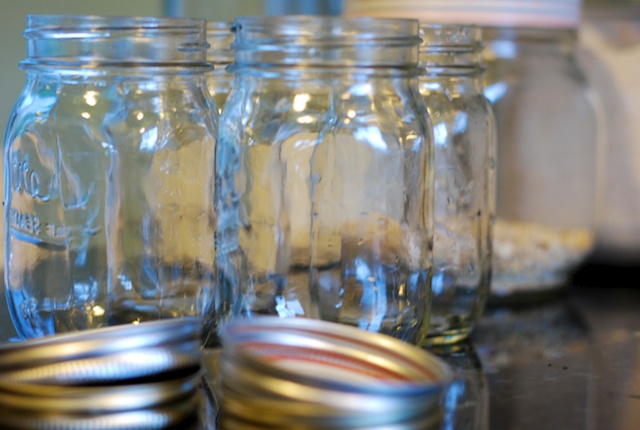
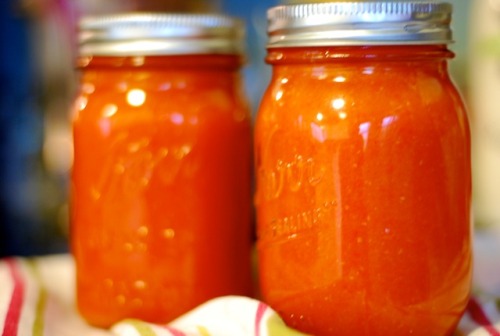
I added some lemon juice to each jar, filled with the hot tomato sauce and processed for 35 minutes. Here are the gorgeous jars once done. I hope to get enough tomatoes to make up a couple more batches. 

Tomato Sauce

Wash, trim and remove stems from your tomatoes. 

If you have a high powered blender you can belnd your tomatoes with then skins and seed intact until smooth. 

If you want to remove the skins: drip each tomato into boiling water for 30-60 seconds until skins split. Immediately put tomatoes into ice water. Remove skins with your hands. 

If you want to remove the seeds, slice in half and scoop out with a spoon. 

If you are not pureeing in a blender, you will need to simmer tomatoes until soft then puree with a hand blender, blender or food processor until smooth. 

Place your pureed tomatoes into a saucepan or stock pot and bring to a boil. Turn down to a simmer and let simmer until you reach the desired consistency. 

Using sterilized jars, add 2 teaspoons per quart or 1 tablespoon per pint of lemon juice in the bottom of each jar. Fill with hot tomato sauce up to 1/2 ince from rim. Place hot lid and rings on and tighten. Water bath process for 35 minutes.