Entries in Pantry (6)

Monday
Jul072014

Roasted Broccoli

I recently took a personal chef gig. Sounds awesome doesn't it. And for a new mom with a 11 week old baby it is awesome. I plan menus, shop then go into my clients home one day a week and prepare several dinners for them to reheat. The menus revolve around lean proteins and vegetables. So I am always looking for ways to coax flavor out of ordinary vegetables and make them more exciting. One way to do that is by roasting. I prepare a lot of roasted vegetables in the winter but also love them in the summer and find that they are great cold leftovers added to a salad. 

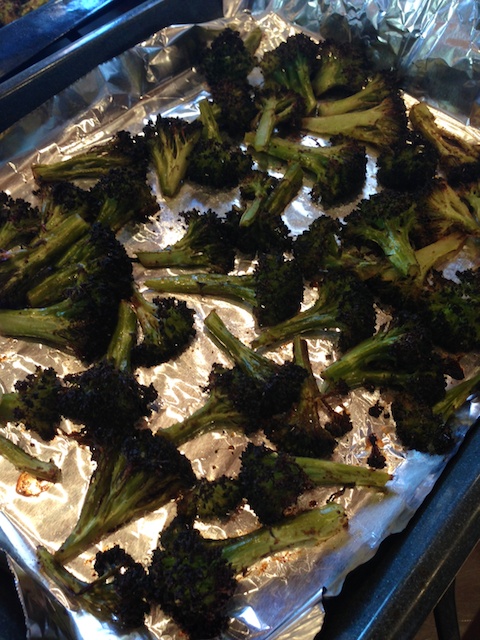
This week I decided to add some broccoli into the mix. I have a slight disdain to steamed broccoli. To many nights in the early nineties, steamed broccoli was on my Weight Watchers dinner menu. I find though that if I roast it with some tasty seasoning it becomes quite magical. 

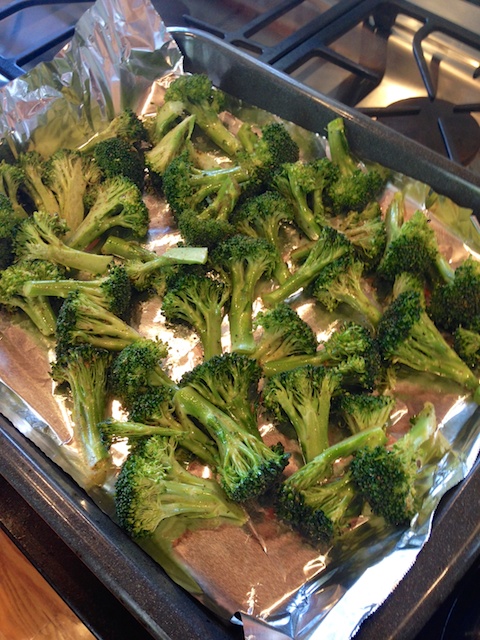
It is one of the easiest things you can do. Cut up the broccoli and toss into a bowl. Add some olive oil to lightly coat. Sprinkle with desired seasoning and lay out into a cookie sheet. I line mine with foil for easy clean up. Throw it in the oven at 375 degrees and about 30 minutes later you have transformed your broccoli. 
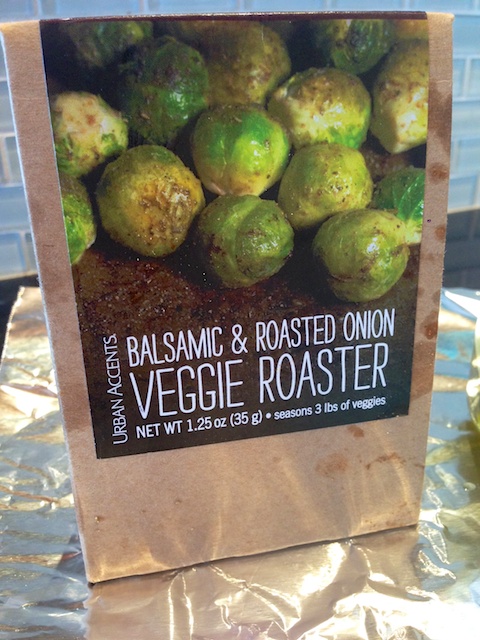
I love to try out new premixed vegetable seasoning mixes. Whole Foods, Cost Plus, Food 52 and the like usually have a variety of seasonings for vegetables. The one I bought recently is from Urban Accents. It is the Balsamic and Roasted Onion Vege Roaster. I found it at my local Safeway. Occasionally I will also find some great spice blends at the Marshalls near me. So look around and pick a couple up to experiment with. It can really add some depth of flavor that beats just salt and pepper.
You now have a great side dish to go with just about anything and the leftovers can be used in omelettes, salads and more.

Hope you decided to take your broccoli to the next level soon!

Wednesday
Apr022014

Coconut Oil Granola 

Even as a kid I loved granola. But back then it was Quaker granola out of a box. I remember my mom buying it for my dad and it was supposed to be hands off for the kids since it was expensive on our family budget. I always snuck a little when I was up early and loved to shake the box to find the large clumps and pick them out. 

I baked my first batch of granola about 10 years ago, giving it as holiday gifts. Ever since then I have been hooked on having my own homemade granola in the house. It is incredibly simple to make and can be customized with so many spices, nuts and dried fruits. I love it with milk as cereal or topping yogurt and fruit. So versatile. 

Today I needed to fill my granola jar and decided to bake up a quick batch using what I had on hand. The only nuts I had on hand were cashews and for dried fruit I pulled out some cranberries. I always toast my nuts on a baking sheet at 350 degrees until fragrant. Watch them so you don'r burn them. Once they cool give them a rough chop. You will add the fruit and nuts once the granola is baked and cool.

Coconut Oil Granola

4 cups thick rolled oats

1/2 cup flaxseed meal

1/2 cup wheat germ

1 teaspoon kosher salt

1 1/2 teaspoon cinnamon 

2/3 cup coconut oil

2/3 cup honey

1 cup toasted nuts

1 cup dried fruit 

Preheat oven to 325 degrees

Line baking tray with parchment paper

In a large bowl mix the dry ingredients. Warm the oil and honey in a small pan over medium heat. Pour warm oil/honey mixture over dry ingredients and mix to combine. Spread over baking tray. 

Bake for 10 minutes then stir and turn granola on tray. Bake for another 10 minutes. 

Let cool completely then add dried fruit and nuts. Mix thoroughly and store in an airtight container for 2 weeks. 

Monday
Oct142013

Preserving Onions - Freezing

While this may sound like a no-brainer - it was a nice "light bulb" moment for me. When faced with a large amount of Walla Walla Sweet Onions from my garden and the desire to keep them around until I was ready to use them I had to ask myself "Can I freeze onions?". Of course I can!! What an easy way to store them. 

If you find yourself with an abundance of onions or even 1 that you want to not waste here is a great way to keep it on hand. 

You need your onions, freezer quart size bags and a way to chop - I used my Cuisinart food processor. I just didn't have it in me to chop the many onions I had by hand. 

Peel and chop your onions to the size you like them. I like a small dice. Then scoop them into the freezer bags in measured amounts. I went with 1 cup per bag. Seems like a common amount for a recipe. Squeeze all the air out and seal the bag. I used a permanent marker to label each bag. I placed them on a cookie sheet and slipped them into the freezer. 

Voila!! Already chopped onions ready to go for the next cooking adventure!! 

Tuesday
Oct082013

Preserving Onions - Pickling

I had no idea that our garden was going to blow up this summer!! With that came an amazing crop of Walla Walla Sweet Onions. These onions are amazing and we loved using them in all of our cooking all summer long. These onions are so popular they have their own website dedicated to them. Check it out if you want to learn more about these special onions. 

The rough part about sweet onions is that they do not store well due to the high sugar content. I wanted to find a couple of ways to hold on to these guys as long as possible. 

With the amount of pickling and preserving I have been doing I thought that some of these would be awesome as pickles. This is a quick and easy way to make a tasty addition to your pantry. I imagine they will be great on burgers, with a relish tray and even right from the jar!!

Ball is the expert on home preserving. So I would check out their site if you are new to preserving or if you need a brush up on procedures. They have a great "Getting Started" area of their site. For this recipe of Pickled Sweet Onions you will need the following canning items -  

  • Jars with lids and rings
  • A jar lifter (handy to keep you from getting burned)
  • A large pot to sanitize your jars and water bath them once filled
  • Pot holders

Follow the steps to sanitize and heat your jars and heat your lids. Then prepare the onions and pickling brine.

Walla Walla Sweet Onion Pickles

2lbs Walla Walla Sweet onions - or other sweet onions available 

Spices - peppercorns, dried chilies, bay leaves, mustard seed - your sky is the limit!!

Peel and cut the onions as desired. I made some chunks as well as some thin slices that will be great for burgers.

Brine

1/2 c Sugar

2 1/2c White Vinegar

1/2 tsp Canning/Pickling Salt

Bring all ingredients to a boil 

Once you have all your ingredients ready to go it is time to fill jars!

Place your desired spices into the bottom of your jars. I went basic with peppercorns and bay leaves in a couple and dried hot chilies in another. 

Pack your onions into the jars and ladle in hot brine leaving 1/2 inch room at the top of the jar. 

Wipe any brine from the edge of jars and place hot lids on then screw just tight with ring. 

Place in water bath for 15 minutes. 

Let cool on counter after water bath and then store in cool location. Enjoy after 4 weeks!! 

Thursday
Oct042012

Canning Tomato Sauce

We were really excited to grow tomatoes this summer. We bought 5 varieties, two of them were paste tomatoes. I wanted to can my own basic tomato sauce. This last year we stopped using canned tomato products after reading this article on the 7 Foods Experts Won't Eat. Mr. Ramon and I have already cut out canned foods like soups, beans etc. When I read this we switched to tetra pack tomatoes as jarred varieties are soooo expensive.

Our tomatoes had s slow start due to the long cold spring. This past month and a half have been super sunny and we have had some really good yields. That allowed me to can up my first tomato sauce.

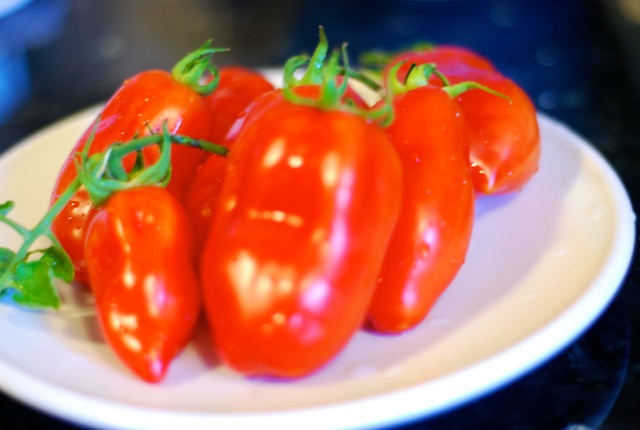
It all starts with fresh ripe tomatoes. Here are some of the San Marzano I used for this sauce. Beautiful!

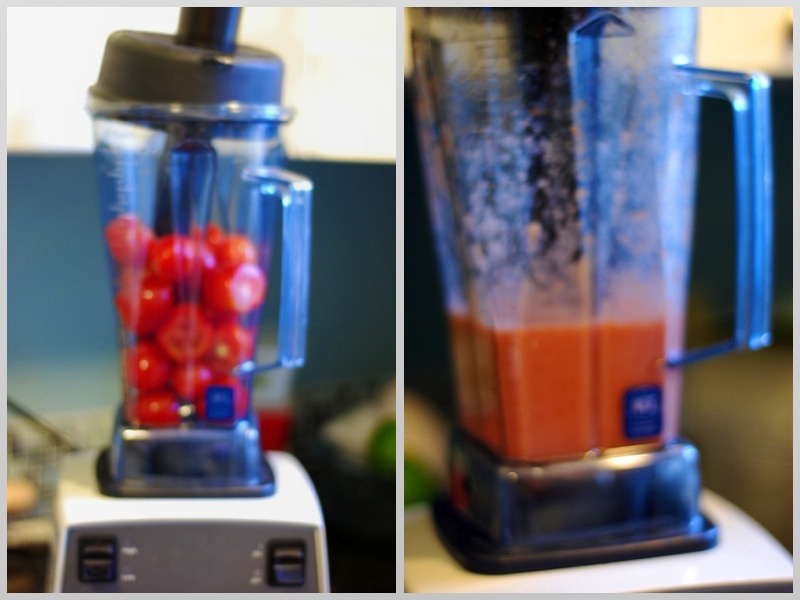
A quick wash and remove the stems. There are many ways to go about sauce and I am lucky to have a Vita Mix Blender that I can use to puree them, skin and all. Without this option you would want to quick blanch them in hot water and toss into an ice bath to slip the skins off. I also leave the seeds in as they will be pureed as well. You could remove the seeds if you want. 

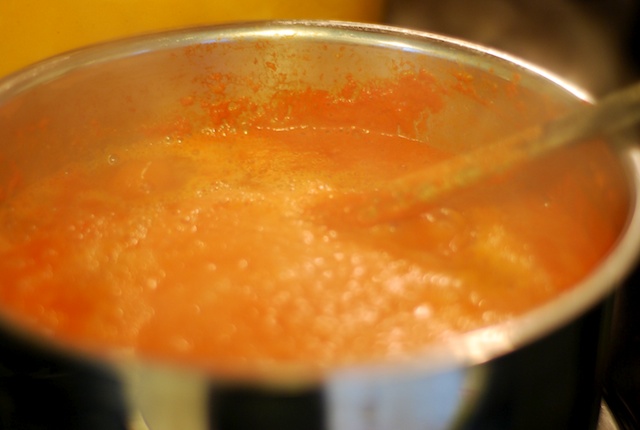
Once I have them blended super smooth I put them in a large stock pot to cook down to my desired thickness. I left this sauce a little thin knowing I can always thicken it when I use in in my recipes. 

While it simmers away I sterilized my jars and got my water bath ready to process them once filled. 

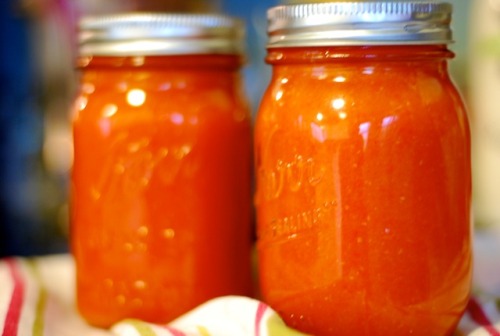
I added some lemon juice to each jar, filled with the hot tomato sauce and processed for 35 minutes. Here are the gorgeous jars once done. I hope to get enough tomatoes to make up a couple more batches. 

Tomato Sauce

Wash, trim and remove stems from your tomatoes. 

If you have a high powered blender you can belnd your tomatoes with then skins and seed intact until smooth. 

If you want to remove the skins: drip each tomato into boiling water for 30-60 seconds until skins split. Immediately put tomatoes into ice water. Remove skins with your hands. 

If you want to remove the seeds, slice in half and scoop out with a spoon. 

If you are not pureeing in a blender, you will need to simmer tomatoes until soft then puree with a hand blender, blender or food processor until smooth. 

Place your pureed tomatoes into a saucepan or stock pot and bring to a boil. Turn down to a simmer and let simmer until you reach the desired consistency. 

Using sterilized jars, add 2 teaspoons per quart or 1 tablespoon per pint of lemon juice in the bottom of each jar. Fill with hot tomato sauce up to 1/2 ince from rim. Place hot lid and rings on and tighten. Water bath process for 35 minutes.