Entries in Plants (4)

Tuesday
Jul302013

Tomato Supports

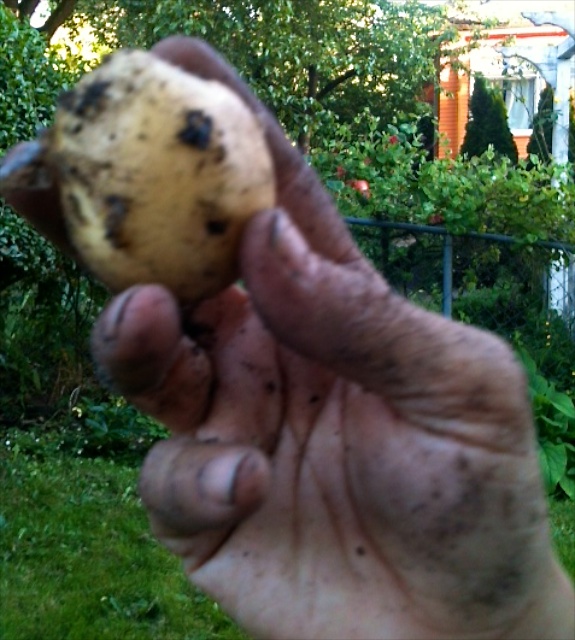
Mr. Ramon asked me the other day what would be the one vegetable I would choose if I could only choose one for the rest of my life. I said tomato. Oh how I love a proper tomato out of the garden - warm from the sun. I have offered to show Mr. Ramon the delights of a tomato sandwich. Just soft white bread, real mayo and warm thick tomato slices with a little salt and pepper. I am just about drooling thinking of it. For right now I will have to buy my tomatoes at the farmers market. Ours are just starting to produce and I am eagerly awaiting their arrival.

Last year we did not have the best supports, using traditional tomato cages that ended up being to small for our plants. We had limbs that were not well supported - it was a sad disaster.

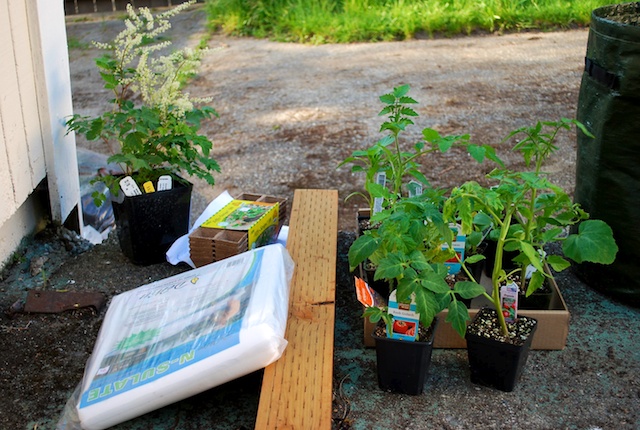
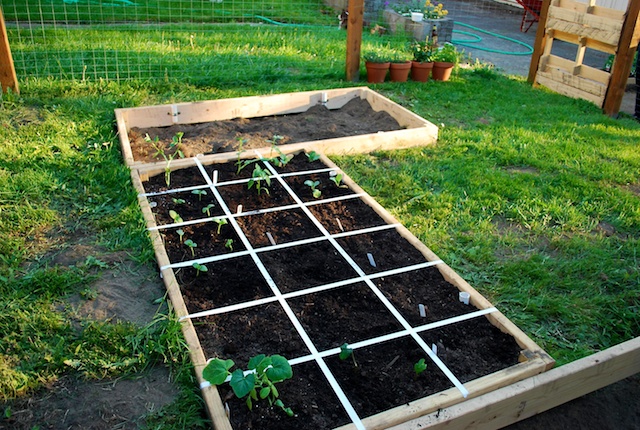
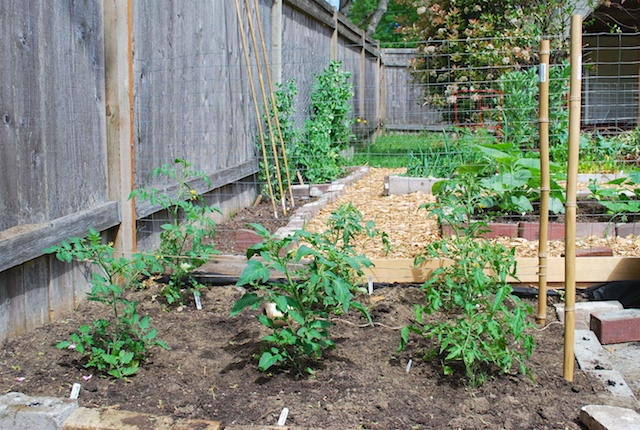
This year we decided to put in 6 tomato plants in one bed. We knew we needed strong supports and I was really eyeing the colored tomato cages at the local nursery. But my budget was pretty non existent. We thought about wire fencing, regular silver cages and PVC. We eventually found a system we thought met our needs .

I call this system "string support. It is inexpensive and has worked for us this year. Basically you create alternating string supports on each side of your tomato stalks as they grow - keeping them standing upward. 

You need:

  • 2 8ft -10ft thick bamboo poles per row of tomatoes
  • 1 roll of hemp or other thick natural twine 
  • scissors 
  • rubber mallet or hammer 

Begin by planting your tomato plants in rows the suggested space apart. We planted 3 in each row and 2 rows. We have a fence at one end so only needed 1 bamboo pole per row. 

At the end of the rows of tomatoes pound in one bamboo pole deep enough that it can take the tension of the string and the weight of the tomato plants as they grow. 

Next stretch out your twine a bit. We want to support the lower part of the plant to start. Tie to one of the bamboo poles close to the bottom of the plants - where it will support the first set of branches. Take the twine and pull it tight to the bamboo pole at the other end. Wrap it around the pole and pull it tight then tie it. 

You second row of twine should be just a few inches higher on the other side of the plant. When out plants were this high we added about 4 strings - 2 on each side alternating sides to create a tension support. 

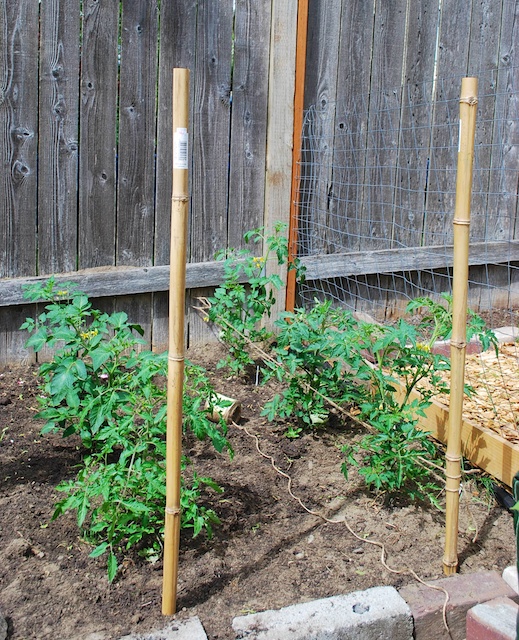
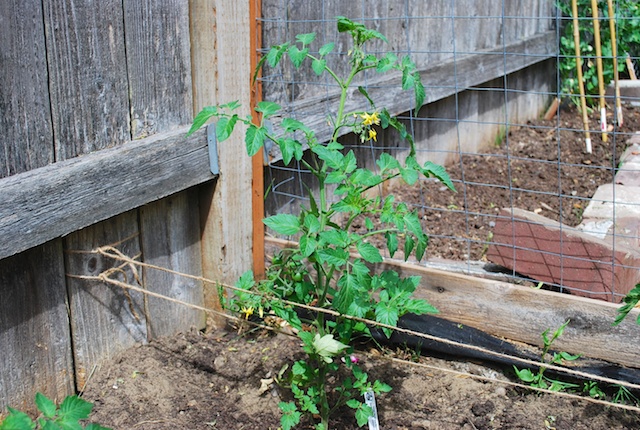
About each week as plants grow - continue to run tight alternation strings to support the plants. You will have to move the growing branches up and through the web of twine here and there. 

We now have tomoato plants over 5 feet tall and they are all very well supported with this system.

I would love to hear if you try this method and how it works for you . 

Friday
Jul132012

1 Potato 2 Potato 

Growing up in Oregon everyone had a garden. My best friend Marcia's family had a big garden that we took the liberty of playing in and eating from. I loved carrots fresh from the garden all warm and still a little dirty. They were so sweet and earthy. But one of my favorite things fresh from the garden is tiny potatoes. Thin skinned and crisp. I can just brush the dirt off them and eat them out of my hand. Of course I also can think of 100 other ways to prepare them. 

This year Mr. Ramon and I have our first garden together. I have not grown potatoes since I was a girl and I didn't do any of the planting - mostly the eating. So together we picked out two types to grow. A small white potato and a small red potato. We decided to go with the method that seemed the easiest - potato bags. 

Potato Bags are nylon pots that you plant your potatoes in then add dirt continually as they grow until the dirt is to the top. They have handy little openings on the sides so you can harvest potatoes when they are young. We did not know a lot about growing potatoes so the employee at Sky Nursery told us to just us regular soil and not to feed them. Sounds about right if you think about where potatoes flourish - Idaho and Ireland. Lots of dirt. We were excited to see them grow big and bushy. 

All of a sudden while Mr. Ramon was out of town one of our plants started to go yellow. I remembered that they were supposed to flower at some point and they had not yet. This could not be good. I was worried and scoured the internet for potato plant disease. I was sure we had failed in some capacity. To much rain, not enough sun......

Well Mr. Ramon came home and I showed him our plant. He quickly said "maybe we have some potatoes?" He shoved his hand into the side pocket, dug around a bit and pulled out a small white potato. 

I was so excited!! We have potatoes - we may not have many and I am still unsure of what happened to our plant but we harvested what we had.

We took this little guy inside and washed him off. I then sliced him and sprinkled him with salt. I was in heaven. Crunchy and starchy. So tasty. 

So now we put these new potatoes to use - smashed, roasted, potato salad. Looks like there will be potato recipes coming your way!

Friday
Apr272012

Garden Part 3

Wishing I had a truck today. I want to fill it with dirt for our garden. Instead I will fill the little mini cooper with bags and bags of compost and garden soil. Poor little car - she is so overloaded. 

This marks the final step in gardern prepardness. We are filling these beds with Sky Nursery's planting mix and lots of local compost. We also picked up some vegetable starts. With these and the few we started in the house we will be on our way to filling up the garden with tasty vegetables!

I wanted to be organized on how we fill up the beds so I marked the first one off with tape in 12"x12" squares. We put in our few plants and some seeds for radishes, carrots and beets. 

Over the next couple of weeks we will add in more plants. So far we have carrots, 2 kinds of beets, radishes, pickling cucumbers, fava beans, crookneck squash, bush beans and bell peppers. Now all we need is sun!

Friday
Apr202012

Garden Part 2

With the fence up we now have a dog secure area and can start on the beds. I have seen so many types of beds in my neighborhood and online. I learned a few things about building beds. 

 - Treated lumber has chemicals that might be bad for you and the earth. It lasts longer in the ground as beds - but are they worth the risk.

- Redwood is preferred by most but is expensive. We are in a rental so we decided on untreated pine.

I used this tutorial on the Sunset website as my guide. We decided to go with 6" high beds knowing we were going to dig into the dirt at the site. I loved that they had instructions on how to put on row cover holders. Row covers are new to me. When I had a garden in Southern California there was never any need to cover the beds. We decided on 3 beds that were 6'x3'. That width allows me to easily reach into the middle of the bed. The guys at Home Depot again cut all our wood for us. I put the three beds together with our screw gun on the porch one night when Mr. Ramon worked late. 

Mr. Ramon had the hard part ahead. He had to dig out the beds in the grass to place the beds in. What a job. This resulted in a lot of sod. I had a great solution for that - we had the two large ditches in the front yard from where the junipoers used to be. We did a sod transplant and filled in the ditches with sod and watered heavily to get it started. Hopefully it will take. 

Once the beds were dug out we pounded in the bed frames and leveled them. Now we just need dirt and compost to fill them up completely. 

We are well on our way to having a garden!