Entries in Garden (24)

Sunday
Jun092013

Radish Quick Pickles

I love pickles. When I was a kid one of my favorite after school snacks was a big green dill pickle wrapped in a paper towel. I was a weird kid. As a grown up I have loved to turn just about anything into pickles. And right now with the radishes going bonkers in my garden I thought I would pickle some. 

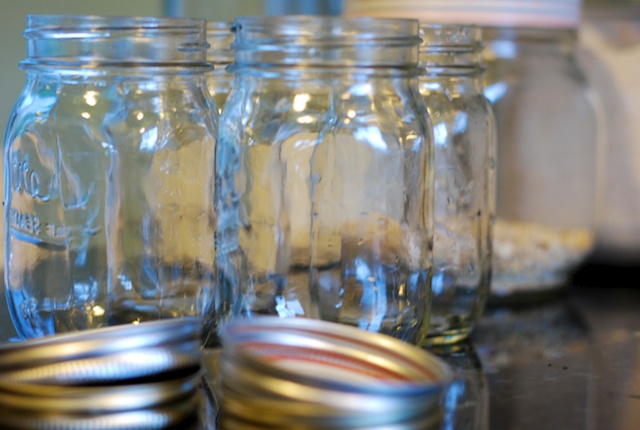
Quick Pickles are just that - quick. These pickles last about a month in the refrigerator and require no complicated canning procedures. What can you pickle? I love beets, carrots, green beans, onions, cauliflower and cucumbers. The fun comes in the seasoning - chili flakes, garlic, coriander, fennel seeds and black pepper. So many options! All you need is several caning jars with lids. I like a wide mouth jar if I have them - it is easier to fit he vegetables in. Vinegar - I usually use just plain white vinegar. But you can experiment with red wine vinegar, champagne vinegar or apple cider vinegar. Each add their own special nuance. 

For the radish pickles I decided to add some red onion, garlic and lemon peel. 

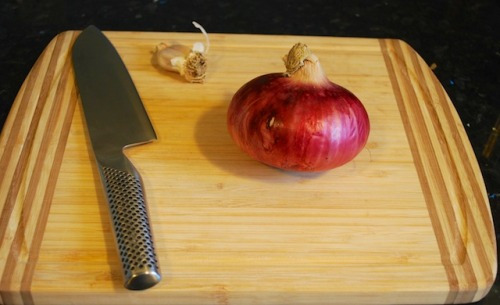
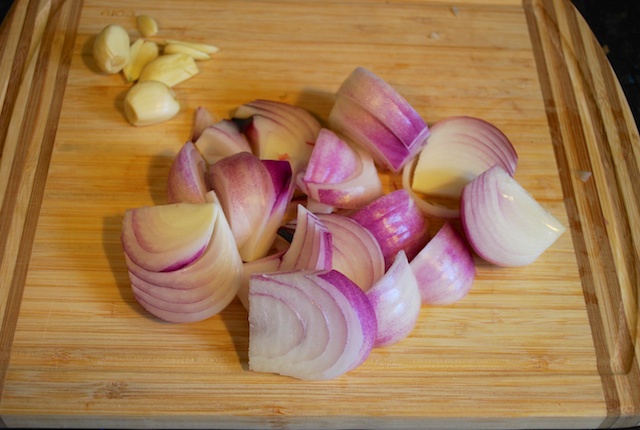
I chopped up my onion and peeled my garlic cloves. 

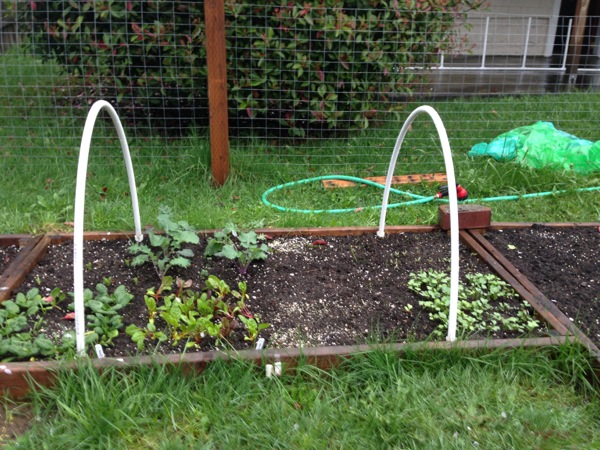
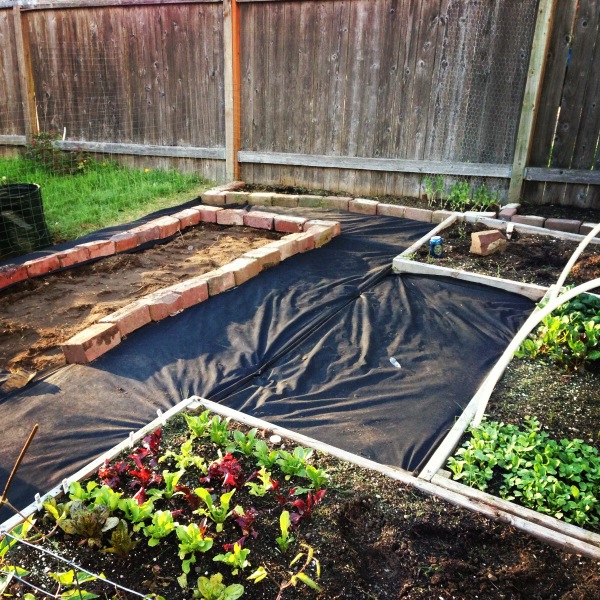
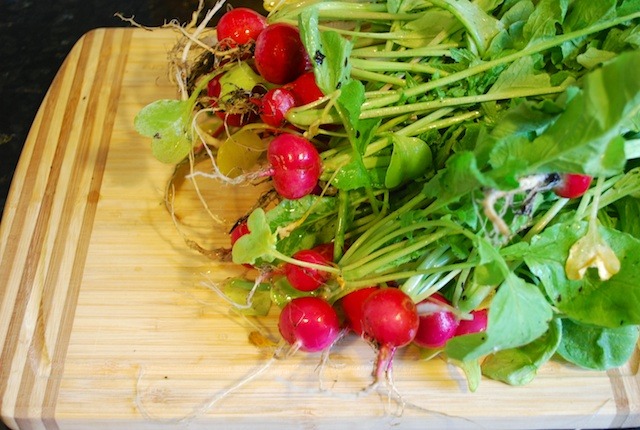
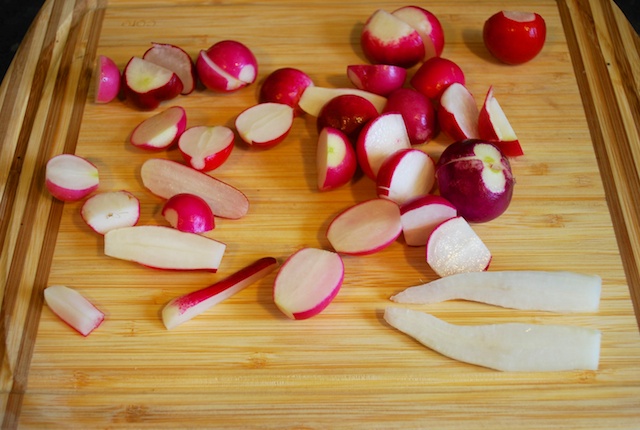
My radishes were fresh from the garden so I trimmed off the green tops, roots and scrubbed them.

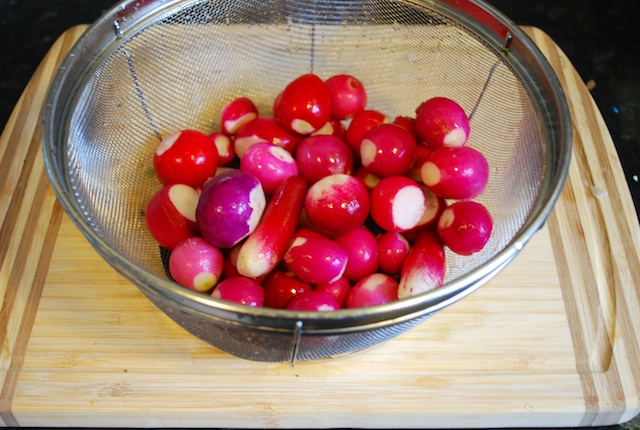
Next I cut them into bite size pieces. Many of them were pretty small so I left them whole. 

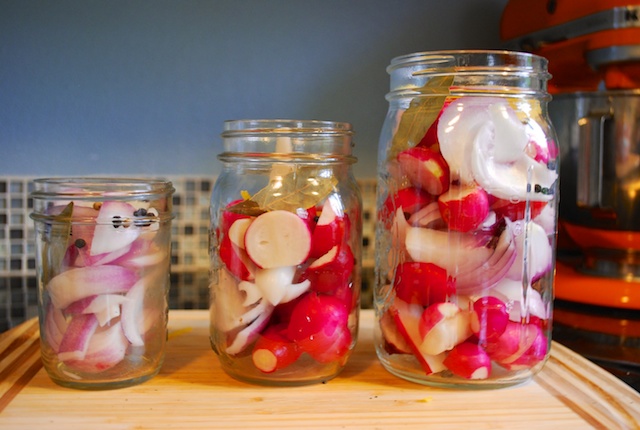
Then I packed the jars. I added the onions and garlic as well as some black peppercorns and a bay leaf. I topped the jars with pieces of lemon peel. 

Now to the brine - 

I like my brine vinegary. I also don't like my pickles that sweet. But you can add more sugar if you like. 

Quick Pickle Brine

  • 1 1/4 cups vinegar
  • 3/4 cup water
  • 2 tablespoons granulated sugar
  • 2 tablespoons kosher salt

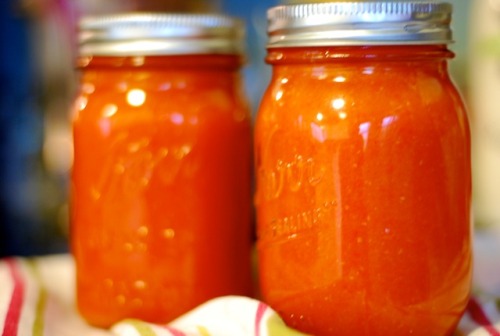
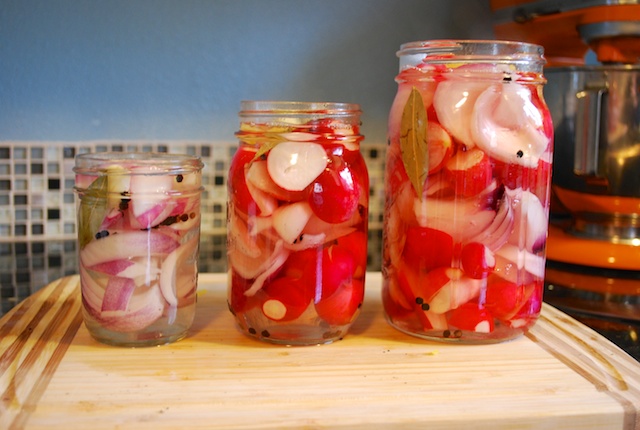
Bring to a boil on the stove and poor carefully into the jars over the vegetables. Submerging them. You may need to make double or triple batches of brine if you are making a lot of pickles.

Let them cool for 20 minutes - cover with lids and refrigerate. Let sit for at least one day before eating. Then store in the refrigerator for 1 month. 

They are great for picnics and BBQs - but mine mostly get eaten directly out of the jar!

Tuesday
Apr302013

Garden update Part 1

Last year Mr. Ramon and I built a little garden in the backyard of the house we are renting. He put up a great little fence and we put in a few beds. We wanted to upgrade our garden in a couple ways this year.

In between the beds our garden was filled with grass. I didn't look bad but was a real pain to Mr. Ramon when it grew long and he had to mow and weed eat between the beds and around the fence. Just awkward. It seemed like to much work to tear all the grass out so we came up with a solution.

Mr. Ramon mowed the grass as low as possible and we covered it with weed barrier cloth. I thought this was going to be super hard - cutting and fitting the cloth in the garden. But it turned out to be really easy to work with. I used these big metal hairpins for lack of a better word to tack the cloth to the ground. The cloth we chose breathes so water will move through it. But it will keep the grass from coming through.

Our next step is to go to the garden center and pick up the play chips needed to co re the cloth.

Stay tuned for the final piece!

Wednesday
Apr242013

Spring love

Spring has sprung here in Seattle. The sun is out today as I sit in a small cafe on Capital Hill and catch up on bills, writing and emails. In fact it might hot 70 today. Beautiful. This is one of my favorite times of year in Seattle and after a long grey 6 months it is a welcome change. Everything feels fresh and new.

Later today I need to get out in the yard and weed the rose bed. The dogs will love hanging out with me sunbathing on the porch. This is a perfect day off. I hope you are having a wonderful spring!

Wednesday
Mar132013

Dreaming of spring!

While it is still technically winter we are starting to get glimpses of spring here in the Pacific North West. Bulbs are sprouting and the first daffodils are open with their happy yellow faces teasing the rain. A day here and there of brilliant sunshine. These days get me so excited for starting the garden. This last weekend we carved out a small bed against the fence of our garden and put in Sugar Peas and Snap Peas. I loved working out in the garden, digging in the dirt again.

Today it rains again so I took some time to start planning our garden. Drawing out the beds and pouring over the Maritime Northwest Garden Guide to plan when to put in each plant. Day-dreaming of lettuce, tomatoes, squash and the like. Looking through our carrot seeds spurred me to bake today. I had an abundance of carrots in the refrigerator and with every store filled full of Easter candy and stuffed bunnies holding carrots it just seemed appropriate to make some Carrot Ginger Bread. 

I love quick breads. They are just that quick. The outcome feels like you worked harder than you did and they are all so yummy. This one is filled with fresh grated carrots and several types of ginger for a spicy punch. Top it off with a ginger cream cheese frosting.

Carrot Ginger Quick Bread

  • 1 stick unsalted butter, room temperature
  • 1 1/4 cups all-purpose flour (spooned and leveled), plus more for pan
  • 1 teaspoon baking powder
  • 1/2 teaspoon baking soda
  • 1/2 teaspoon salt
  • 1/2 teaspoon ground ginger
  • 1/2 teaspoon ground cinnamon
  • 1/2 teaspoon ground nutmeg
  • 1/2 cup packed dark-brown sugar
  • 1 teaspoon fresh grated ginger
  • 2 large eggs
  • 1 1/2 teaspoons pure vanilla extract
  • 1 cup packed finely grated carrots (from about 2 carrots)
Preheat oven to 350 degrees.
Butter and flour a 5-by-9-inch loaf pan.
In a bowl, whisk together flour, baking powder and dry spices.

In your electric mixer, beat butter and brown sugar until light and fluffy. Beat in eggs and 1 teaspoon vanilla, ginger and carrots.
With mixer on low, gradually add flour mixture; mix just until combined.
Transfer batter to prepared pan; bake until a toothpick inserted in center comes out clean, 40 to 45 minutes.
Let cool in pan 5 minutes.
Turn cake out onto a wire rack, and let cool completely.

Frosting
  • 4 ounces cream cheese, room temperature
  • 1/2 teaspoon fresh finely grated ginger
  • 1/2 cup confectioners' sugar
Beat all ingredients until fluffy. 
Frost top of cooled cake.
Thursday
Oct042012

Canning Tomato Sauce

We were really excited to grow tomatoes this summer. We bought 5 varieties, two of them were paste tomatoes. I wanted to can my own basic tomato sauce. This last year we stopped using canned tomato products after reading this article on the 7 Foods Experts Won't Eat. Mr. Ramon and I have already cut out canned foods like soups, beans etc. When I read this we switched to tetra pack tomatoes as jarred varieties are soooo expensive.

Our tomatoes had s slow start due to the long cold spring. This past month and a half have been super sunny and we have had some really good yields. That allowed me to can up my first tomato sauce.

It all starts with fresh ripe tomatoes. Here are some of the San Marzano I used for this sauce. Beautiful!

A quick wash and remove the stems. There are many ways to go about sauce and I am lucky to have a Vita Mix Blender that I can use to puree them, skin and all. Without this option you would want to quick blanch them in hot water and toss into an ice bath to slip the skins off. I also leave the seeds in as they will be pureed as well. You could remove the seeds if you want. 

Once I have them blended super smooth I put them in a large stock pot to cook down to my desired thickness. I left this sauce a little thin knowing I can always thicken it when I use in in my recipes. 

While it simmers away I sterilized my jars and got my water bath ready to process them once filled. 

I added some lemon juice to each jar, filled with the hot tomato sauce and processed for 35 minutes. Here are the gorgeous jars once done. I hope to get enough tomatoes to make up a couple more batches. 

Tomato Sauce

Wash, trim and remove stems from your tomatoes. 

If you have a high powered blender you can belnd your tomatoes with then skins and seed intact until smooth. 

If you want to remove the skins: drip each tomato into boiling water for 30-60 seconds until skins split. Immediately put tomatoes into ice water. Remove skins with your hands. 

If you want to remove the seeds, slice in half and scoop out with a spoon. 

If you are not pureeing in a blender, you will need to simmer tomatoes until soft then puree with a hand blender, blender or food processor until smooth. 

Place your pureed tomatoes into a saucepan or stock pot and bring to a boil. Turn down to a simmer and let simmer until you reach the desired consistency. 

Using sterilized jars, add 2 teaspoons per quart or 1 tablespoon per pint of lemon juice in the bottom of each jar. Fill with hot tomato sauce up to 1/2 ince from rim. Place hot lid and rings on and tighten. Water bath process for 35 minutes.