Entries in preserves (8)

Thursday
Oct042012

Canning Tomato Sauce

We were really excited to grow tomatoes this summer. We bought 5 varieties, two of them were paste tomatoes. I wanted to can my own basic tomato sauce. This last year we stopped using canned tomato products after reading this article on the 7 Foods Experts Won't Eat. Mr. Ramon and I have already cut out canned foods like soups, beans etc. When I read this we switched to tetra pack tomatoes as jarred varieties are soooo expensive.

Our tomatoes had s slow start due to the long cold spring. This past month and a half have been super sunny and we have had some really good yields. That allowed me to can up my first tomato sauce.

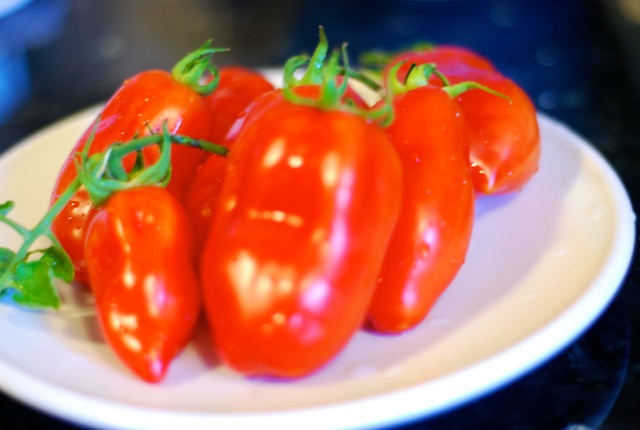
It all starts with fresh ripe tomatoes. Here are some of the San Marzano I used for this sauce. Beautiful!
A quick wash and remove the stems. There are many ways to go about sauce and I am lucky to have a Vita Mix Blender that I can use to puree them, skin and all. Without this option you would want to quick blanch them in hot water and toss into an ice bath to slip the skins off. I also leave the seeds in as they will be pureed as well. You could remove the seeds if you want. 
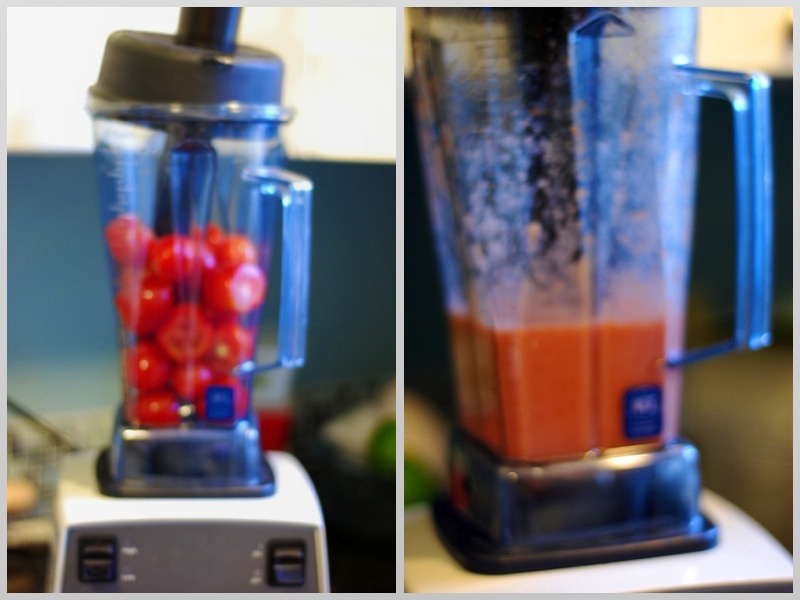
Once I have them blended super smooth I put them in a large stock pot to cook down to my desired thickness. I left this sauce a little thin knowing I can always thicken it when I use in in my recipes. 
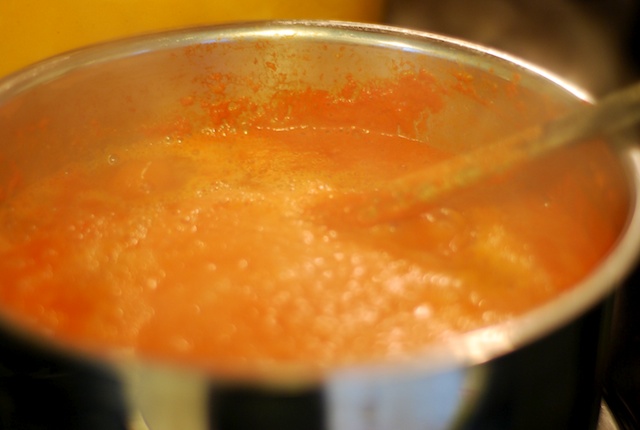
While it simmers away I sterilized my jars and got my water bath ready to process them once filled. 
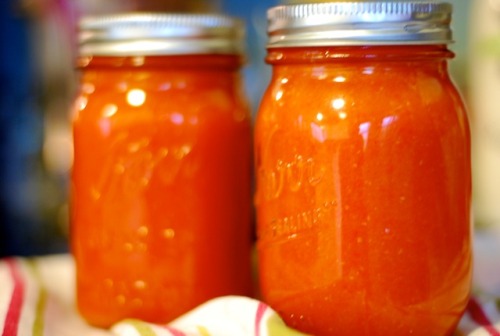
I added some lemon juice to each jar, filled with the hot tomato sauce and processed for 35 minutes. Here are the gorgeous jars once done. I hope to get enough tomatoes to make up a couple more batches. 
Tomato Sauce

Wash, trim and remove stems from your tomatoes. 

If you have a high powered blender you can belnd your tomatoes with then skins and seed intact until smooth. 

If you want to remove the skins: drip each tomato into boiling water for 30-60 seconds until skins split. Immediately put tomatoes into ice water. Remove skins with your hands. 

If you want to remove the seeds, slice in half and scoop out with a spoon. 

If you are not pureeing in a blender, you will need to simmer tomatoes until soft then puree with a hand blender, blender or food processor until smooth. 

Place your pureed tomatoes into a saucepan or stock pot and bring to a boil. Turn down to a simmer and let simmer until you reach the desired consistency. 

Using sterilized jars, add 2 teaspoons per quart or 1 tablespoon per pint of lemon juice in the bottom of each jar. Fill with hot tomato sauce up to 1/2 ince from rim. Place hot lid and rings on and tighten. Water bath process for 35 minutes. 

Wednesday
Sep262012

Pickle Time

This summer has had a hold on me like no Seattle summer ever has. Mostly due to our new outdoor space for gardening and entertaining. Our garden gave us much satisfaction with its meager yields. Gardening in the PNW holds it own unique challenges like slow starting summer and lack of sun. This lead to some disappointments and my biggest one was my pickling cucumber plants never grew. Pickling is one of my favorite things to do and this year I again had to pick up my cucumbers from the local farmers market. 

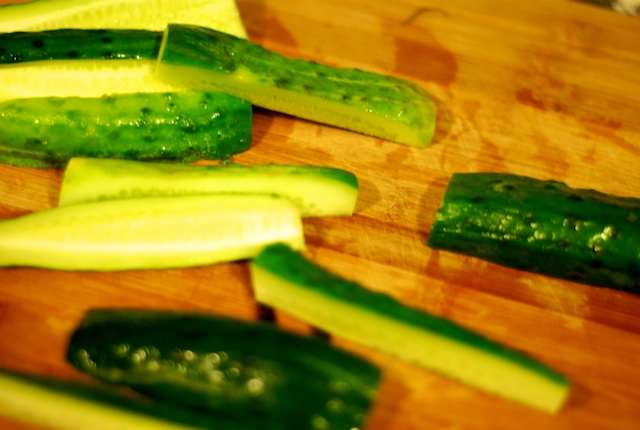
I find pickling so easy and fun. It is something anyone can do. And you can pickle so many vegetables - carrots, beets, cucumbers, okra and the list goes on. With these cucumbers I decided to do some spears and burger chips. 

I started by washing them then slicing them the way I want to pickle them. The spears I just cut lengthwise into slices and the burger chips I sliced on my mandolin. 

I washed and sterilized my jars ina boiling water bath. 

The smell of fresh dill is so amazing. I also picked this up at the farmers market. 

I got my water bath set up and on high. Then I made my brine. 

Pickling Brine

4 cups white vinegar
4 cups water
3/4 cup sugar
1/2 cup pickling & preserving salt
Bring all ingredients to a boil. 
In each jar I put:
1 bay leaves
2 cloves garlic
1 tablespoon pickling spice
1 head fresh dill
1 dried pepper (I like them spicy but this can be omitted)

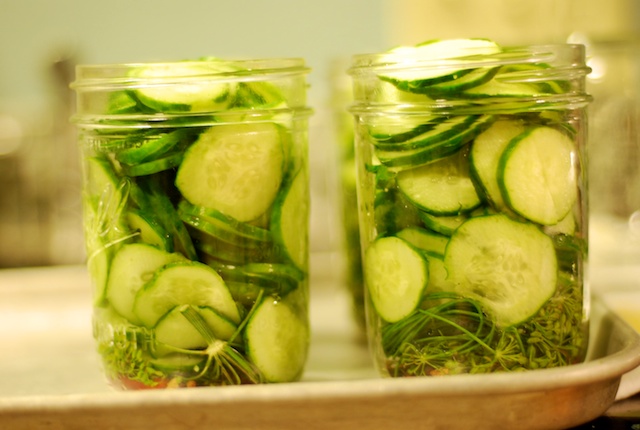
Once the herbs and spices are crammed at the bottom I fill the jar with the pickle slices. I make sure to fit them in there nice.

Once all the jars are filled I fill them with hot brine and put the lids and bands on. They go into the water bath (make sure they are completely submerged) for 10 minutes. Pull them out and let them cool on the counter. Now let them sit for at least 3 months and you have amazing pickles!

Saturday
Jul072012

Jam on it!

When I think about Southern California and what I miss about living there I can't find much. I love Seattle that much! But my best friend Laura is at the top of the very short list and is the only reason I consider ever going back. But aside from that there are a few things I miss. When it is a cold gray day and I need to take pictures of food and really want natural lighting I miss the sunshine almost every day. Now don't get me wrong. I love gray days - just not when I need to do something that needs light. I also miss the strawberries. California strawberries are the best - huge, juicy - sweet. You can stop on almost any corner and pick up a flat for super cheap. Then it is strawberries with everything. 

Here in the Pacific Northwest we have good strawberries. We really excel at other berries - blackberries, raspberries, blueberries. I think these are grey weather berries. Strawberries need lot of sun. But I need strawberries. So throughout the spring I picked up small containers at my local co-op. These managed to tide me over until now. 

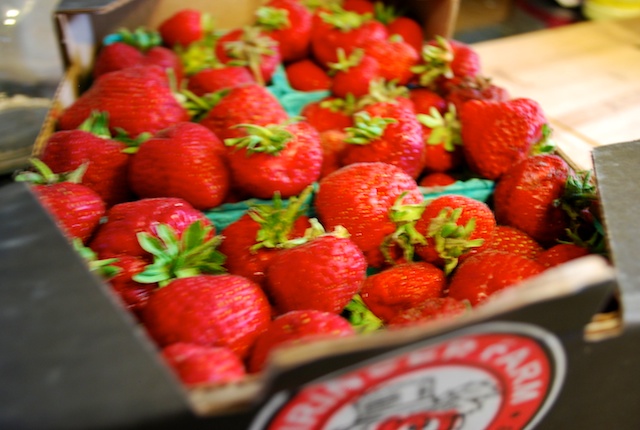
I was headed to Sky Nursery the other day and noticed on their website that they have a local berry farm stand in the parking lot. Yeah!! So exciting. When I walked up to the stand I could smell the strawberry goodness in the warmth of the day. So delicious. I picked up 6 pints for $14. Some of the reddest and juiciest berries I have ever seen grown in Washington. 

I had one thing in mind with these beautiful berries. Jam! I have been making jam with my mom since I was a kid. I even made jam with Laura. We made 200+ jars for her wedding favors some years back. It is a kitchen ritual in my home throughout the year at this point. One I truly enjoy. 

I have made jam with regular pectin, low sugar pectin, no pectin etc. I am open to try any method out there. I came across this recipe on the Canning Across America website. I was unsure what to expect since strawberry jam can be hard to get to set up. Let me tell you though, this jam was so easy to make and so delicious and set up so well. 

It has the fresh berry taste plus sweetness and lemon gives the perfect balance. The color is that of ripe fresh strawberries. I scraped a vanilla bean and added that and the pod to the second batch. Pulled the beans out before putting it in the jars. It added a nice mellow vanilla flavor. 

STRAWBERRY JAM
(makes 4-5 8-ounce jars)

4 cups (tightly packed) organic strawberries
1/2 cup lemon juice
4 cups sugar

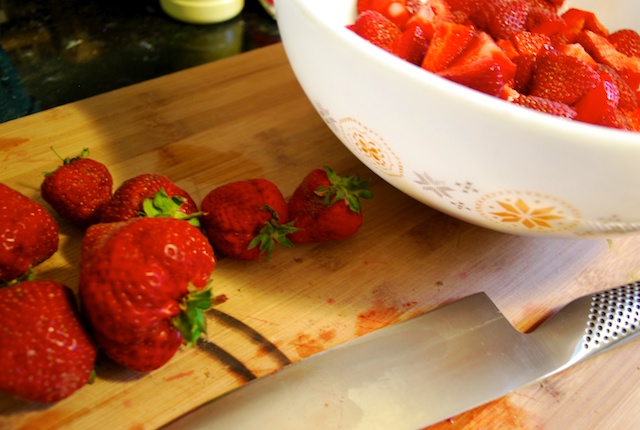
1. In a stockpot or a canning kettle, cover 5 clean, 8-ounce canning jars with boiling water. Simmer, covered over low heat to sterilize jars. Place lids and rings in another small pan with water to simmer until ready to seal jars.

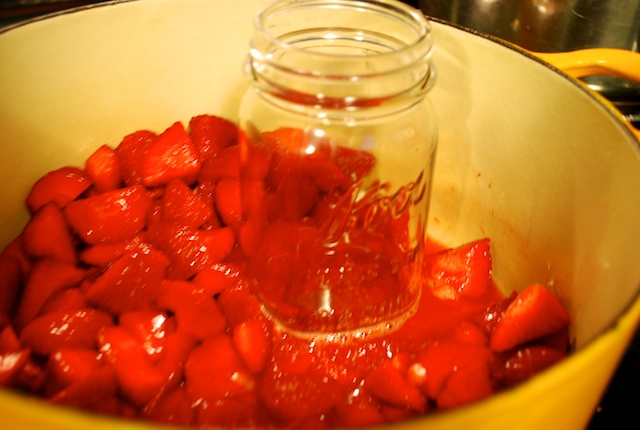
2. In a clean, dry 4-quart stockpot or canning kettle over high heat, mash berries with lemon juice. (I used a mason jar to mash them - I don't have a potato masher)

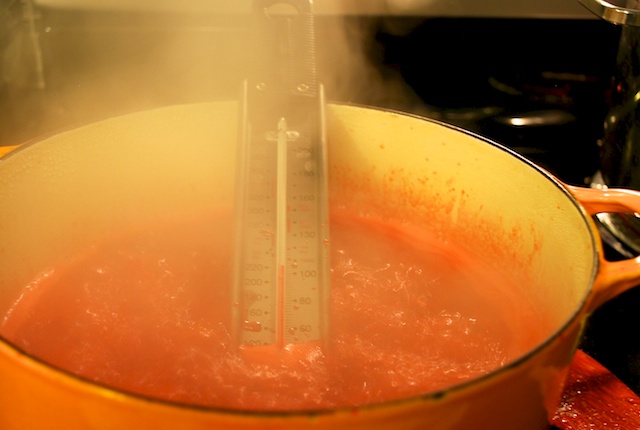
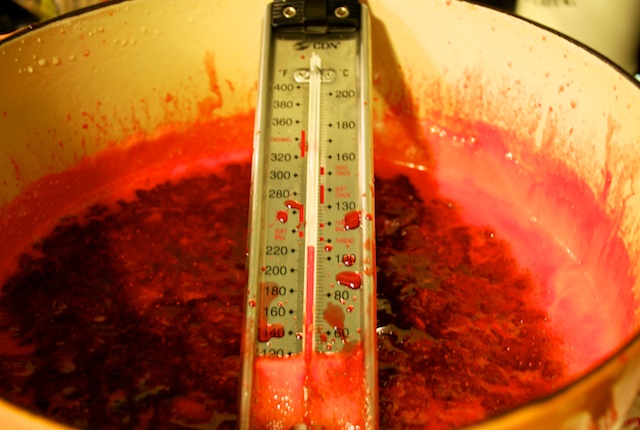
3. When the fruit has come to a full, rolling boil, stir in sugar. Continue stirring until mixture returns to a boil, then stop stirring and insert a candy thermometer.  When the thermometer registers 220 degrees, remove jam from the stove and set aside. 

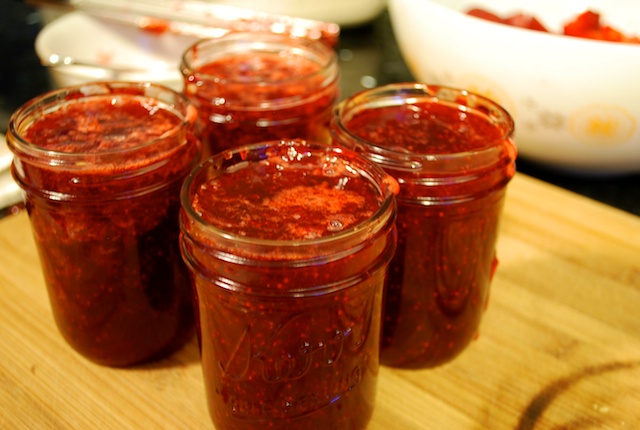
4. With tongs, lift sterilized jars from their simmering water bath and arrange them right side up on a clean kitchen towel.  Transfer jam to sterilized jars, seal according to manufacturers instructions, and then return jam-filled jars to the boiling water and boil for five minutes.  Allow jars to cool undisturbed for several hours or overnight.  Jam keeps for one year.

I think this is the best jam I have ever made. I think that the 1:1 ratio might be the trick. I am going to try it with another type of fruit. 

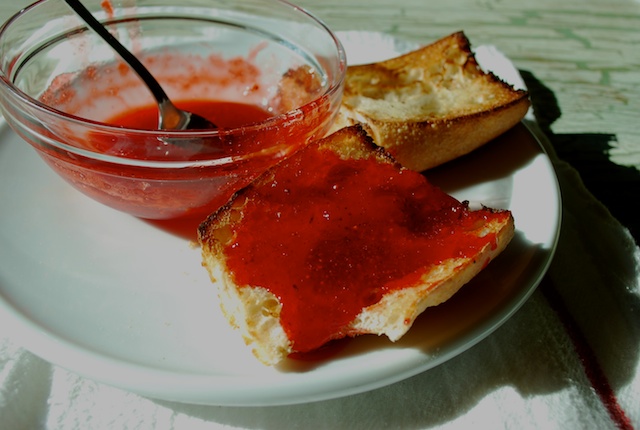
I enjoyed some jam and toast the next morning! Delish!

Page 1 2