Entries in Vegetarian (13)

Tuesday
Oct082013

Preserving Onions - Pickling

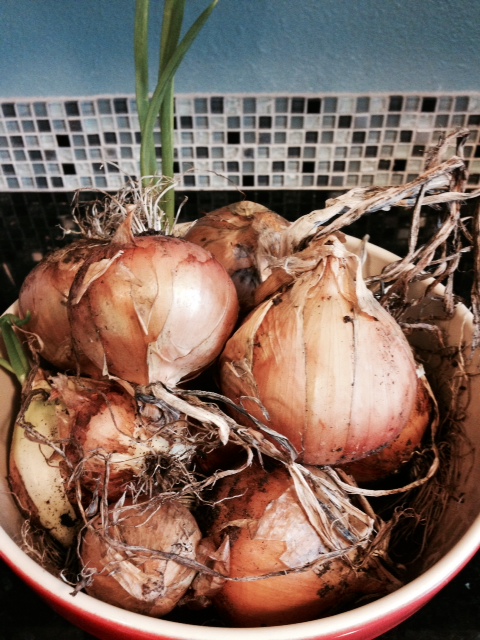
I had no idea that our garden was going to blow up this summer!! With that came an amazing crop of Walla Walla Sweet Onions. These onions are amazing and we loved using them in all of our cooking all summer long. These onions are so popular they have their own website dedicated to them. Check it out if you want to learn more about these special onions. 

The rough part about sweet onions is that they do not store well due to the high sugar content. I wanted to find a couple of ways to hold on to these guys as long as possible. 

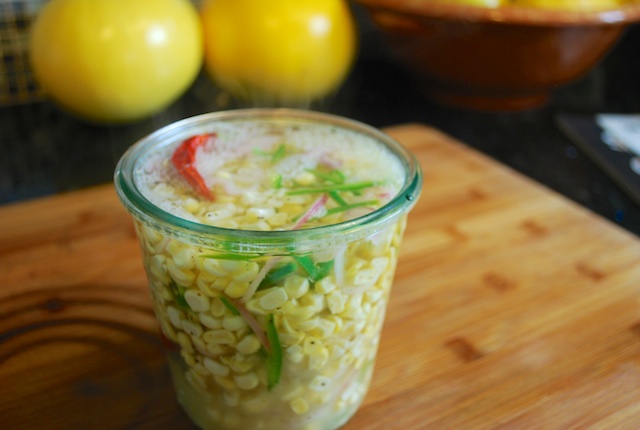
With the amount of pickling and preserving I have been doing I thought that some of these would be awesome as pickles. This is a quick and easy way to make a tasty addition to your pantry. I imagine they will be great on burgers, with a relish tray and even right from the jar!!

Ball is the expert on home preserving. So I would check out their site if you are new to preserving or if you need a brush up on procedures. They have a great "Getting Started" area of their site. For this recipe of Pickled Sweet Onions you will need the following canning items -  

  • Jars with lids and rings
  • A jar lifter (handy to keep you from getting burned)
  • A large pot to sanitize your jars and water bath them once filled
  • Pot holders

Follow the steps to sanitize and heat your jars and heat your lids. Then prepare the onions and pickling brine.

Walla Walla Sweet Onion Pickles

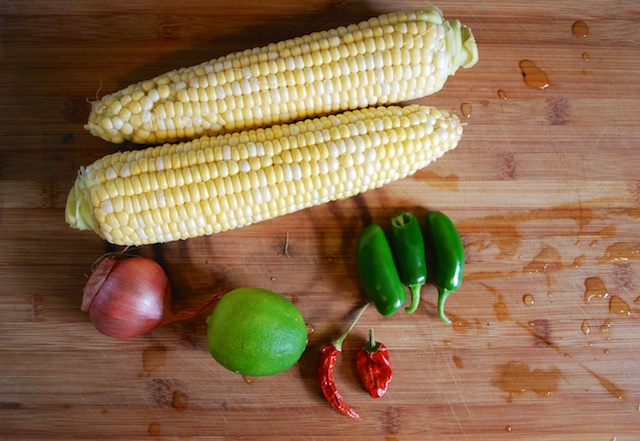
2lbs Walla Walla Sweet onions - or other sweet onions available 

Spices - peppercorns, dried chilies, bay leaves, mustard seed - your sky is the limit!!

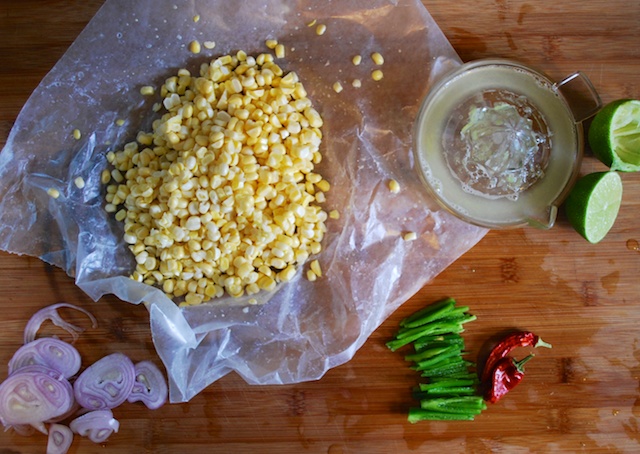
Peel and cut the onions as desired. I made some chunks as well as some thin slices that will be great for burgers.

Brine

1/2 c Sugar

2 1/2c White Vinegar

1/2 tsp Canning/Pickling Salt

Bring all ingredients to a boil 

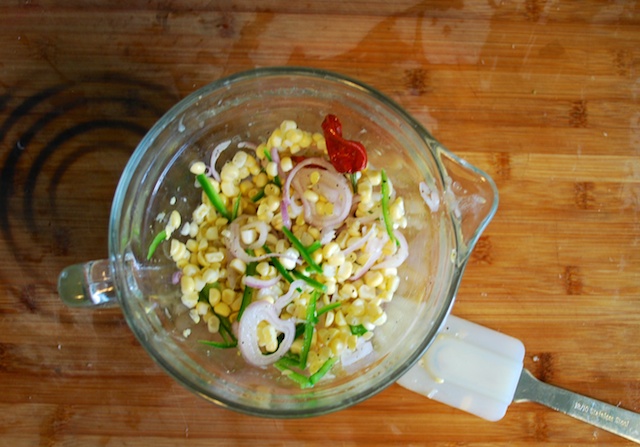
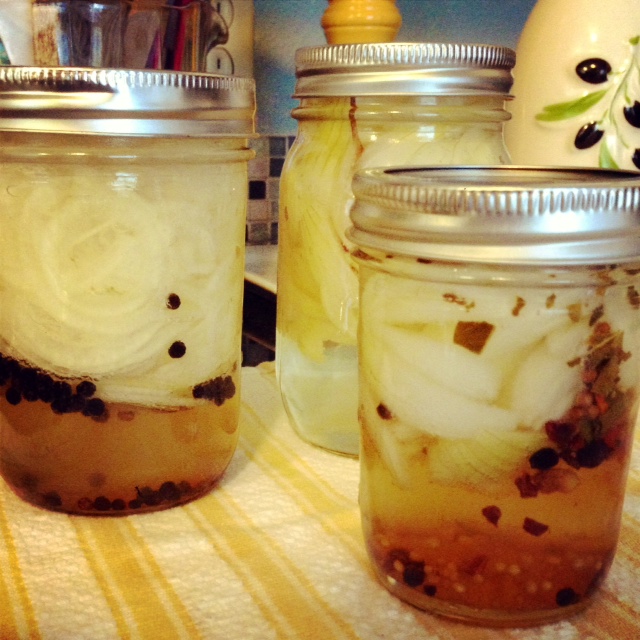
Once you have all your ingredients ready to go it is time to fill jars!

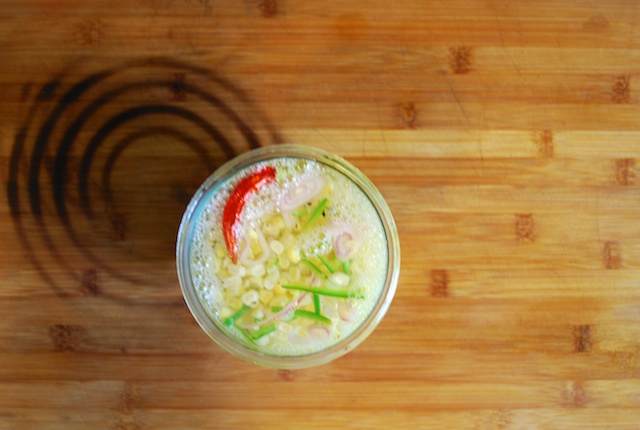
Place your desired spices into the bottom of your jars. I went basic with peppercorns and bay leaves in a couple and dried hot chilies in another. 

Pack your onions into the jars and ladle in hot brine leaving 1/2 inch room at the top of the jar. 

Wipe any brine from the edge of jars and place hot lids on then screw just tight with ring. 

Place in water bath for 15 minutes. 

Let cool on counter after water bath and then store in cool location. Enjoy after 4 weeks!! 

Wednesday
Aug142013

Spicy Pickled Corn

It has been really warm here in Seattle - in a good way. This summer and the amount of heat has been helpful for our garden. We have been experiencing amazing crops of lettuce, cucumbers, squash, onions, peppers, beans and peas. We have had so much fresh produce we have had to give some away. If we have a great summer like this next year I may even start a little farm stand!

One thing for sure is that these amazing flavors of summer just don't last long enough. So while we find 100 ways to eat squash I also look for ways to preserve the flavors of summer. I love quick pickles and find that almost every summer vegetable can be turned into one of these tasty delights. This time I want to make Spicy Pickled Corn. 

Corn like so many summer vegetables is gone quickly. But when it is here it is should be taken advantage of. I like to roast it on the grill or peel it off the cobs and turn it into salads and soups. Today I picked some jalapeno from Mr. Ramons pepper plants and thought the corn and these spicy peppers would be a good match.

Spicy Pickled Corn

You need 1 clean quart size jar with lid - I use either a Mason or a Weck jar. 

Corn Mixture

2 cups fresh from the cob corn kernels - about 2 ears of corn

2 small jalapeno seeded and sliced very thin

1 large shallot peeled and sliced very thin

2 small dried peppers of your choice

1/4c fresh squeezed lime juice

1/4 tsp fresh ground pepper

Mix all ingredients together in a bowl then spoon into jar. 

Brine

1/2 cup white vinegar

3/4 cup filtered water

1 tsp sugar

2 tsp kosher salt

Boil these ingredients and pour over corn mixture in jar.

Gently stir and seal jar.

Let cool then keep in refrigerator for about 1 month - if it lasts this long!

I love this spooned over greens or with grilled steak. It is crunchy and tart and delicious. Enjoy!

Wednesday
Mar132013

Dreaming of spring!

While it is still technically winter we are starting to get glimpses of spring here in the Pacific North West. Bulbs are sprouting and the first daffodils are open with their happy yellow faces teasing the rain. A day here and there of brilliant sunshine. These days get me so excited for starting the garden. This last weekend we carved out a small bed against the fence of our garden and put in Sugar Peas and Snap Peas. I loved working out in the garden, digging in the dirt again.

Today it rains again so I took some time to start planning our garden. Drawing out the beds and pouring over the Maritime Northwest Garden Guide to plan when to put in each plant. Day-dreaming of lettuce, tomatoes, squash and the like. Looking through our carrot seeds spurred me to bake today. I had an abundance of carrots in the refrigerator and with every store filled full of Easter candy and stuffed bunnies holding carrots it just seemed appropriate to make some Carrot Ginger Bread. 

I love quick breads. They are just that quick. The outcome feels like you worked harder than you did and they are all so yummy. This one is filled with fresh grated carrots and several types of ginger for a spicy punch. Top it off with a ginger cream cheese frosting.

Carrot Ginger Quick Bread

  • 1 stick unsalted butter, room temperature
  • 1 1/4 cups all-purpose flour (spooned and leveled), plus more for pan
  • 1 teaspoon baking powder
  • 1/2 teaspoon baking soda
  • 1/2 teaspoon salt
  • 1/2 teaspoon ground ginger
  • 1/2 teaspoon ground cinnamon
  • 1/2 teaspoon ground nutmeg
  • 1/2 cup packed dark-brown sugar
  • 1 teaspoon fresh grated ginger
  • 2 large eggs
  • 1 1/2 teaspoons pure vanilla extract
  • 1 cup packed finely grated carrots (from about 2 carrots)
Preheat oven to 350 degrees.
Butter and flour a 5-by-9-inch loaf pan.
In a bowl, whisk together flour, baking powder and dry spices.

In your electric mixer, beat butter and brown sugar until light and fluffy. Beat in eggs and 1 teaspoon vanilla, ginger and carrots.
With mixer on low, gradually add flour mixture; mix just until combined.
Transfer batter to prepared pan; bake until a toothpick inserted in center comes out clean, 40 to 45 minutes.
Let cool in pan 5 minutes.
Turn cake out onto a wire rack, and let cool completely.

Frosting
  • 4 ounces cream cheese, room temperature
  • 1/2 teaspoon fresh finely grated ginger
  • 1/2 cup confectioners' sugar
Beat all ingredients until fluffy. 
Frost top of cooled cake.
Thursday
Jan172013

Ginger Carrot Cake Cookies

While every blog this month is filled with salads and juice cleanses I thought I would tempt you with a vegetable filled cookie.  
While a giant cake topped with mounds of cream cheese frosting is a delight - cakes in general can be hard to manage for some gatherings. I wanted carrot cake that was portable. After several recipe attempts I landed on one filled with spicy ginger and plump golden raisins. These are great as soon as they are made or they can be be made a day in advance and stored in the refrigerator. I think they are delicious chilled. 
Filling 
  • 2 ounces cream cheese, room temperature
  • 2 tablespoons unsalted butter, room temperature
  • 1/4 cup powdered sugar
  • 1 teaspoon lemon zest
  • 1 teaspoon grated ginger
  • 1 teaspoon lemon juice
With an electric mixer, beat cream cheese, butter, ginger and lemon zest until smooth. Add sugar and lemon juice; beat until combined. Cover and chill until firm, at least 30 minutes.
 Cookies
  • 1/2 cup unsalted butter, melted
  • 1/2 cup packed light-brown sugar
  • 1/4 cup granulated sugar
  • 1 tablespoon grated ginger
  • 1 large egg yolk
  • 3/4 cup all-purpose flour
  • 1 teaspoon ground ginger
  • 1/2 teaspoon salt
  • 1 cup rolled oats
  • 3/4 cup packed, finely grated, peeled carrots
  • 1/3 cup golden raisins
Preheat oven to 350 degrees. Line two baking sheets with parchment paper. 
In a large bowl, whisk together butter, Ginger, sugars, and egg yolk.
In a medium bowl, whisk together flour, ginger, and salt.
Add flour mixture to butter mixture; stir until combined.
Mix in oats, carrots, and currants.

Drop tablespoons of dough - 2 inches apart, onto prepared baking sheets and flatten.
Bake until edges are crisp, rotating baking sheets halfway through, 15 to 18 minutes. Transfer cookies to a wire rack to cool.
Turn half the cookies over, bottom side up; dollop each with about 1 teaspoon chilled cream-cheese filling. Top with remaining cookies, pressing gently to spread filling to edges. 
Serve immediately or store in refrigerator for 1 day. 
Wednesday
Nov212012

Slab Apple Pie

Tomorrow is Thanksgiving and I had planned on a week of great posts on making stock, prime rib, stuffing etc. Instead I took orders from friends for pies and desserts and have been baking my week away. While this baking makes me happy and helps me have some holiday money it also makes me sad I can't squeeze more hours into a day to share all sorts of wonderful things with you. Ahhh life!

I am continuing my love affair with apples - especially apple pie. With Thanksgiving you might be feeding a huge crowd. If so this easy and differant approach to an apple pie might be right up your alley. Slab Apple Pie - sounds like a tasty dessert that resembles concrete. But wait - this slab is flakey, buttery and filled with the pure goodness of apples. There are many variations of slab pie - 2 crust pie, frosted crust pie and this version - the crumb top pie. 

Apple Slab Pie with Crumb Topping

Crust

  • 2 1/4 cups all-purpose flour
  • 3/4 teaspoon salt
  • 2/3 cup cold butter - cut into small pieces
  • 8 – 10 tablespoons cold water

Apple Filling

  • 2/3 cup sugar
  • 1 teaspoon ground cinnamon
  • 3 1/2 pounds Granny Smith Apples, peeled and thinly sliced 

Crumb Topping

  • 1 cup oats
  • 1 cup packed brown sugar
  • 1/2 cup all-purpose flour
  • 1/2 cup cold butter - cut into small pieces
  • 1/2 cup pecans - chopped

Crust

Combine flour and salt in a large bowl. Using your fingers work butter through flour until the butter is in pea sized amounts and mixture resembles coarse crumbs (or cut in with a pastry blender). Sprinkle water over flour mixture 1 tablespoons at a time; folding and pressing with a spatula until all of the flour mixture is moistened and combined. Press into a disc and wrap with plastic wrap. Chill for 2 hours or overnight. 

Roll out the dough to approximately a 17×12 inch rectangle, on a large piece of lightly floured parchment paper. Transfer to a 15x10x1 inch baking pan. Roll edges under and press down onto the rim of the baking sheet. Trim off excess parchment paper. Chill in refrigerator while you prepare filling.

Apple Filling 

Toss together all ingredients in a large bowl until apples are evenly coated. Pour into dough-lined pan, spreading evenly. Refrigerate while you make the crumb topping.

Crumb Topping 

Stir together oats, brown sugar, and flour until well combined. Using your fingers, cut in the butter until the mixture resembles coarse crumbs. Stir in chopped pecans. Sprinkle evenly over apple filling.

Bake at 375ºF for 45-60 minutes, until filling is bubbly near the centre and crust is browned. Allow to cool slightly before serving.

Keep at room temperature for 24 hours or refrigerate for up to 3 days. 

Makes: 20-25 servings