Entries in Food (15)

Thursday
Aug022012

How does your garden grow?

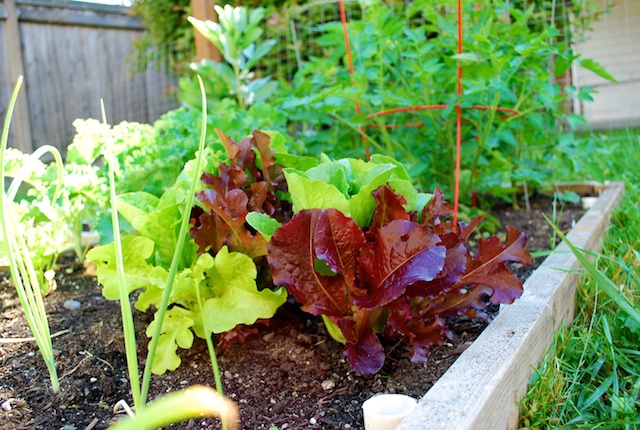
Of course I had high hopes when starting our garden this year. We eagerly built our beds and filled them with plants we were sure to see great results from. Wah Wah Wah! The combination of extended rain and no sun during some of our plants most important growing phases left us with some stunted plants and others just starting to take off at the end of July. 

Our pickling cucumbers never grew and are sad little plants only about 5 inches tall. Similarly our green beans never quite took off but are trying hard to produce beans on their stunted little stalks. 

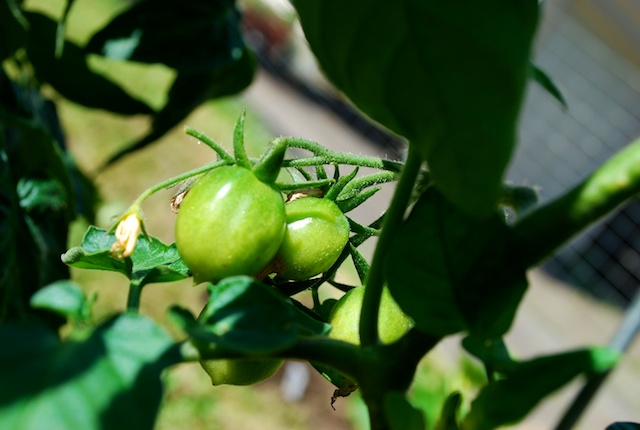
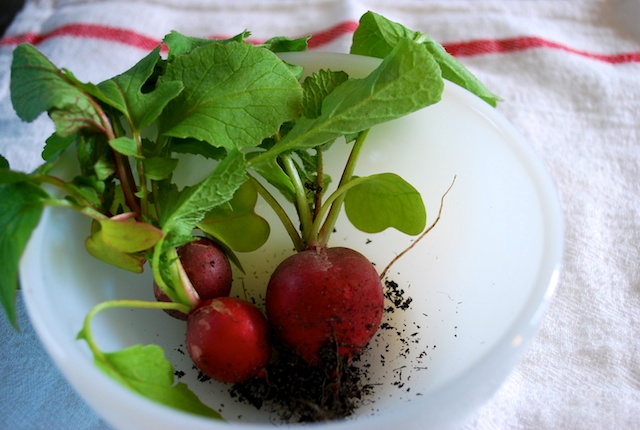
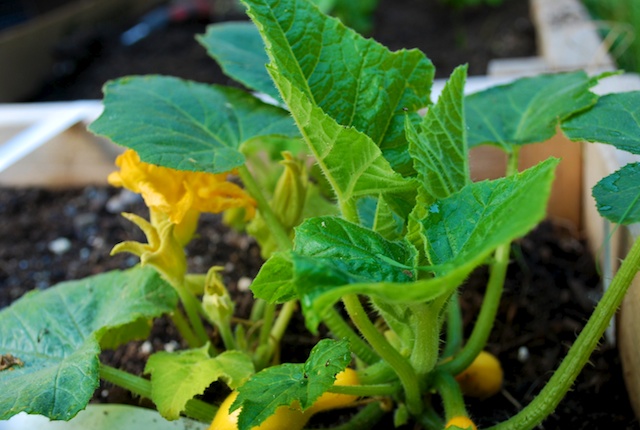
All has not been lost. We have had a great run on lettuce, fava beans, radishes, potatoes and kale. We are just about to experience green beans and zucchini. Our cook neck squash and tomatoes are just setting and hopefully with the continued heat we can get to a harvest. 

I hope that your vegetables are faring better than ours. Would love to hear about your garden and what you have been harvesting! 
Friday
Jul132012

1 Potato 2 Potato 

Growing up in Oregon everyone had a garden. My best friend Marcia's family had a big garden that we took the liberty of playing in and eating from. I loved carrots fresh from the garden all warm and still a little dirty. They were so sweet and earthy. But one of my favorite things fresh from the garden is tiny potatoes. Thin skinned and crisp. I can just brush the dirt off them and eat them out of my hand. Of course I also can think of 100 other ways to prepare them. 

This year Mr. Ramon and I have our first garden together. I have not grown potatoes since I was a girl and I didn't do any of the planting - mostly the eating. So together we picked out two types to grow. A small white potato and a small red potato. We decided to go with the method that seemed the easiest - potato bags. 

Potato Bags are nylon pots that you plant your potatoes in then add dirt continually as they grow until the dirt is to the top. They have handy little openings on the sides so you can harvest potatoes when they are young. We did not know a lot about growing potatoes so the employee at Sky Nursery told us to just us regular soil and not to feed them. Sounds about right if you think about where potatoes flourish - Idaho and Ireland. Lots of dirt. We were excited to see them grow big and bushy. 

All of a sudden while Mr. Ramon was out of town one of our plants started to go yellow. I remembered that they were supposed to flower at some point and they had not yet. This could not be good. I was worried and scoured the internet for potato plant disease. I was sure we had failed in some capacity. To much rain, not enough sun......

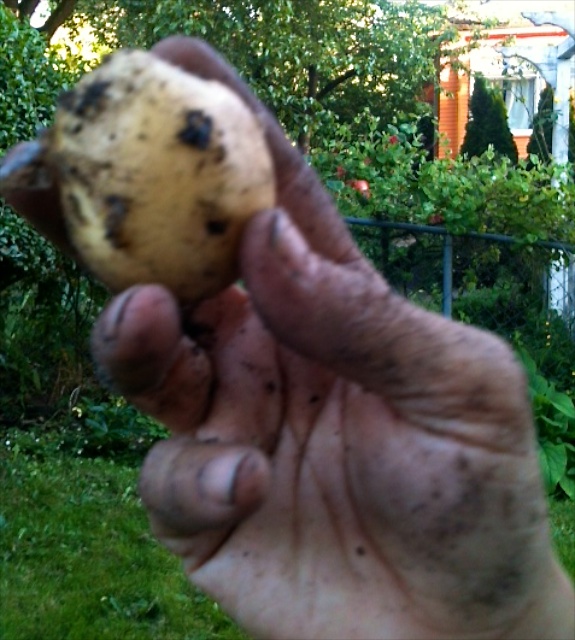
Well Mr. Ramon came home and I showed him our plant. He quickly said "maybe we have some potatoes?" He shoved his hand into the side pocket, dug around a bit and pulled out a small white potato. 

I was so excited!! We have potatoes - we may not have many and I am still unsure of what happened to our plant but we harvested what we had.

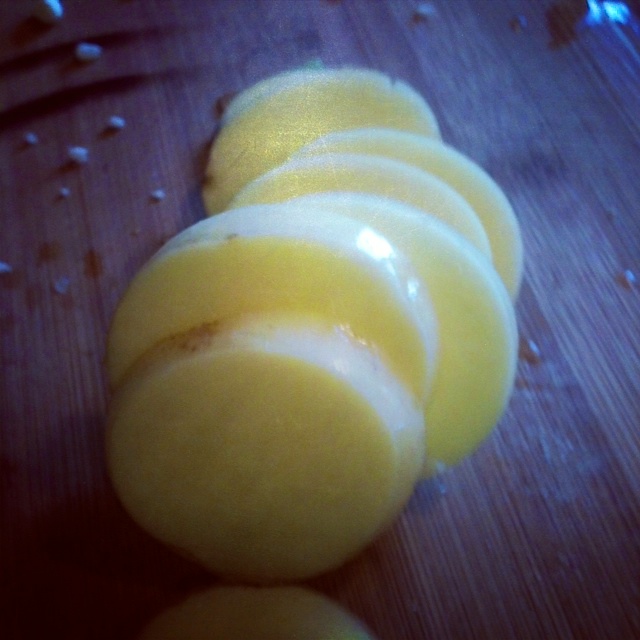
We took this little guy inside and washed him off. I then sliced him and sprinkled him with salt. I was in heaven. Crunchy and starchy. So tasty. 

So now we put these new potatoes to use - smashed, roasted, potato salad. Looks like there will be potato recipes coming your way!

Wednesday
Jul042012

Egg Series - Hard Boiled

I have met quite a few lovely 20 somethings that wish they knew how to cook. "I can't even boil and egg" is a common quote. I started thinking about eggs. The perfect complete protein and so versatile. I know that I can use practice on some techniques so thought that a series devoted to egg preparations would be helpful to every cook. 

I have been craving egg salad lately and knew this was the perfect time to get started with hard boiled eggs. These perfect orbs of protein have only 70 calories, come in their own carrying case and can be used in so many recipes. 

Two important tips for great hard boiled eggs.

  • Use eggs that are at least two weeks old. They are best for boiling and will peel easier. Fresh eggs are almost impossible to peel. 
  • Chill in ice water as soon as you pull them out of the hot water. This keeps your eggs from having the icky green ring around the yolk. 

Basic Hard Boiled Eggs

  • Take a bowl and fill it with ice and some water. This will be where you place your eggs after cooking. 
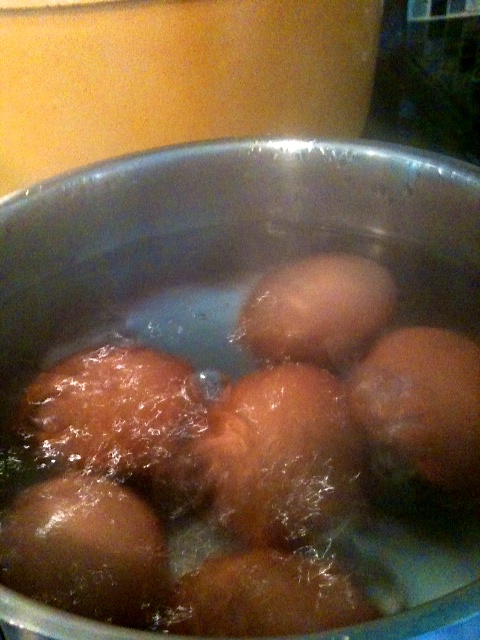
  • Take desired amount of large eggs and place them into a saucepan. Cover the eggs with cold tap water covering them plus an inch. 
  • Bring to a rolling boil over high heat. Reduce heat to a lower medium boil and cook for an additional 10 minutes.
  • Remove from heat and immediately place eggs in you bowl of ice water. Chill for 10 minutes in the ice water. 
  • If you are not using immediately place in refrigerator for up to 1 week in their shells.

You now have perfect hard boiled eggs. You can eat them plain or use them in a variety of ways. One of my favorite things to do with them is make egg salad. 

My mom made egg salad often when I was growing up - on white bread. Some thing to know about my mom is that she does not like mayonaise. The other thing is that she chops all her ingrediants in recipes very small. Both of these come in to play in this classic egg salad. 

Egg Salad

  • 6 hard boiled eggs peeled
  • mayonaise
  • salt and white pepper

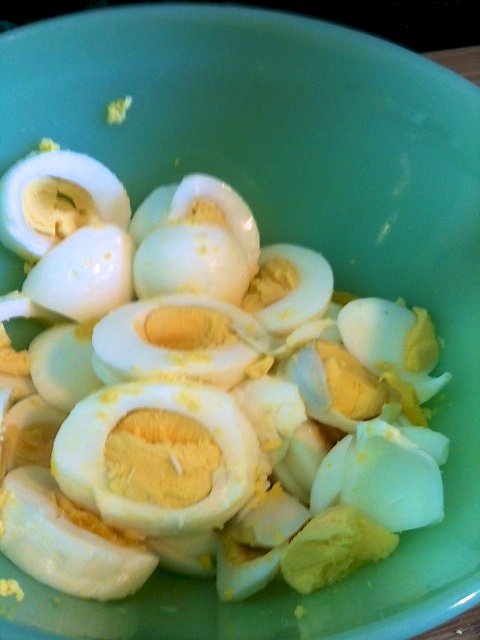
Slice eggs and place in a bowl. 

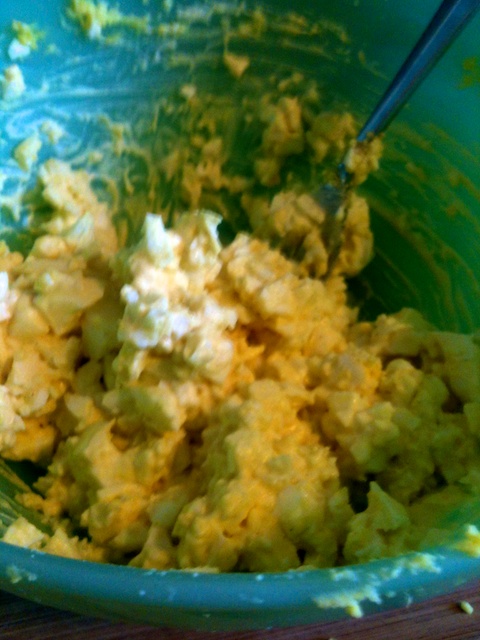
Take a sharp knife and fork and continue to slice them into small pieces. We don't want chunks here. Once you have an even dice of eggs you are ready to mix. 

Season with salt and white pepper to taste. Add a dollop of mayonaise - less is more and you can add if needed. Mix and taste. You should have an egg salad that holds together with a creamy texture but it not drippy or over mayonaised. Pure perfection. 

I like mine on white bread or toast. Today I toasted a baguette and topped it with egg salad for lunch. Yum! Enjoy!

Tuesday
Jul032012

Single Girl Fridge 

Mr. Ramon is in vacation in Southern California for a week. While I am really sad to send him away in another vacation without me, I have a lot of plans this week. There are a few projects I have been wanting to get done and being home alone will give me the time to do them.

As much as I love cooking, having a break from meal planning and preparing for the two of us is nice. It allows me to be really motivated to start up again. While Mr. Ramon is gone I will have what I like to call the "single girl fridge".

Today I went to Trader Joes and picked up some easy, healthy, prepared foods. Cut up fruit, roasted chicken, salad, cottage cheese, protein bars etc. These items are super easy to put together and require little prep or thought. When I worked two jobs before Mr. Ramon moved here this was my go to solution for feeding me.

It feels really nice to not have to worry about what we are eating and preparing food for everyday. So if you get the chance, try out the "single girl fridge" in your own way and come back to food reality refreshed.

Thursday
Jun282012

Fava Beans and fresh corn

When I watched Silence of the Lambs years ago I had no idea what Hannibal Lector was talking about when he mentioned eating fava beans. Only last year was I properly introduced to this amazing if slightly difficult bean. 

Fava beans have been around for over 5000 years and a diet staple for much of the rest of the world through the ages. It seems that they are finally catching on here in the US - slowly. 

Fava beans come in these big floppy green pods about 3-5 inches long. They are filled with what looks like cotton batting that the actual beans nestle in. But don't get to excited yet - after opening these thick, stringy pods the beans themselves still need blancehd to loosed then waxy coating on each individual bean. See what I mean by difficult? I find this process to be relaxing in a sort of "turn off your brain" kind of way. 

Once you get the beans loose you have these brilliant green beans with a buttery texture and a slightly bitter, nutty flavor. 

We are growing fava beans in our garden. But that seemed so far away I could not resist them at our local co-op. I filled up a bag and grabbed a fresh ear of corn. Thinking I could throw the two together for an easy side dish for dinner. 

After getting the beans out of their pods, blanched, cooled and peeled I turned to the corn. I shucked it, rinsed it and then sliced it off the cob.

I heated a cast iron skilled to medium heat and threw in the corn. No oil - just on the bottom. Looking to get the grilled effect in the skillet. Don't stir - you will be tempted. We are not stir frying - we want dark bits which will mean sweet pan roasted corn.

With these two amazing ingredients I only needed salt, pepper a dash of olive oil and a sprinkle of red wine vinegar. A perfect summer night side dish.